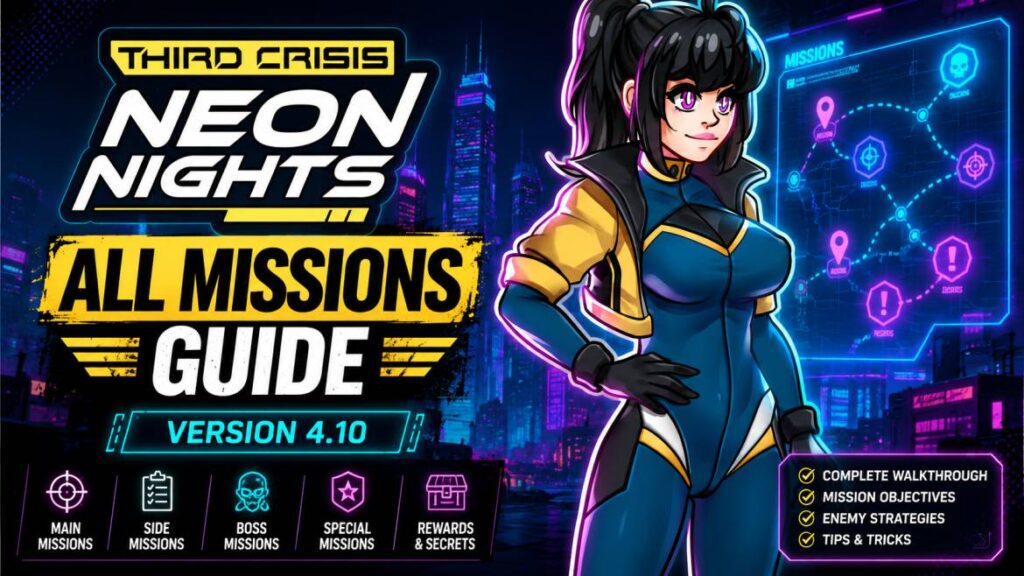
Getting lost is probably the most common thing you’ll do in Third Crisis: Neon Nights. A few missions are easy enough, but once the game sends you into a dungeon, you’ll barely get any direction. I ended up checking every corner more than once before finding the right path.
If you’re stuck at any point, this walkthrough will help you find every main mission available in Version 4.10. These missions are in the order you’ll play them, so you can get back to the story instead of wandering around.
Before you enter a dungeon, keep an eye on your H0rniness meter. If it reaches 100%, you’ll be thrown back to the entrance and have to do that part again. It is very frustrating when it happens, trust me.
Chapter 1 – Recover the Stolen Goods
The first mission is very simple to complete.
- Walk east until the scene plays.
- After being told, head north.
- You’ll find a bunny who needs help.
- Finish the conversation, pick up the paper, and enter the building next door.
- The game will teach you how to use the camera.
- Don’t ignore this feature. You can unlock extra pictures later by using it in different places.
Now you have some options.
You can talk to Rosie behind the counter or head northeast and meet Nova. If Nova offers to help, accept it. It saves a little time.
Before moving on, check the southwest corner.
There’s a bunny event that you can easily miss.
After that, go talk to Cal at the bar. She’s the redhead standing on the east side.
Getting Upstairs
You can also follow an alternative path. Head east and unlock the door.
You’ll find a small mini-game here. Once that’s done, go south.
Read the documents on the desk. Now use the pink computer and order a booth.
This event will continue the rest of the story.
Room 205 and the Briefcase
Go up to the second floor. Enter Room 205 and look around.
Leave the room and step into Room 206. Wait for a moment.
Now return to Room 205. A new event will trigger.
There’s also a picture if you’re collecting them.
Next, inspect the briefcase. You need what’s inside for the mission.
Take the item and head back downstairs.
Give it to the correct person to continue.
The Bunnies Will Play
After handing over the item, talk to Karla at the front desk.
When the conversation ends, go upstairs again.
This unlocks the Glowing Hole.
While you’re here, you can spy on some of the rooms.
This will increase your Voyeurism stat.
It’s optional right now, but can be useful later.
Once that’s done, Chapter 1 is complete.
Chapter 2 – Neon Rise Apartments
The next part of the story takes place around your apartment building.
I Really Want to Stay at Your House
Leave your apartment and head west.
You’ll meet Jaime.
After the conversation, complete the mini-game.
Continue through the scenes until Sarah shows up.
There’s another picture here if you’re collecting them all.
The next morning, don’t leave immediately.
Pet the cat outside first.
Girls’ Night Out
Your next stop is Hello Gorgeous Nail Salon.
Head southwest and you’ll find it.
The entrance is blocked by two guards.
First Guard:
- Just wait and sit.
- Soon you’ll get a chance to move forward.
Second Guard:
- This one requires a small mini-game.
- Interact with the nearby box.
- Finish the mini-game, and you’ll get inside.
- Once you’re in, head northwest.
- Use the required inventory item when the game asks for it.
- Keep following the scenes until the mission updates.
The Cougar’s Den
Now travel to the apartment marked by the mission.
Here is an important tip:
Don’t call.
Just go directly inside.
Finish the scene and continue.
That wraps up Chapter 2.
Chapter 3 – Your Best Nightmare
This is where things get more interesting.
It’s also where most players start getting lost.
Finding the Datapad
- Go back to the place where Klara was earlier.
- Look around and grab the datapad.
- If you’re stuck on the password, the answer is right next to the door.
- There’s also another picture in this area.
- Once you have the datapad, leave and head to Hatch F04.
- You’ll find it in the alley northeast of Hello Gorgeous.
- Enter the hatch.
- The dungeon starts here.
D13 Walkthrough
- Take the east door first.
- The first door you see only leads to the roof.
- Ignore it for now.
- Go west and flip the switch.
- After that, head east again.
- Near the M13 entrance, you’ll find another door.
- Open it and loot the chest.
- This gives you Key Part 1/4.
- Now keep moving east.
- Look for a path going south.
- At the end of that path, you’ll find Key Part 2/4.
- Go back north.
- Enter the northern door and grab Key Part 3/4.
- Now head toward the conveyor area.
- Take the northern conveyor.
- Then use the eastern conveyor.
- This leads to the final Key Part 4/4.
- Once you grab it, the key is complete.
- Return to the entrance.
- Open the south door and continue.
- You’re done with D13.
M13 Walkthrough
- The first thing you’ll notice is a shortcut.
- Remember where it is.
- You’ll thank me later.
- This area has fire hazards.
- Before doing anything else, head east and find the valve.
- Activate it.
- Now enter the haze area.
- Take the first path that goes north.
- Keep moving until you reach an intersection.
- If you go north, you’ll unlock a shortcut back to the entrance.
- Do it now.
- It saves a lot of backtracking.
- After unlocking the shortcut, return to the intersection.
- This time go south.
- Follow the route until you reach the bridge.
- Cross the bridge.
- At the top, you’ll find several doors.
- The middle one needs a special outfit.
- You can’t use it yet.
- Ignore it and keep going.
- Use the HighTower entrance instead.
HighTower
Soon you’ll meet Leona. After the conversation, you’ll need a code.
Enter: 2027
The door will open, and the story continues.
Warm Embrace
Not long after, you’ll meet Lio. The switch puzzle here looks harder than it really is.
It is simple. Turn every switch green.
That’s it. Once they’re all green, collect the Purple Chip.
Open your inventory and activate it.
Off the Rails
- Leave the apartment and head east.
- Go downstairs and access the railway.
- Now follow the red bunny.
- Just keep following it until you reach the Glowing Hole.
- Talk to Karla.
- After the conversation, go northeast and change clothes.
- Return to the bar and speak with Rosie.
- You’ll need to complete the drink-serving mini-game.
- Take your time here.
- Once the scene finishes, change clothes again when asked.
After that, you’ve reached the end of the current main story content in Version 4.10.
Third Crisis: Neon Nights Side Quests
Follow the Rabbit
Go to the 24/7 Kiosk in the Residential District.
Talk to Calliach at the window.
This starts the quest and unlocks a new mini-game.
Now follow the rabbit.
# Rabbit Location 1
The rabbit starts at the 24/7 Kiosk.
Talk to it and move on.
# Rabbit Location 2
Head northeast.
Look near the location where the andro woman stands.
The rabbit is waiting there.
Rabbit Location 3
From the previous spot, go south.
Look beside the cherry tree.
Rabbit Location 4
Travel to the far west side of the lower area.
Check next to the Never building.
Rabbit Location 5
The next rabbit is standing right beside the railway entrance.
This unlocks a new location.
You’ll also gain access to a special interaction here.
At this point, the Residential District portion is complete.
Follow the Rabbit (Redlight District)
The quest continues later in the Redlight District.
Rabbit Location 6
Go to the southern edge of the map.
Look east of the stairs.
You’ll find the rabbit there.
Rabbit Location 7
The final rabbit is near the western parking spaces.
Talk to it and finish the quest.
Cat Petting Locations
Cat petting isn’t an official quest, but many players try to find every cat.
Here are all the known locations.
Cat 1
Outside Zoey’s apartment.
You almost can’t miss this one.
Cat 2
Go to the second floor of Neon Rise.
Check the southwest bench.
Cat 3
Outside near the eastern bench.
Cat 4
From Cat 3, head south.
Then go west.
Look on top of the distributor.
Cat 5
Inside Hello Gorgeous.
Check the table on the east side.
Cat 6
Cross the left bridge.
Take the first street on the left.
Enter the rooftop area.
The cat is on the east side.
Cat 7
In the Redlight District.
Look in the alley north of the second pink lamp.
Cat 8
Near the closed lightpath close to Rabbit Location 6.
Cat 9
Another alley near the pink lamp area.
Many players find Cat 7 and Cat 9 during the same trip.
Peeping Tom
- Go to Hello Gorgeous.
- Enter the northern room.
- Use the Preyou Machine.
- After the scene, travel to F04.
- The northwest door is now unlocked.
- Go inside and investigate.
- When you’re done, return and speak with Max.
- The quest ends here for now.
Feel the Burn
- This is a short side mission.
- Deliver the parcel to your neighbor.
- After that, force your way inside.
- The next objective takes place in the bathroom.
- Follow the scene and finish the mission.
Boulevard of Broken Screens
Before starting, check your mailbox. You’ll receive new clothes.
After getting them, begin the quest.
- Make a full loop around the Residential District.
- Keep following the mission updates as you travel.
- Once the circle is complete, the quest ends.
Railway Missions
The railway area contains some of the easiest FB rewards in the game.
If you’re low on money, start here.
Car 4
Many players get stuck here. You need a dog bone. The bone is hidden in the opposite row of seats.
Pick it up and continue.
Lost and Damned
Go to Car 2.
Talk to the woman wearing the white dress.
She asks you to find four cells.
Cell 1
Automatically obtained after talking to her.
Cell 2
Go to Car 1.
Check the northwest corner.
Cell 3
Go to Car 3.
Look near the middle seats.
Cell 4
Go to Car 5.
Check underneath the eastern row of seats.
After collecting all four cells, return to the woman.
She rewards you with: +10 FB
An Arousing Task
Raise your Hornine$$ to 80%.
Once you hit 80%, go to Car 5. Speak with the man sitting in the last seat.
The quest will complete immediately.
Reward:+20 FB
Best Ways to Earn FB
FB is the main currency in Neon Nights.
You’ll need it for several interactions.
The fastest early rewards come from railway quests.
Complete:
- Lost and Damned
- An Arousing Task
Together they give 30 FB.
After that, the best farming method is the bar mini-game at the Glowing Hole.
Glowing Hole Drink Mini-Game
This becomes your main repeatable money source.
Different customers pay different amounts.
Some options are worth much more than others.
A few examples are:
Hearts Customer
- Look / Spit = 10 FB
- Grab A$$ = 20 FB
Varen
- B#ttgrab = 10 FB
- Touching Him = 10 FB
- Show Brea$t$ = 10 FB
- Touch G#nit@l$ = 10 FB
RA East Bar Guy
- B#tt Check = 10 FB
- $mell Your B#tt = 50 FB
Spending FB
Right now there aren’t many places where you can spend large amounts of FB.
Most players use it at the Glowing Hole.
Talk to Rosie to see available options.
The most useful purchase is: Neon Bliss – 25 FB
Since FB can be a little slow to earn early on, I recommend finishing the railway quests before spending too much.
Things Most Players Miss
Before moving on, make sure you’ve done these:
- ✔ Followed every rabbit location
- ✔ Found all cat locations
- ✔ Completed Lost and Damned
- ✔ Finished An Arousing Task
- ✔ Started Peeping Tom
- ✔ Checked your mailbox for Boulevard of Broken Screens
- ✔ Tried the Glowing Hole mini-game
A lot of players finish the story and miss half of these activities.
Final Thoughts
Version 4.10 isn’t a huge game yet, but there is more content than it first appears.
The rabbit quest, hidden cats, railway missions, and FB farming activities add several extra hours of gameplay.
If you’re waiting for the next update, make sure to complete these side activities to see everything currently available in the game.