

There are two Intel collectibles in each mission in Aliens: Fireteam Elite 2. You need to pick them up and finish the mission for them to be saved to your inventory. If you collect an Intel and leave the mission before completing it, the collectible will not be saved.
The Intel are mostly WY PDAs and use the same in-game model. You can also pick up Intel you already collected on later runs for 50 credits.
In this guide, I have shared all Intel locations in Aliens: Fireteam Elite 2 in order, with directions to help you find them.
Prologue – Banshee Down
The Prologue has two Intel: Hits the Spot and Traitors.
Hits the Spot
Location: Cafeteria/Mess Hall
When you start the mission, jump through the broken window to enter the cafeteria. Once inside, look straight across from the window.
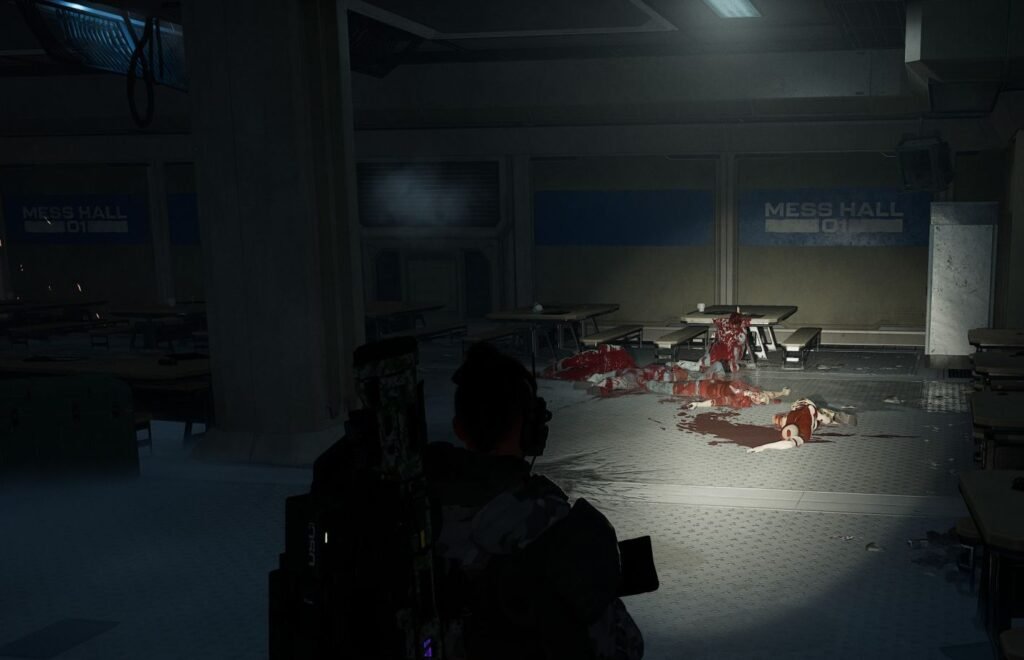
You will find a dead body lying against one of the booths. The intel is right next to the body.
Traitors
Location: Armory / Firing Range
Continue through the mission until you reach the communication room. A little further ahead, you will enter the armory area.
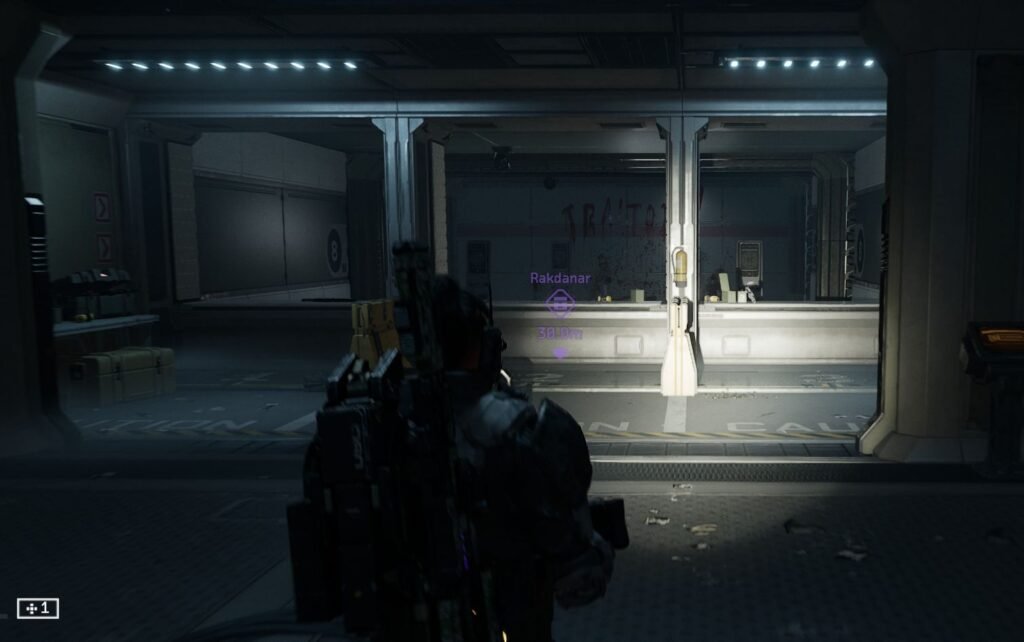
Look for the firing range with “Traitors” written on the backdrop. There is a dead body underneath it, and the Intel is right next to the body.
Chapter 1 – Rescue and Recovery
There are three missions in this chapter, giving you six Intel to collect.
2-1 Piping Hot
The two Intel that can be found in this mission are W589BB and Dreaming.
W589BB
Location: Crash dropship
Follow the objective, and you’ll be sent to search the crashed dropship.
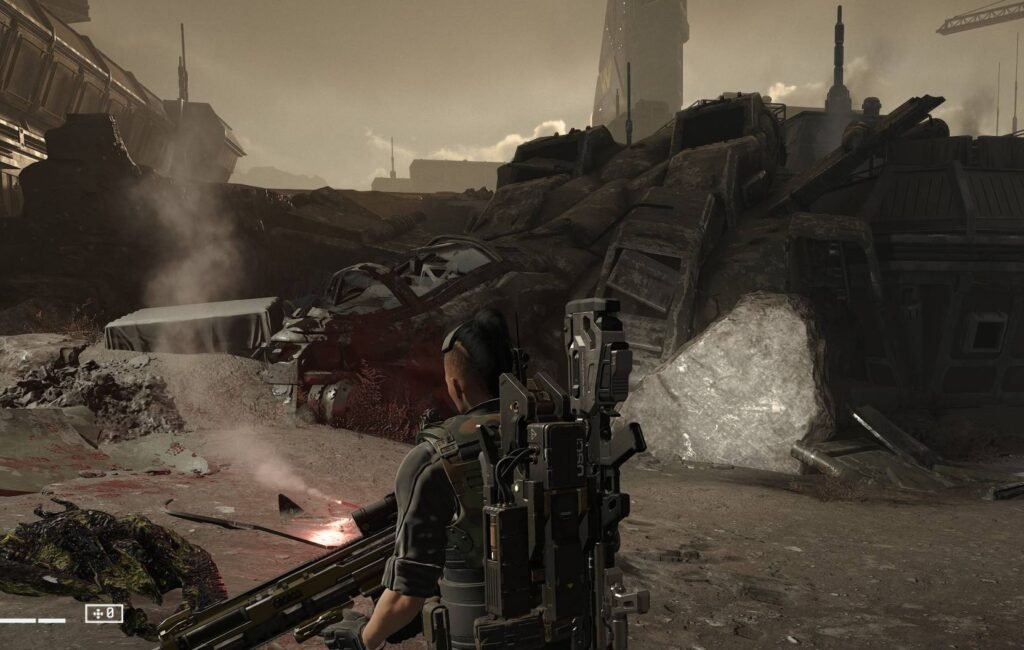
When you reach the crash site, look near the dead body that you search. You can find the W589BB intel lying on the ground just a little to the right of the body.
Dreaming
Location: Life Support building
Now you have to keep playing the mission until you fight a group of synthetics. Then, a new doorway will open that will lead into a building marked Life Support.
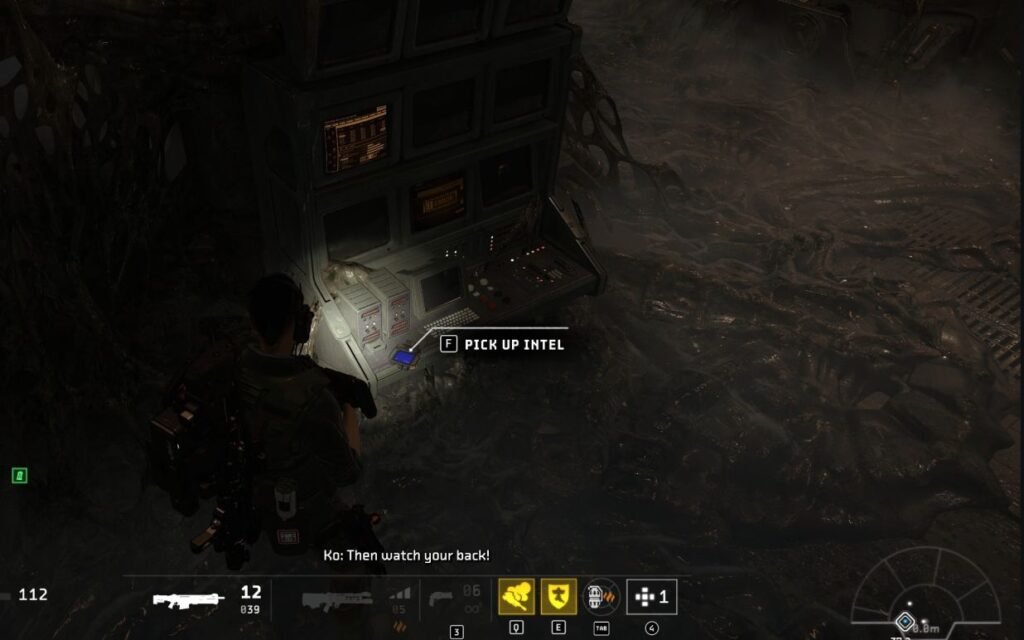
Go down the stairs into the hive area. The first console that is closest to you has the Dreaming Intel.
2-2 Breaking and Entering
The Intels that can be collected in this mission are Writing Reports and Fauna Evaluation.
Writing Reports
Location: Room after the three-Xenomorphs audio
Play through the mission until you enter a building where you have to fight a group of synthetics.
Interact with the final computer in this area. The audio will reveal that three Xenomorphs are arriving on the planet.
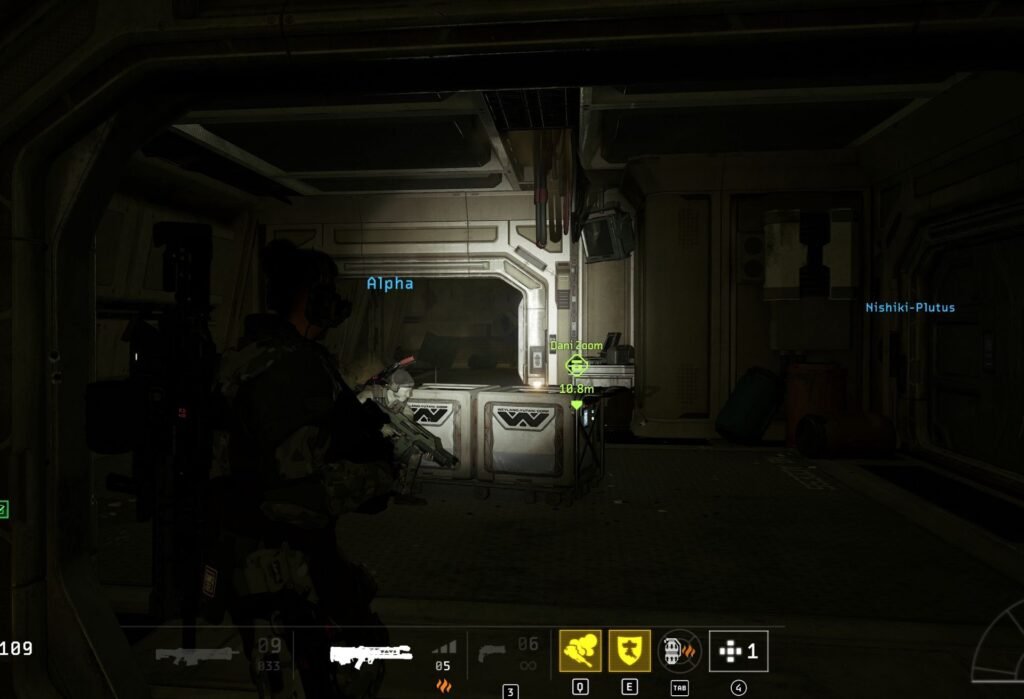
After the next door opens, continue forward until you reach a room with a desk. You can find the Writing Reports on the corner of the desk.
Fauna Evaluation
Location: Outside the Trauma Room
Later in the mission, you will reach the Trauma Room. Clear the area and resupply before going through the door.
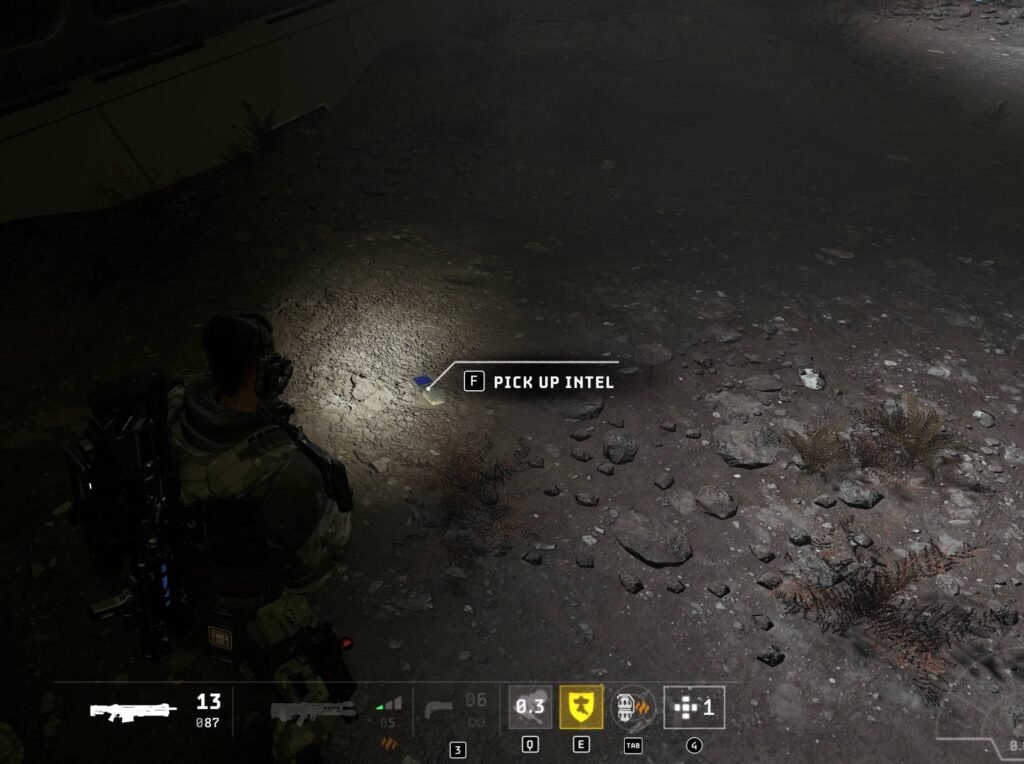
Once you are outside, look straight ahead. Check under the first spotlight; you will find Fauna Evaluation lying on the ground.
2-3 Synth Headache
Warship Inbound
Location: Communication building
Make your way into the communication building and fight through the synthetics.
You will need to clear two terminals as part of the objective. Once you do this, the middle door will open that goes upstairs toward another terminal.
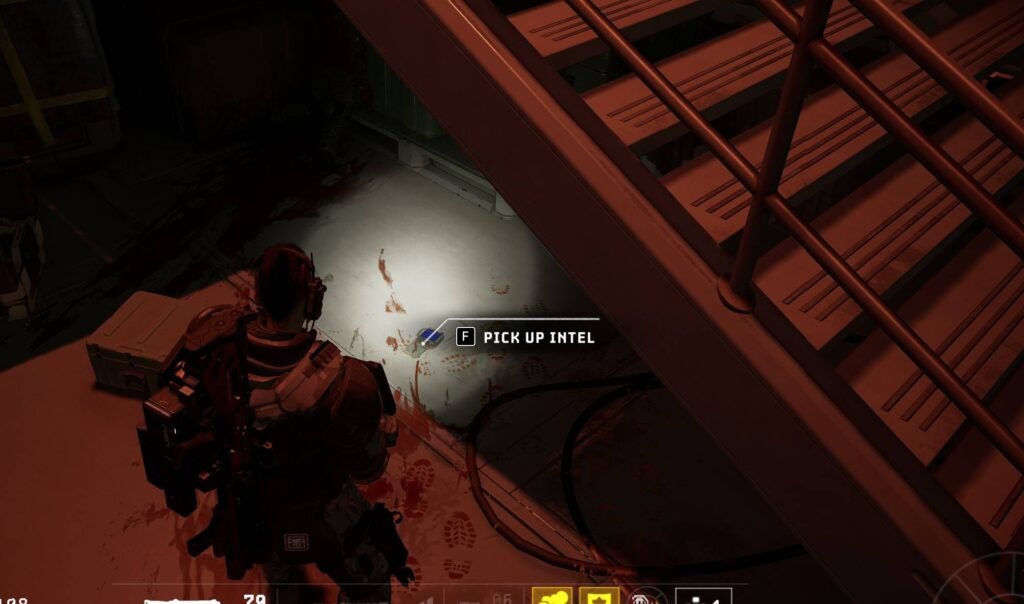
Before going upstairs, take a left and look underneath the stairs. There you can find the Warship Inbound Intel on the ground.
Where’s Veronica?
Location: Outside after the resupply point
Later in the mission, after fighting the synthetics outside, go upstairs and reach the resupply crate.
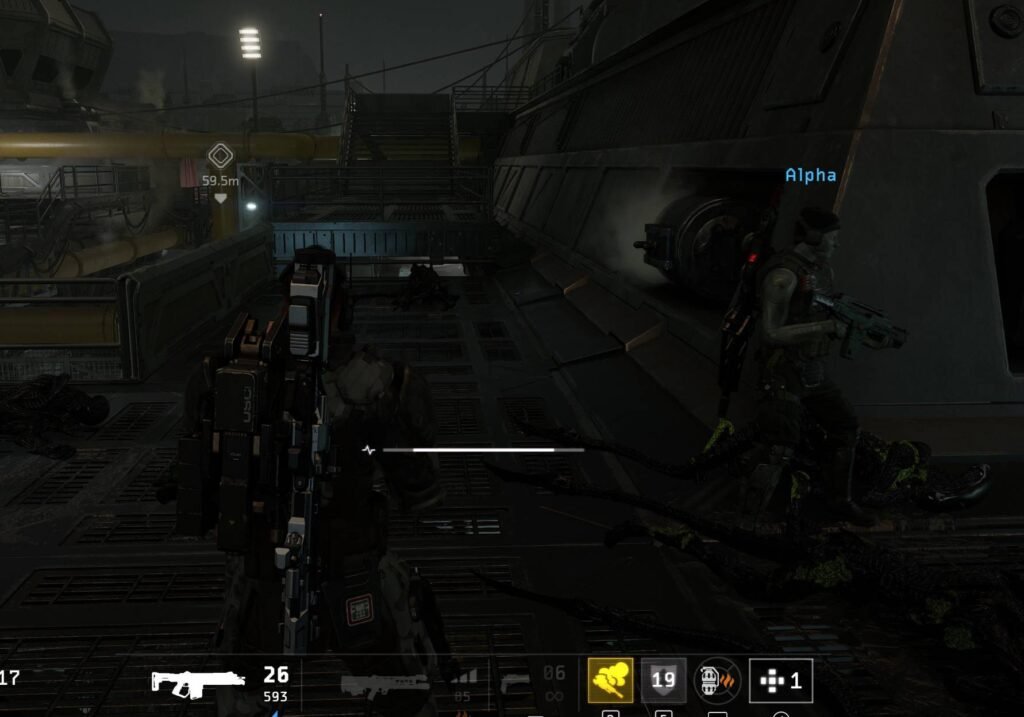
From the ammo crate, stay close to the right-hand wall and continue around the corner. You can find the last intel in this chapter lying on the ground.
Chapter 2 – Boarding Party
Boarding Party also contains six Intel across its three missions.
3-1 Bomb Squad
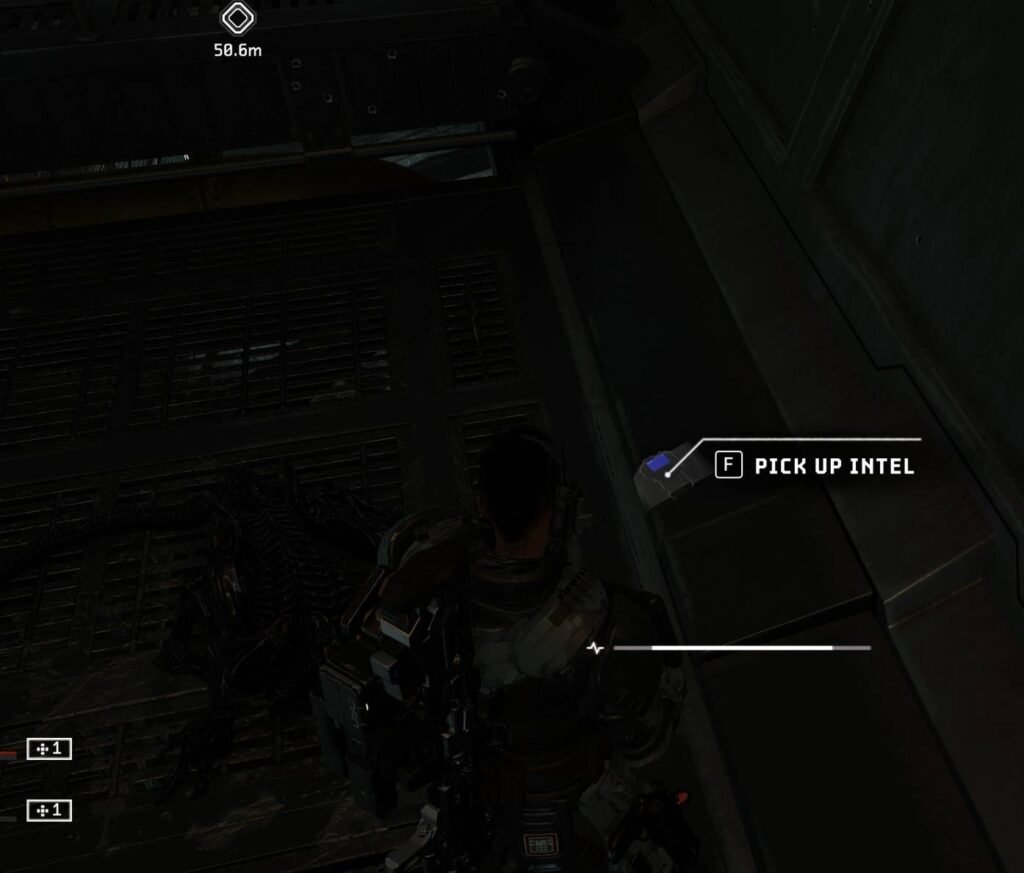
Love You
Location: 1st Terminal
After opening the first terminal, continue straight ahead.
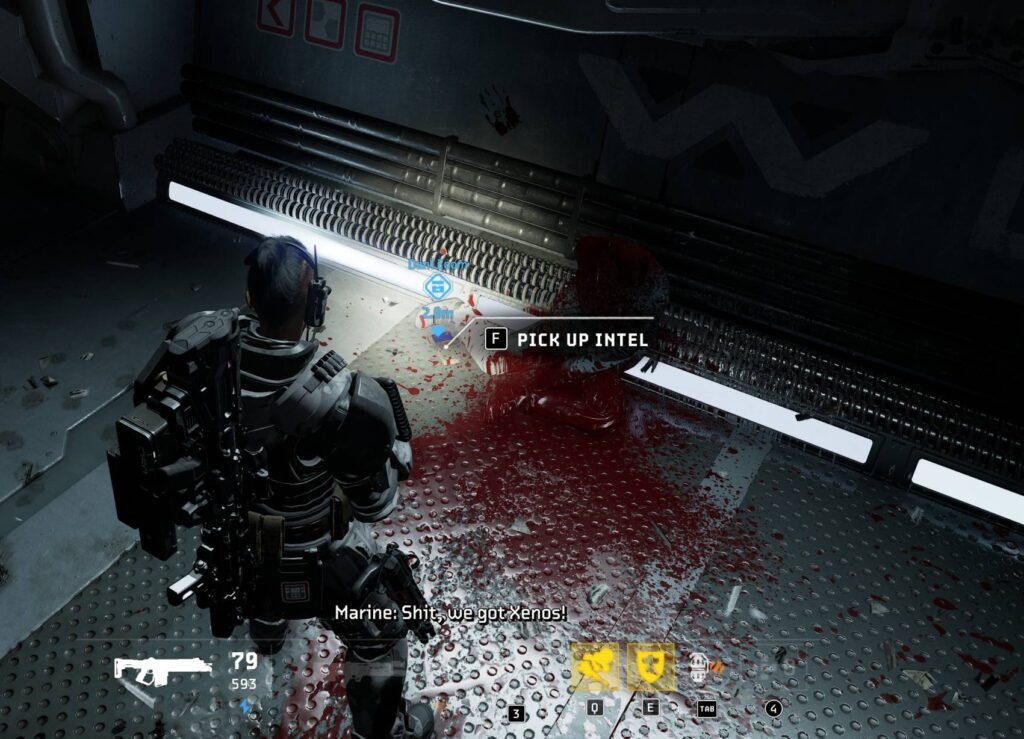
You will find a dead body resting against the wall. Love You Intel can be found underneath the bloody body.
Missed Check In
Location: Living Quarters
Later in the mission, enter the living quarters.
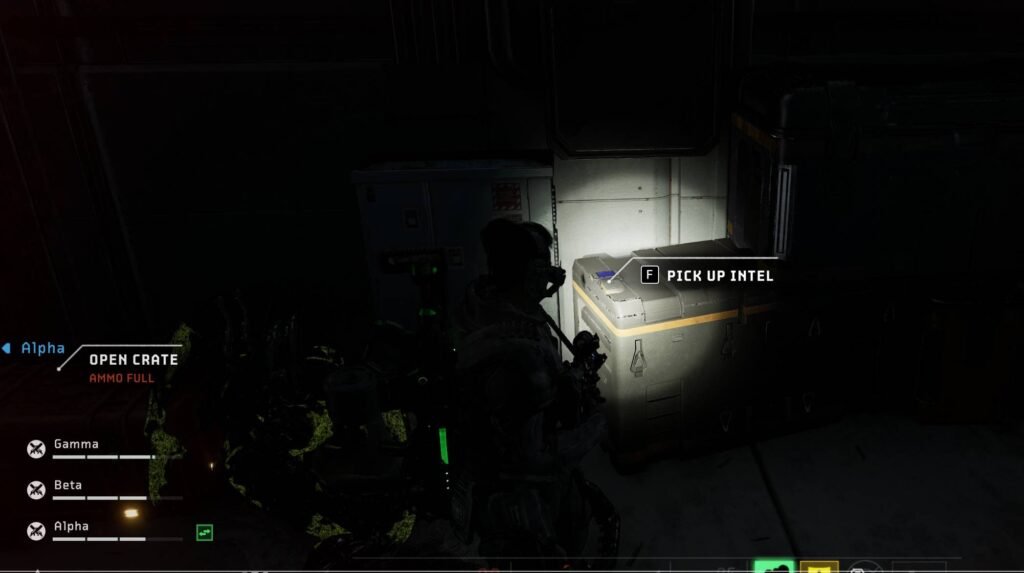
Look for an ammo crate on the back wall next to a resupply box. Press F to pick up the Missed Check In intel from the crate.
3-2 Dumpster Diving
The intel in this mission are Almost and Saw Hector Again.
Almost
Location: Broken elevator
At the beginning of the mission, you have to wipe out the synthetics.
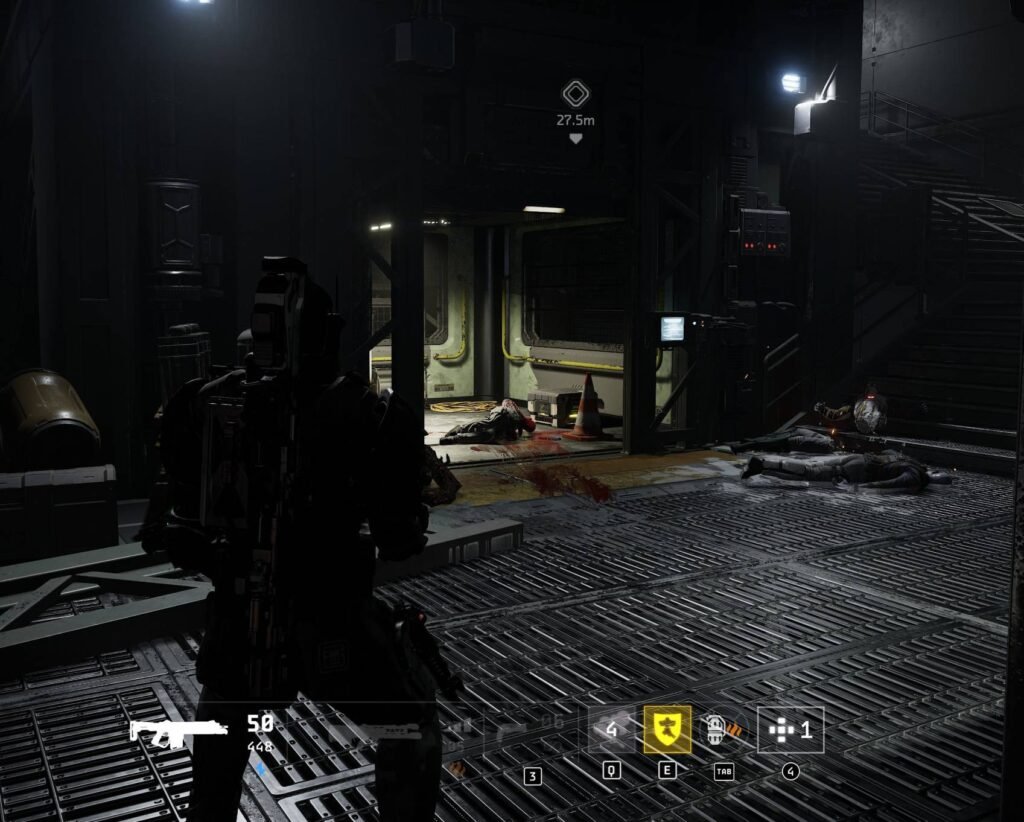
After the first room with the Working Joe swarm attack, you will find a broken elevator. Go inside the open elevator to find Almost.
Saw Hector Again
Location: Near a dead body after the first Siren
Continue until you fight the first Siren alien and then restock your ammunition.
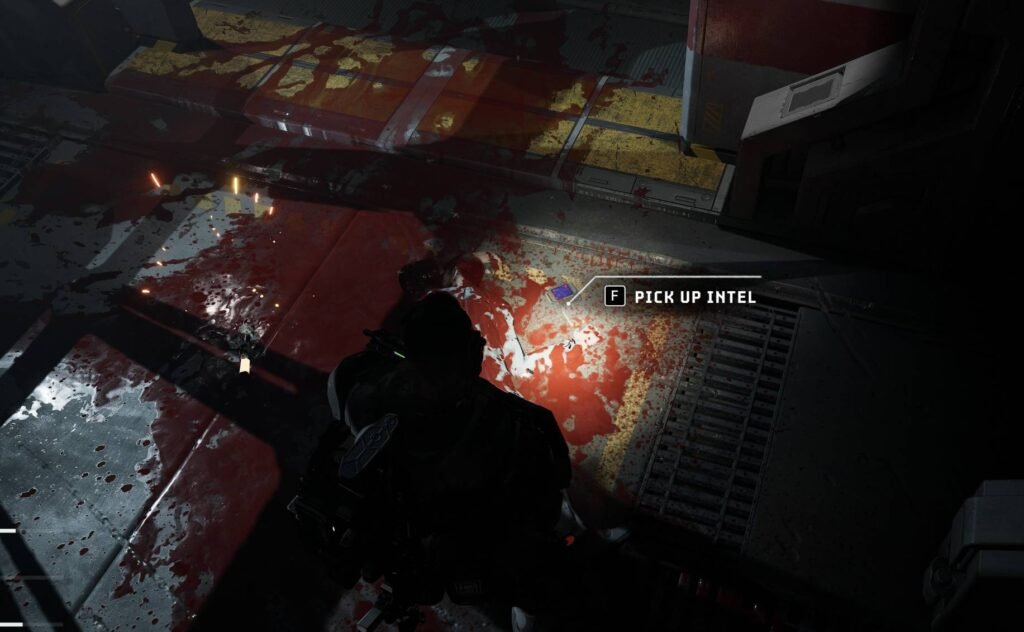
Go around the corner after the fight. Saw Hector Again is on the floor next to a dead body.
3-3 Sleep Study
Checking In
Location: Near the blast door after the Cryopod area
After leaving the area with the cryopods and fighting a Xenomorph horde, you will reach a door that needs to be cut open.
After cutting the door open, turn around and go straight in the opposite direction. This leads to another blast door that you cannot interact with.
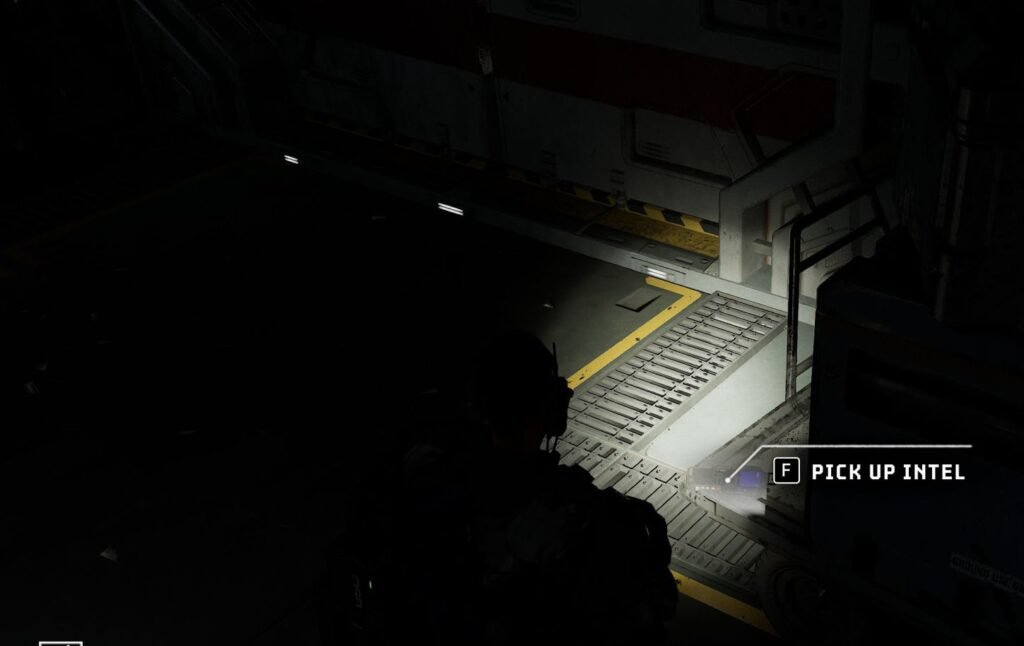
Look to the right of that blast door. Checking In intel can be found on a cart.
Workers Comp
Location: Hive area
Later in the mission, you will reach a hive area with Xenomorph eggs.
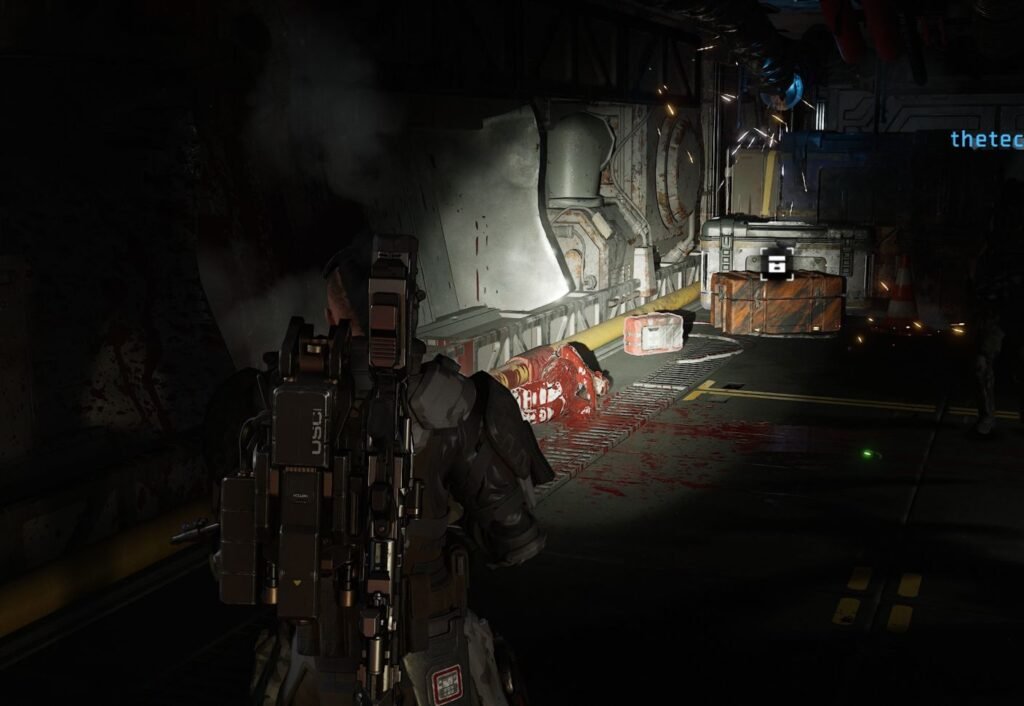
Cut open the door and continue toward the resupply box. In the room, look to the left next to a dead body.
Chapter 3 – Rock Bottom
Rock Bottom contains another six Intel across three missions.
4-1 Power Problems
Hey Newbie
Location: Mine area after the Weyland-Yutani tunnels
Continue until you exit the Weyland-Yutani tunnels and return to the mine.
Follow the inclined path that goes upward while staying on the right side.
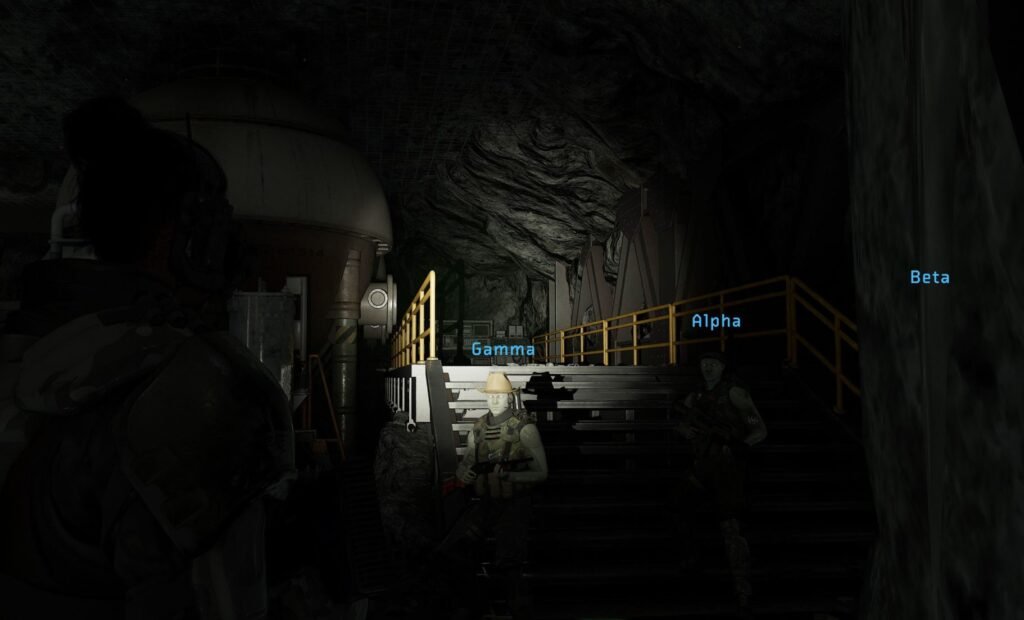
Look for a tucked-away area containing a console with several monitors. There you can find the Hey Newbie intel.
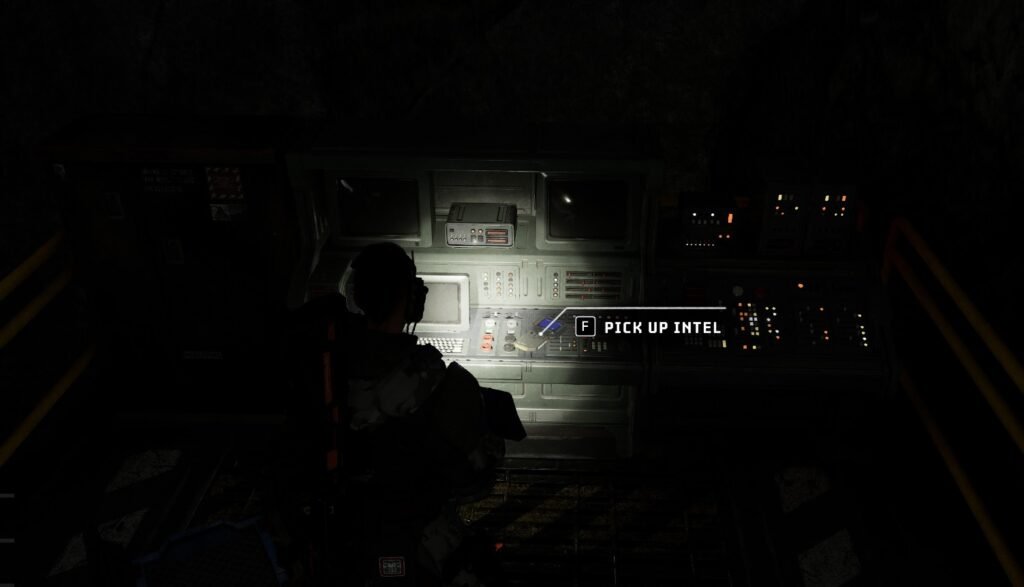
To Do List
Location: Corridor after the holdout
After completing the holdout objective, make your way down the stairs and continue along the straight corridor.
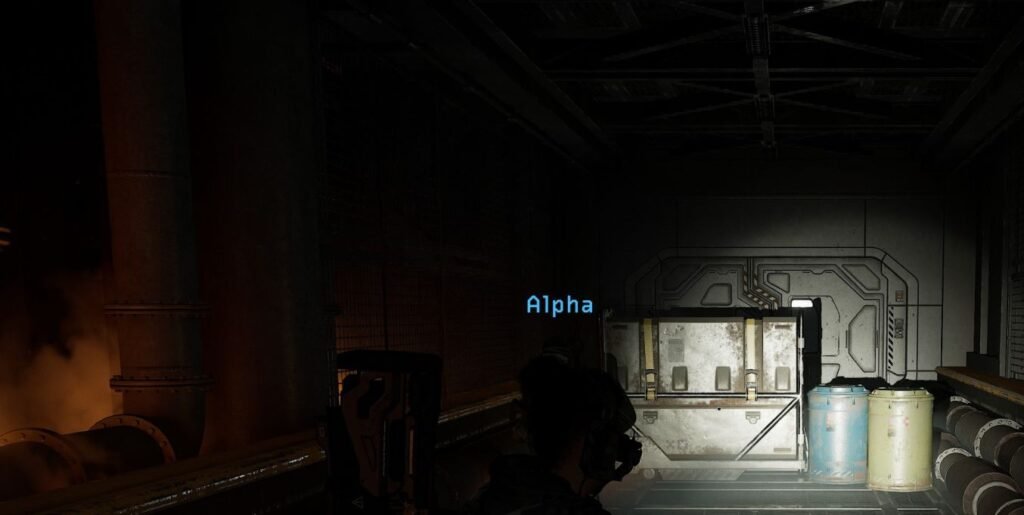
At the end of the corridor, look for a blue barrel. To Do List intel is on top of it.
4-2 Running on Fumes
Shift Coverage
Location: Office after turning off the gas
After turning off the gas, you will reach the hive room where you have to search a terminal.
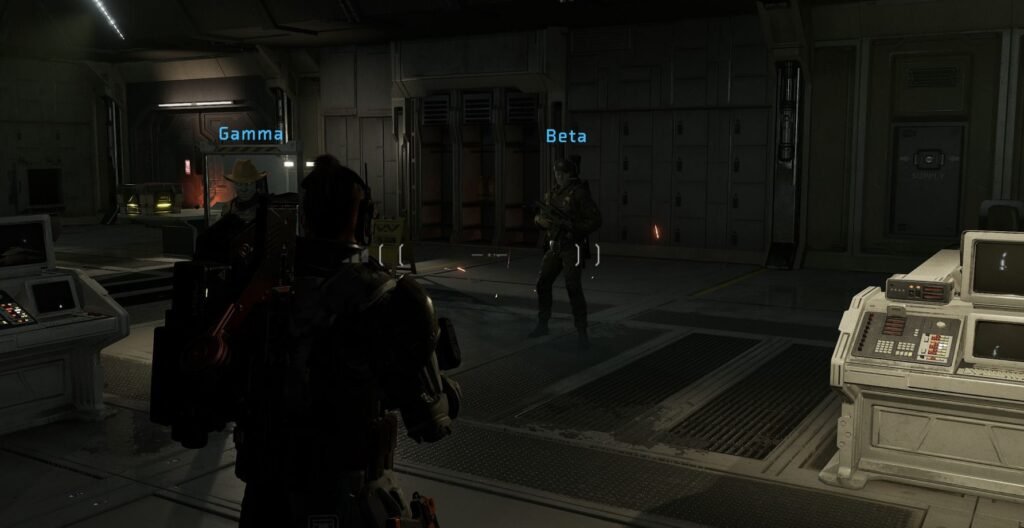
Look at the back wall opposite the terminal. Shift Coverage is lying on a shelf next to a yellow canister inside the Office.
Not Giving Up
Location: Warehouse area
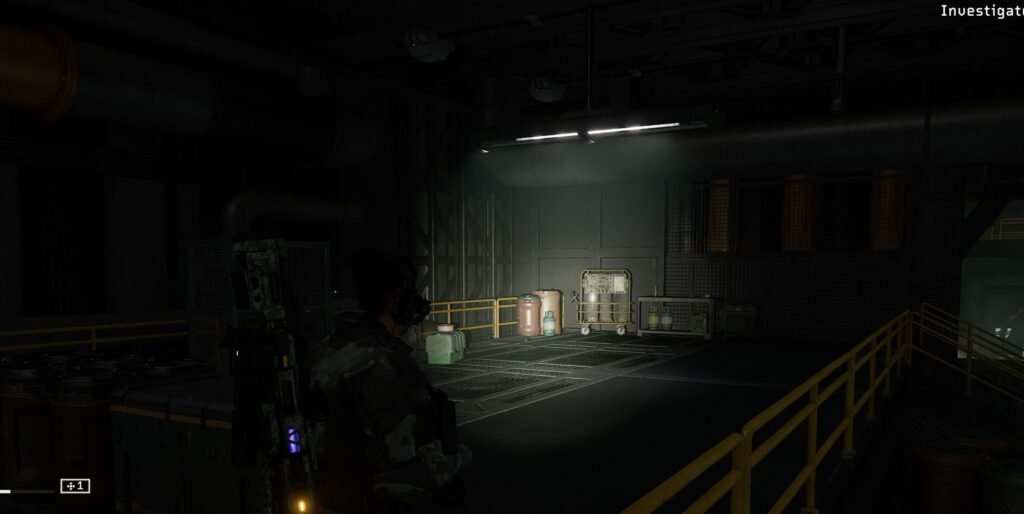
Continue playing the mission until your objective changes to Investigate Warehouse.
Keep to the left and go up the stairs. Enter the “restricted access” door. There you can find a desk with Not Giving Up intel on it.
4-3 Hive Mind
Sector G
Location: Near the first supply box
At the beginning of the mission, reach the first supply box.
From there, keep to the left until you reach a forklift. Look for a red barrel near the vehicle.
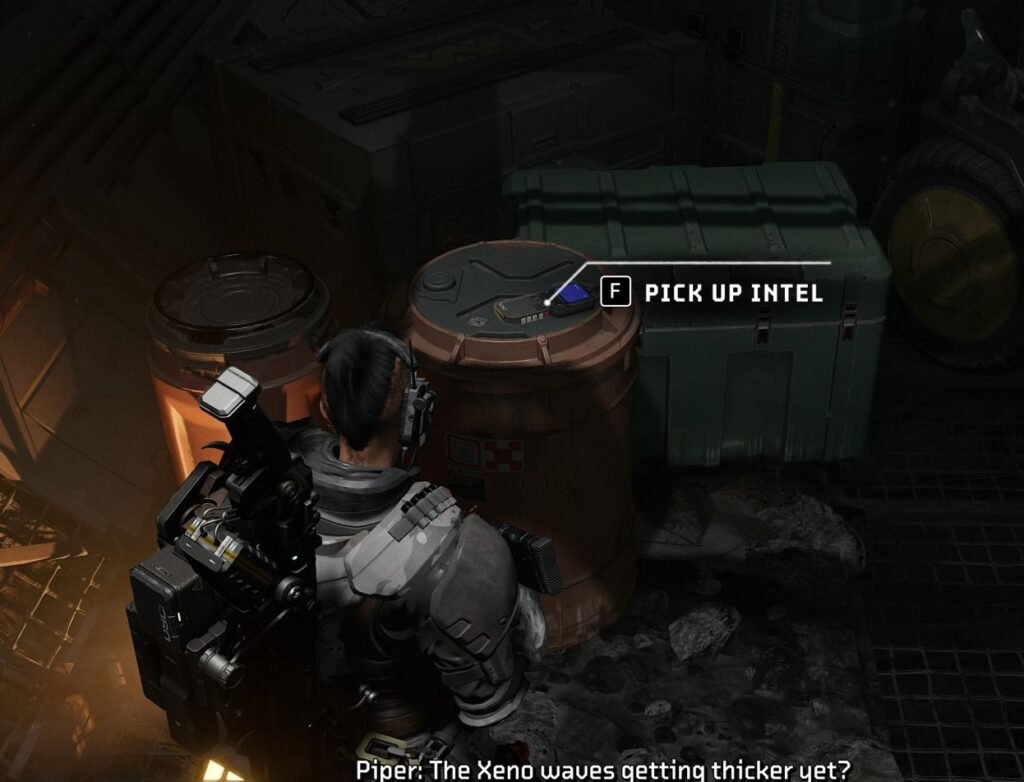
The Sector G intel is on the barrel and you can grab it by pressing the F button.
Note: On PC, this Intel may sometimes appear invisible. You can still pick it up even when the intel does not show.
Finally
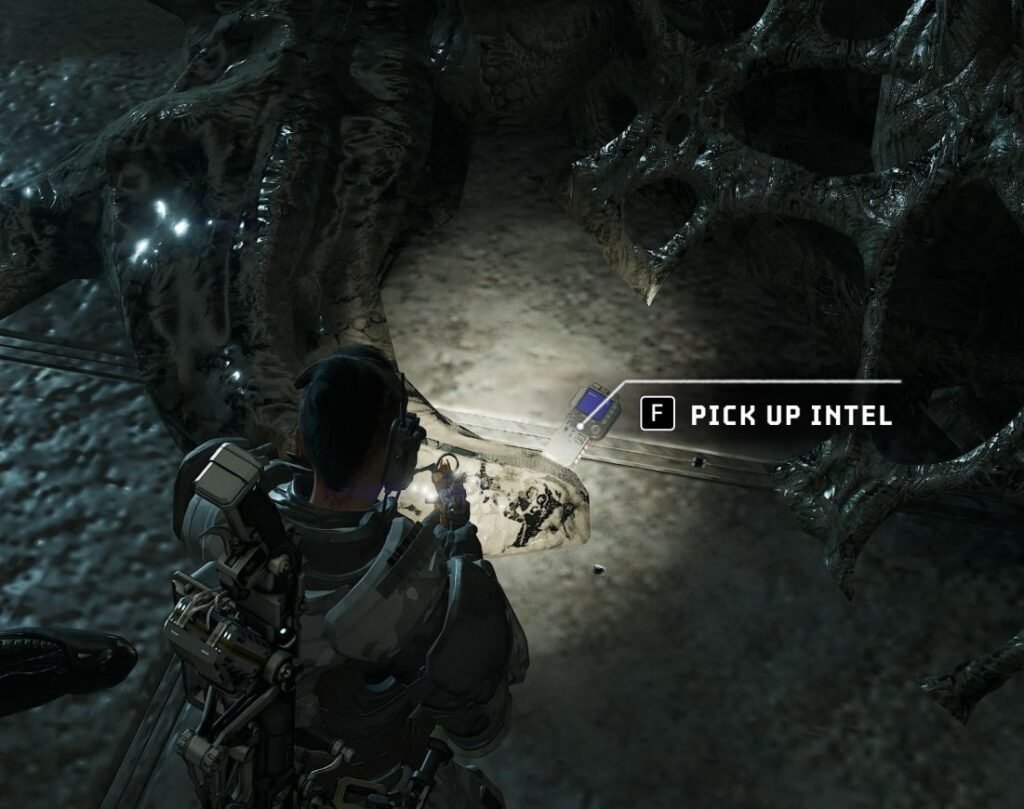
Location: Hive area after the second supply box
After reaching the second supply box, continue into the hive while staying close to the right-hand wall.
Keep following the wall until you reach a small set of stairs going down. There you can find the Finally intel lying on the floor.
Chapter 4 – Ancient Anomaly
Ancient Anomaly has six Intel across Canyon Crawlers, MUTUR May I, and Deadly Descendants.
5-1 Canyon Crawlers
This Changes Things
Location: First indoor area
At the start of the mission, enter the building.
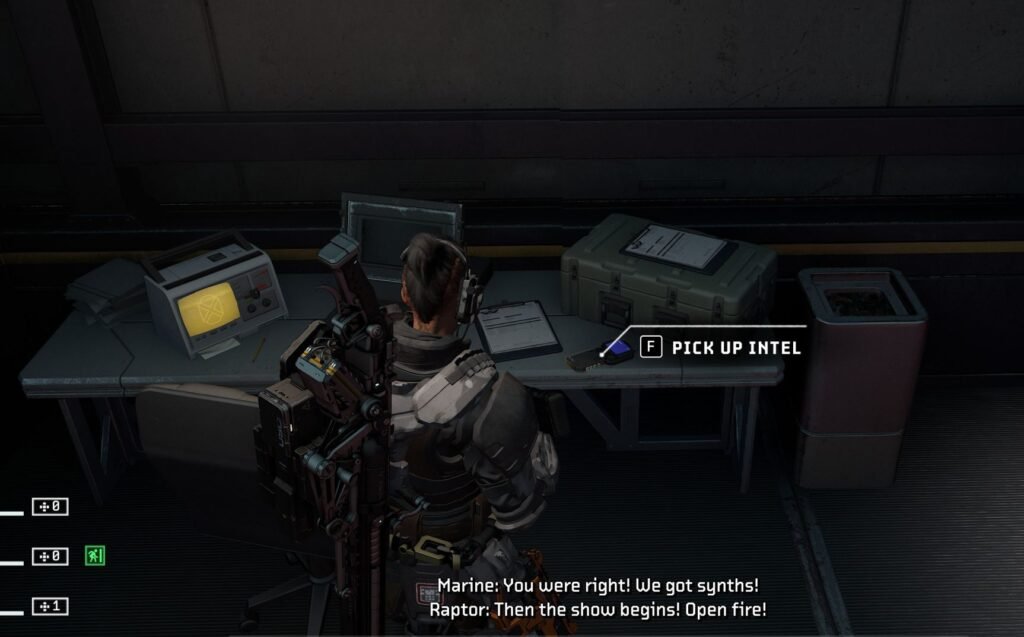
As you enter, look to the left for a desk. This Changes Things intel can be found lying on the desk.
This Isn’t Worth It
Location: Final lab
The second Intel can be found at the end of the mission inside the lab.
You have to look for the journal that you need to interact with to trigger the cutscene. This Isn’t Worth It intel is on a body near the right Xenomorph egg window.
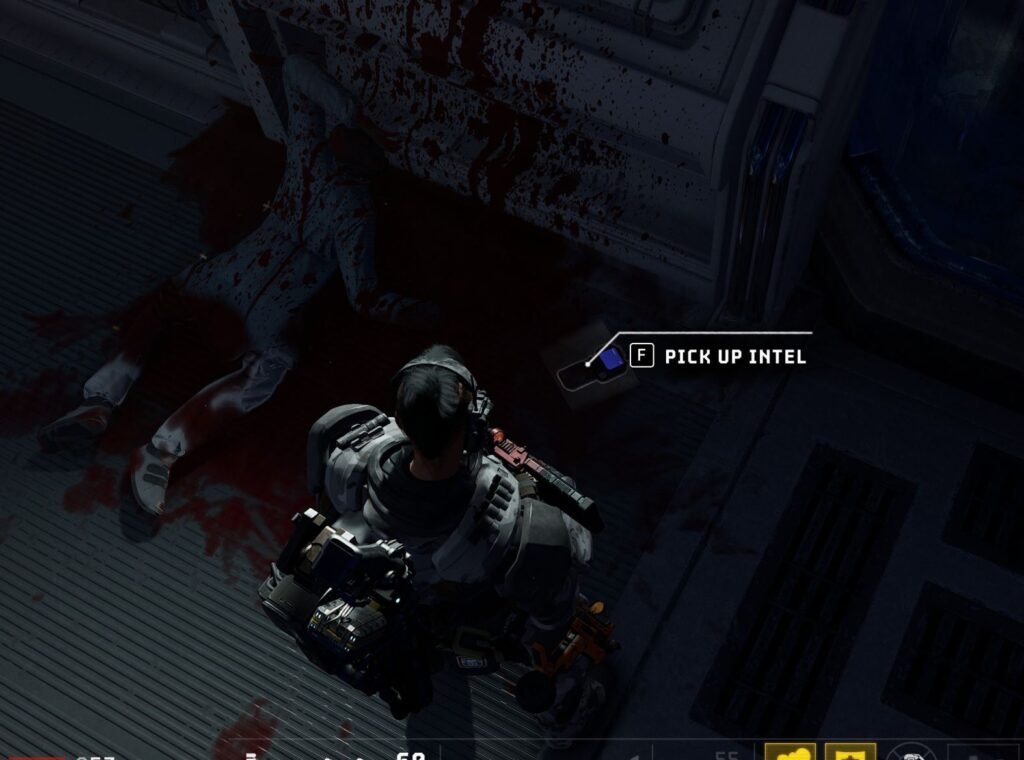
Make sure you collect it before triggering the mission-ending sequence. If the cutscene starts without you picking it up, you can look behind you afterward, but you only get a short time to grab it.
5-2 MUTUR May I
This Is Amazing
Location: Engineer spaceship
Enter the engineer spaceship and reach the first large room with the circular railing.
Stay to the left and follow the railing around. Look for some green tarps on the left-hand side.
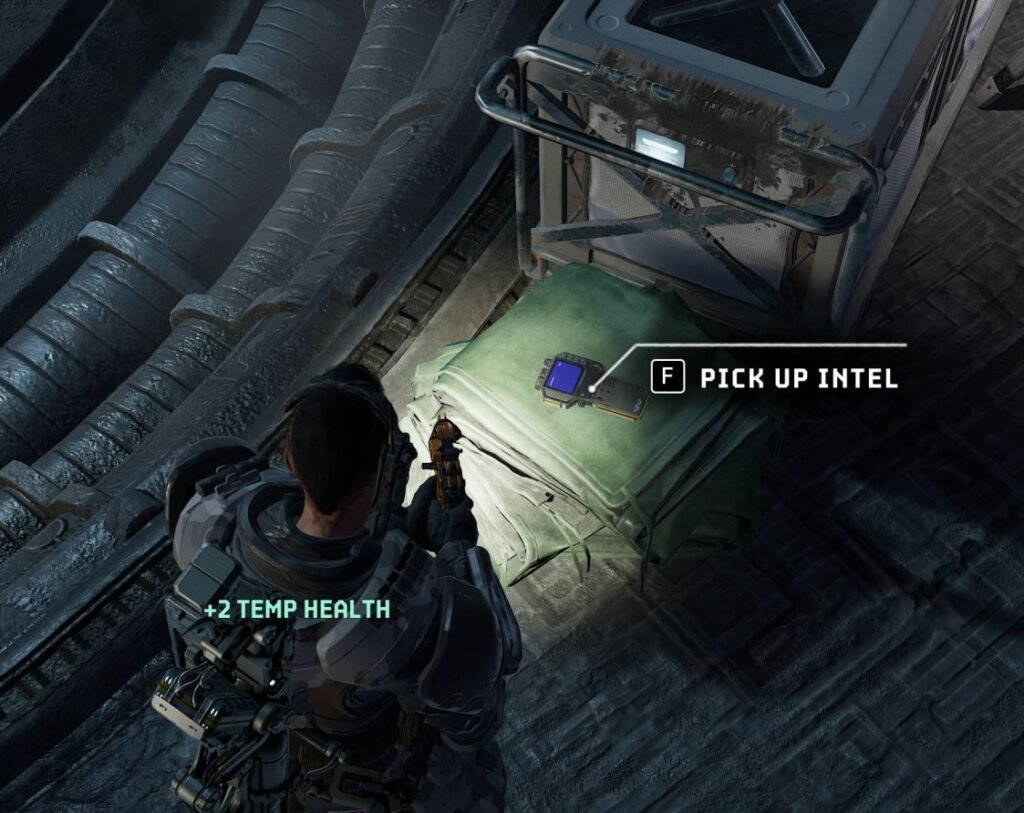
This Is Amazing intel can be found there.
Get Me the Hell Out of Here
Location: Room with the resupply box
Continue playing the mission until your character comments about finding some strangely milky goo.
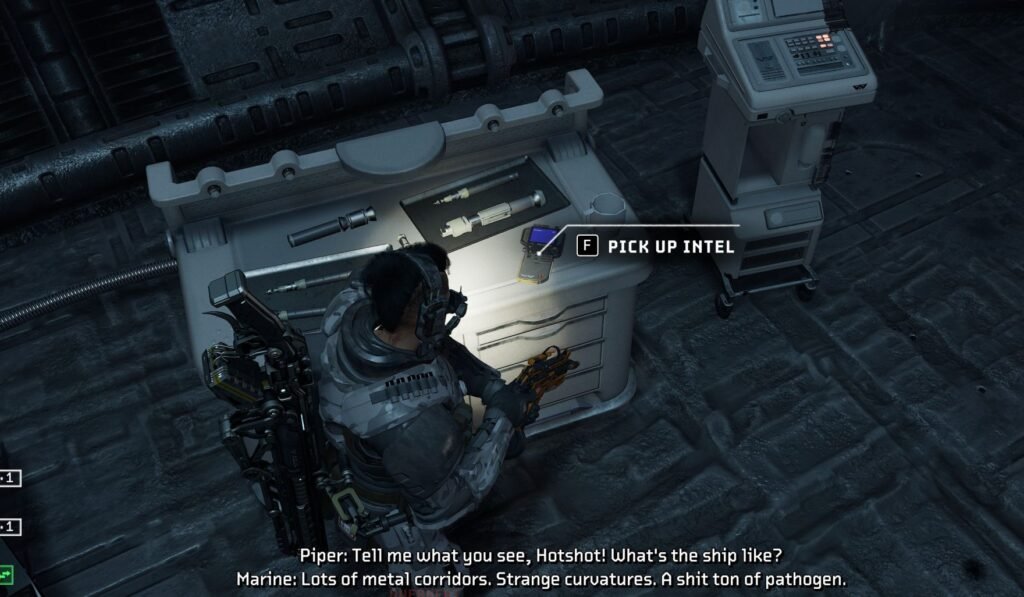
In the room with the resupply box, check the second ammo crate. You can find the intel on top of the crate.
5-3 Deadly Descendants
Found Something
Location: First resupply area
After crossing the bridge, reach the first resupply box.
Go to the left of the box and follow the left side of the three-way intersection.
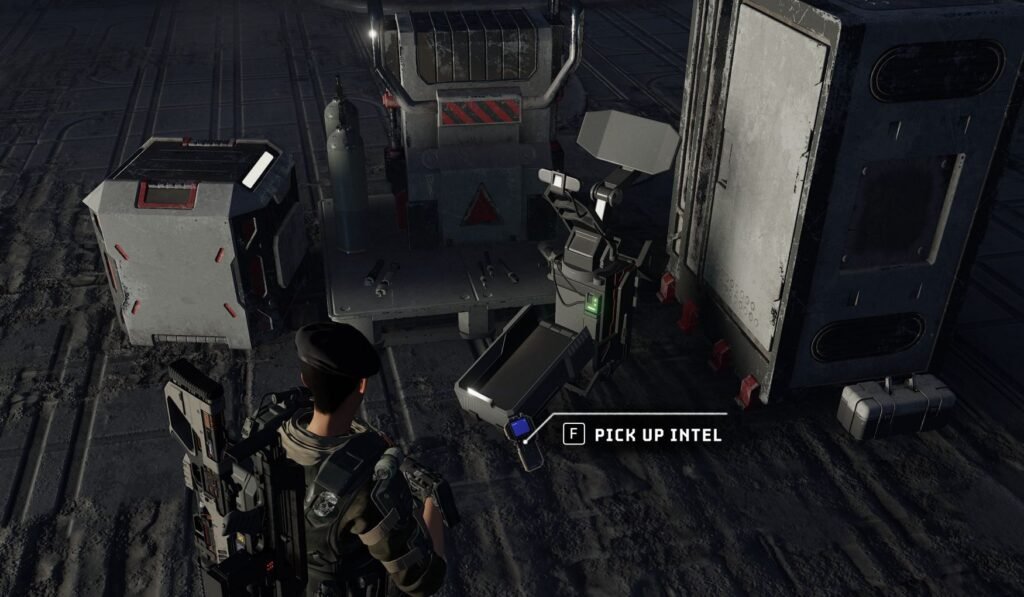
Near some crates and a toolbox, you will find medical equipmentand the Found Something intel.
Calling HQ
Location: Weyland generator
Continue playing until you discover how to kill the hybrids and turn on the ship.
Stay to the left side of the area and follow the wall until you reach a Weyland generator.
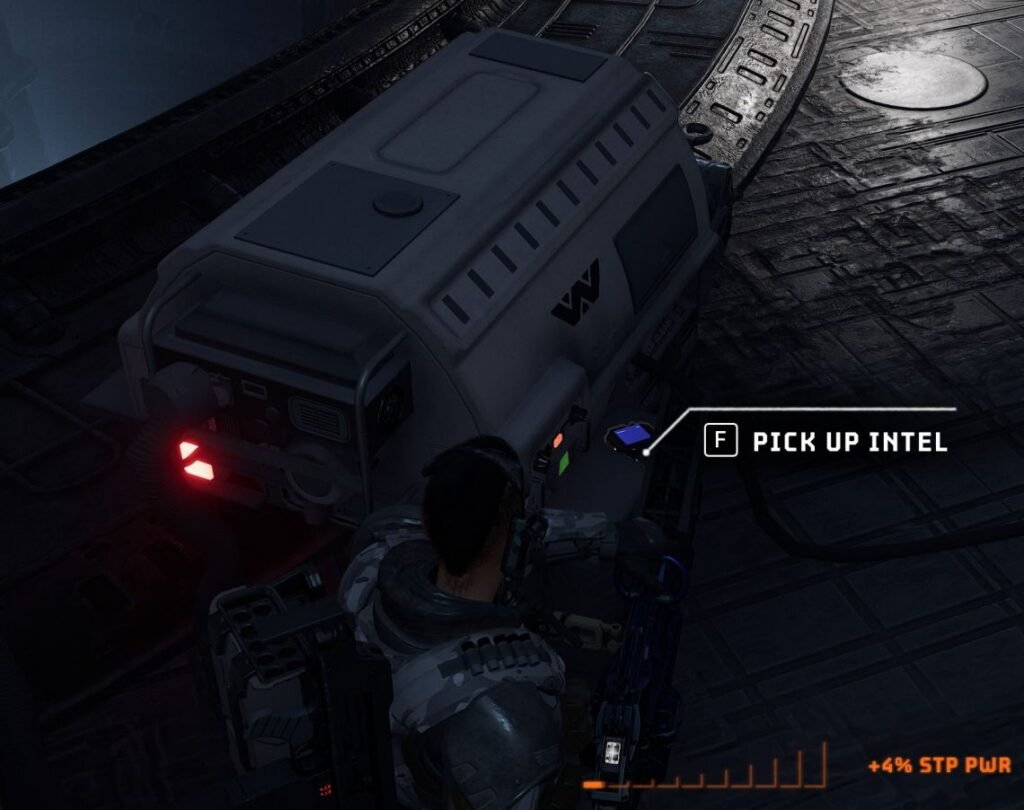
You can find the Calling HQ intel on a cart.
Chapter 5 – Final Endeavor
The Final Endeavor chapter currently has two Intel in Reckoning.
6-1 Reckoning
Massive Specimen
Location: Laboratory
Continue through the mission until you pass the garage with the two Praetorians.
In the laboratory, go all the way to the back-right side of the room. Look for a table with a microscope.
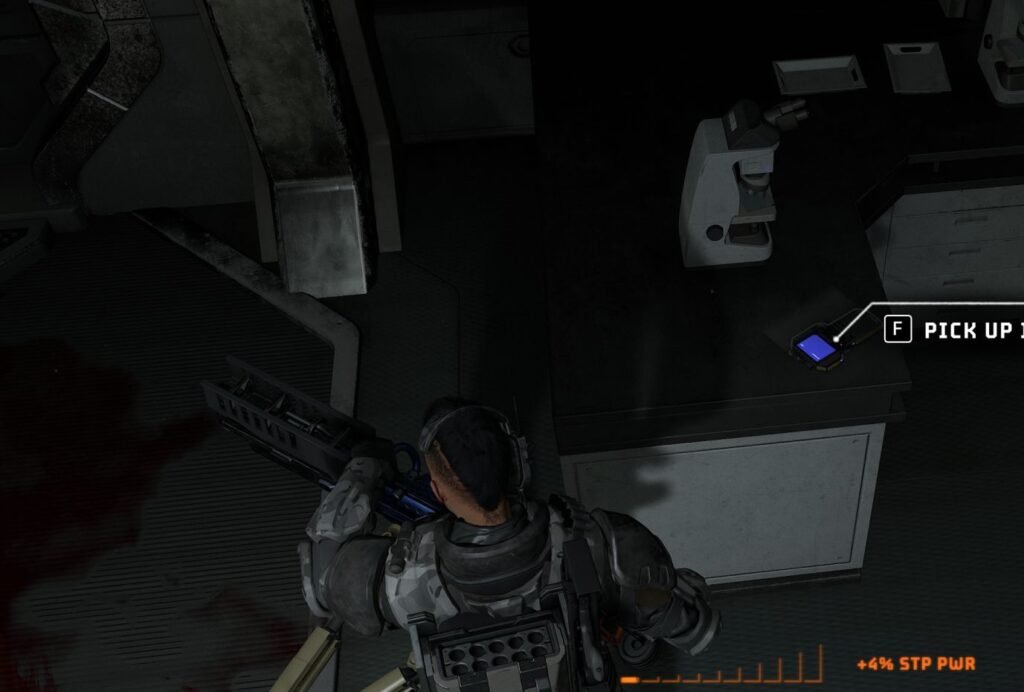
Massive Specimen is located next to the microscope.
I Miss You
Location: Escape section before the Hive
Later in the mission, during the escape section, you will reach the door shown by the objective marker.
Before going forward through the door, turn left.
On the left side, look for a yellow canister and a work light. You can find the I Miss You intel next to them.
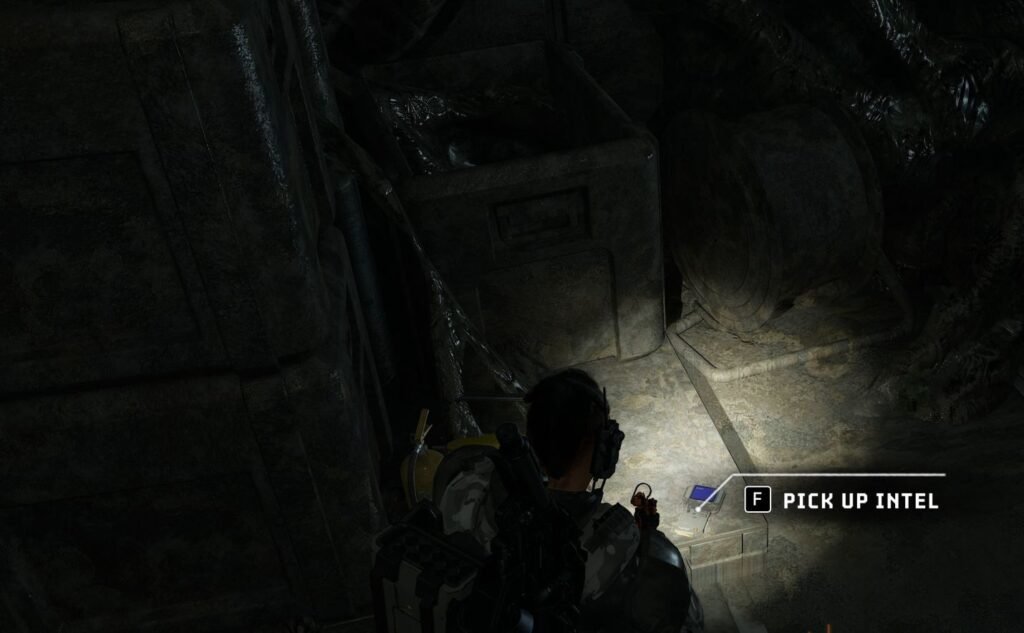
That is the final Intel currently available in the Aliens: Fireteam Elite 2 game.