
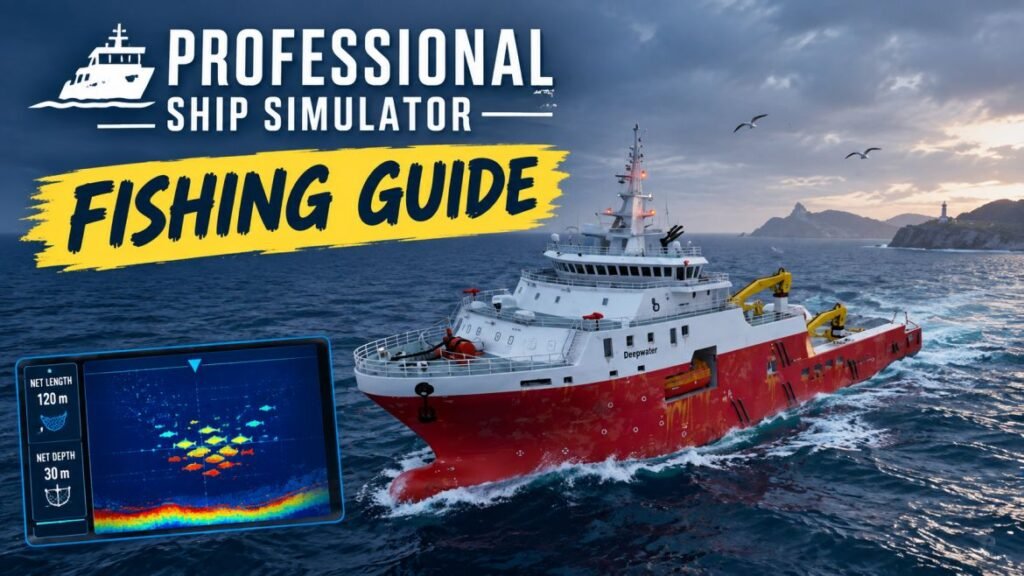
Fishing in Professional Ship Simulator starts with a fishing assignment. You won’t find any fish swimming around the map by default, so you need to take the fishing assignment first if you want to do fishing.
Here’s how to get the assignment, find the fish, use the fish finder, and sell your catch.
Get the Fishing License First
The best place to learn the basics is the Fishing License in Career Mode. It teaches you the main steps needed to start fishing.
The tutorial can sometimes explain things before you actually need them, so the order can feel a little confusing. The steps below give you a more direct way to get started.
How to Find Fish
Fish do not spawn in the world until you take a Fishing Assignment, based on testing and player reports available for the game.
For the starter location, use Radio Channel 3. Your local harbor’s radio channel can also be checked on the map.
Once you’re at the radio:
- Open the radio.
- Select Fishing Assignment.
- The game will show you the available locations where you can fish.
- It will also give you a fishing quota.
- Sail to the waypoint shown for the assignment.
When you reach the fishing area, check your fish finder. You will start seeing small colored dots on the screen.
How the Fish Finder Works
The fish finder shows the area around your boat.
- Top of the screen: Bow/front of the boat
- Bottom center: Aft/back of the boat
The colored dots show fish ahead of you. As you move closer, the dots will turn into a school of fish, also called a shoal.
The color tells you roughly how deep the fish are:
- White / light blue: Around 4 meters deep
- Yellow: Deeper fish
- Red: Deepest fish
You can use these colors to check how deep the fishes are before you move your boat into the school.
Related: How to Fish Lure Guide: Which Lure Catches Each Fish
How to Catch the Fish
Your starter fishing boat has a fishing meter on the left side. It shows the length and depth of your nets.
The physical net you see on the boat does not match the actual fishing values, so use the numbers shown on the fishing meter instead.
When you reach a school of fish, keep the fish near the center of the fish finder as you sail through it.
Your speed also matters here. If you go too fast, the fish can become scared and start moving away from your boat.
Around 9 knots worked well in my testing, while 11 knots made the fish to panic and escape.
You can still try to follow fish after they move, but catching them that way is less reliable.
Once you reach the required quota, the text-to-speech voice will tell you to haul the fish in.
Should You Catch More Than Your Quota?
There has been some conflicting information about getting paid for fish caught above the assigned quota.
One player reported receiving less money after catching more than the required amount. However, further testing did not show the same result. Catching twice the assigned quota still resulted in a payment of around $5,300 in my testing.
So, overfishing does not reduce the payout based on my test.
The starter boat usually earns around $5,000–$5,500 per trip, depending on the assigned quota. Also, extra fishing takes more time without increasing the payout, so why would I waste my time on that.
How to Sell Your Fish
After finishing the fishing assignment, sail back to port.
Look for the fish sell point marked by an icon. With the starter boat, you can sell the catch by docking next to the fishery.
Once you’re in the correct spot, your fish will be sold directly.
The starter boat can make roughly $5,000–$5,500 per trip, which makes fishing a useful way to earn money while working toward the fishing license and other career progress.