Nightwater lets you do a lot of things besides gathering resources and building machines. You can automate your production, explore different biomes, and play five separate minigames when you want a break from factory work. Those minigames also hide several Boons, and finding them can give you useful permanent buffs.
There are 10 Boons to find across the minigames and different areas. Some are hidden behind waterfalls or walls, while others need a specific action before they appear. A few can be easily missed because you need to hold E for a few seconds instead of tapping it once.
Hold E When Something Looks Suspicious
This is probably the most useful thing to know when you are collecting the Boons.
If you see a purple glow, strange object, or something that looks out of place, walk up to it and hold E. Don’t tap E and immediately move away.
Several of the hidden Boons use this longer interaction, and the game does not make it very obvious.
Nightwater All Boons
Boon of Curiosity
Area: Dark Thicket
Minigame: Forest
Effect: The drop rate for Heart of the Elder is increased by 50%.
You don’t need a special weapon or another unlock to find this Boon.
Enter the Dark Thicket and go to the right side of the area. Look behind the waterfall.
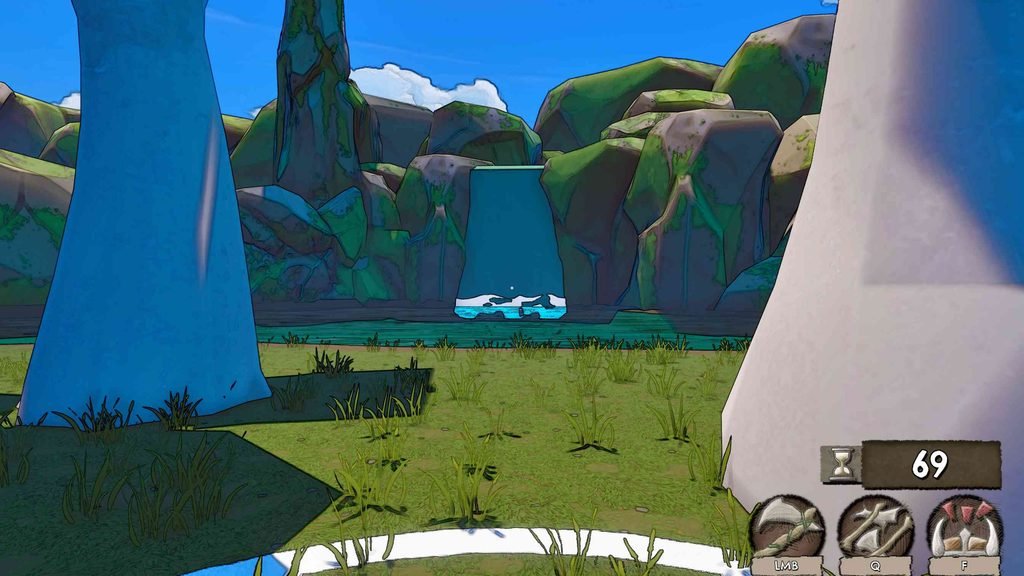
You can find the Boon behind the waterfall.
Boon of Tenacity
Area: Dark Thicket
Minigame: Forest
Effect: While the Berserker ability is active, you gain 100% more resources.
The Boon of Tenacity can be found in the ruins, but you won’t see it there right away.
You have to open the chest at least 10 times. After you have opened it enough times, wait a few seconds and return to the ruins. The Boon will appear in the middle of the area.
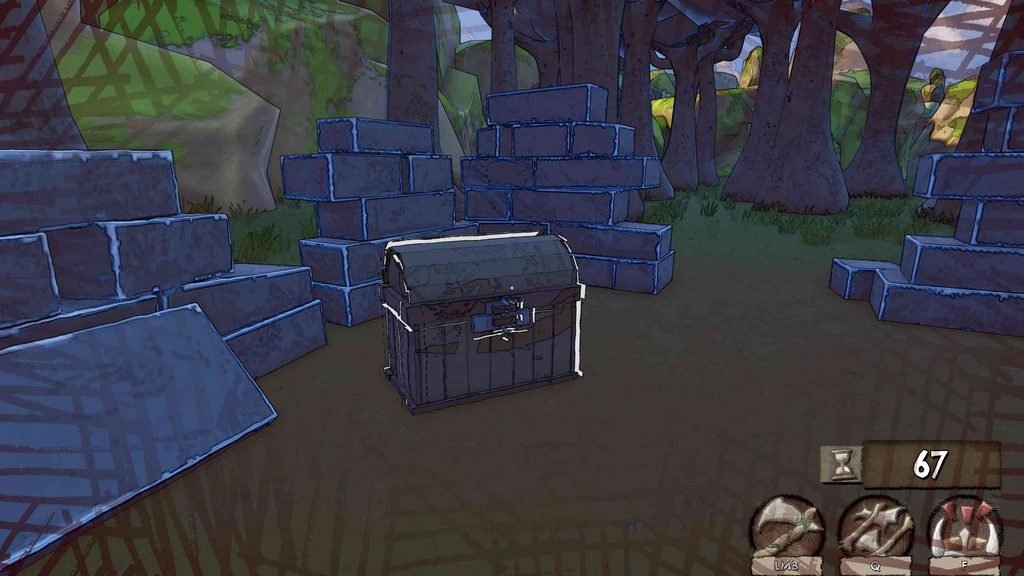
You can open the chest early in your run. Then continue with the rest of the Dark Thicket and come back to the ruins near the end.
Boon of Growth
Area: Oasis
Minigame: Desert
Effect: Oasis plants grow 25% faster.
Enter Oasis and go to the second shop area. Go behind the area where the autoplanter sits.
Look at the ground for a small glowing purple arrow. Walk up to it and hold E for a few seconds.
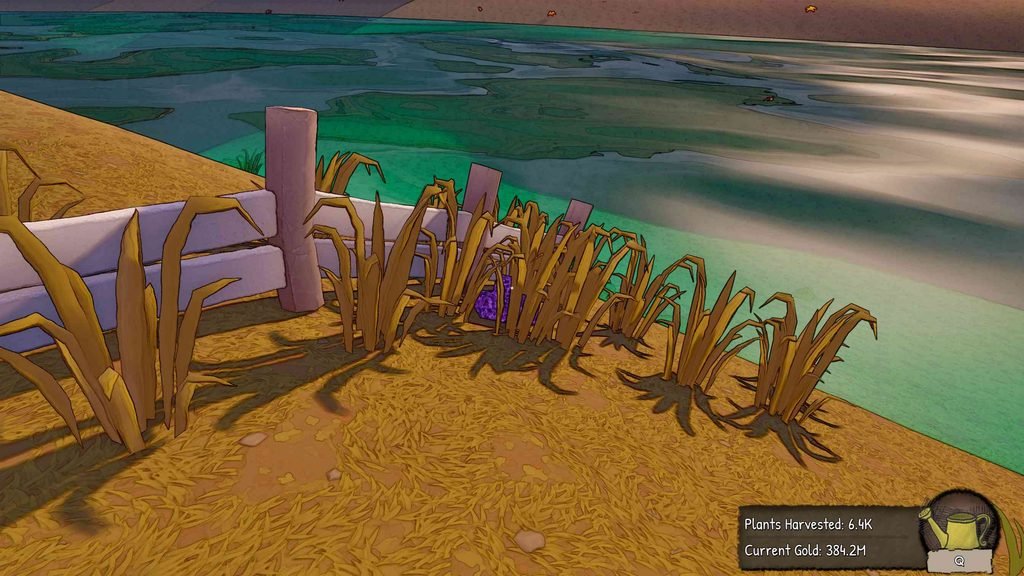
The Boon will trigger from this hidden interaction.
Boon of Rage
Area: The Mine
Minigame: Mine
Effect: The Mine minigame tools are 20% stronger.
This Boon is hidden on one of the mine walls.
Enter The Mine and look at the wall closest to the entry rope. About one-third of the way down, you will see a purple glowing icon.
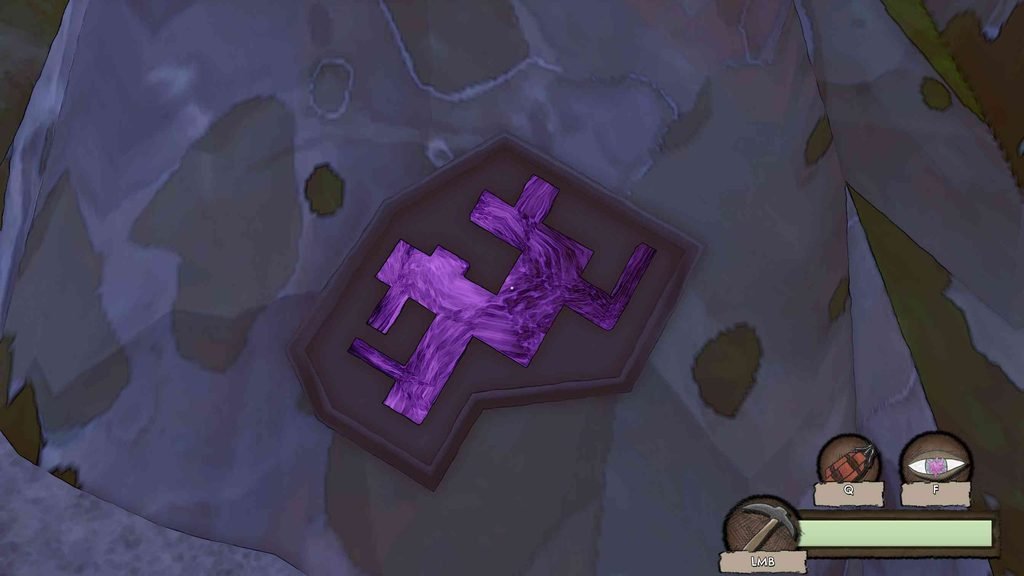
Walk up to the icon and hold E until the interaction completes.
Boon of Reflection
Area: The Mine
Minigame: Mine
Effect: Start the Mine minigame with 25% more energy.
You can find the Boon of Reflection in the same minigame as the Boon of Rage.
From the spawn area, check the left-side wall. The purple glowing icon is around two-thirds of the way down the wall.
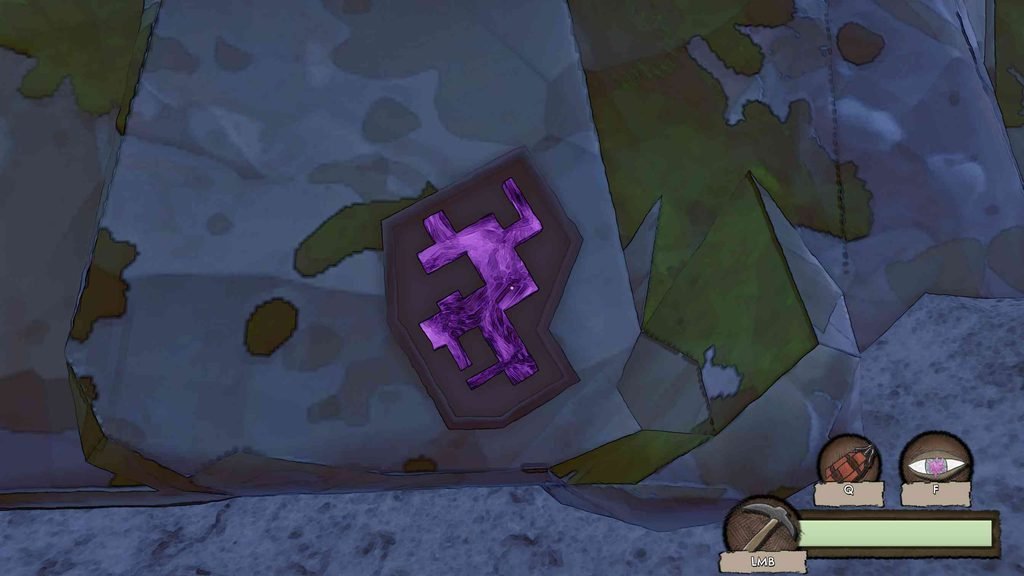
Get close and hold E to collect the Boon.
Boon of Accuracy
Area: Fuel Shortage
Minigame: Snow
Effect: During the fuel shortage minigame, power-ups can spawn that grant free credits.
This Boon requires a specific weapon, so don’t enter this challenge with the wrong loadout.
Start Fuel Shortage and choose the hand cannon.
There are three yellow spheres just outside the playable area. You need to shoot all three.
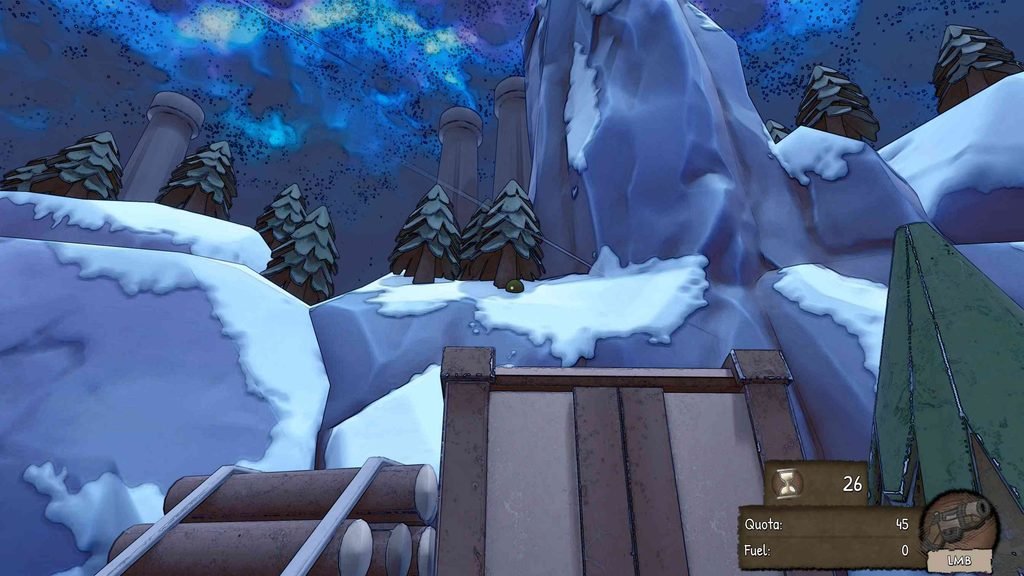
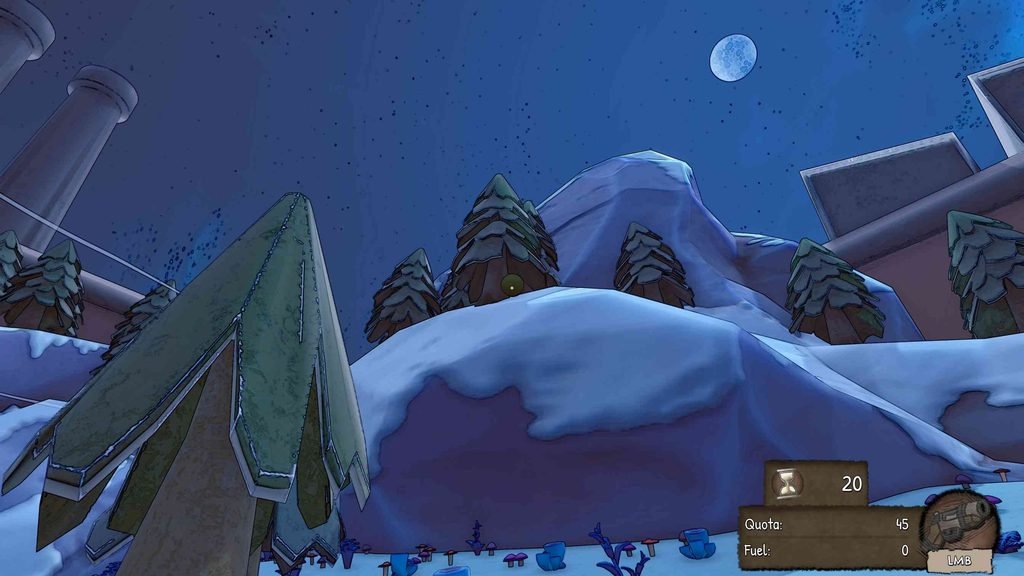
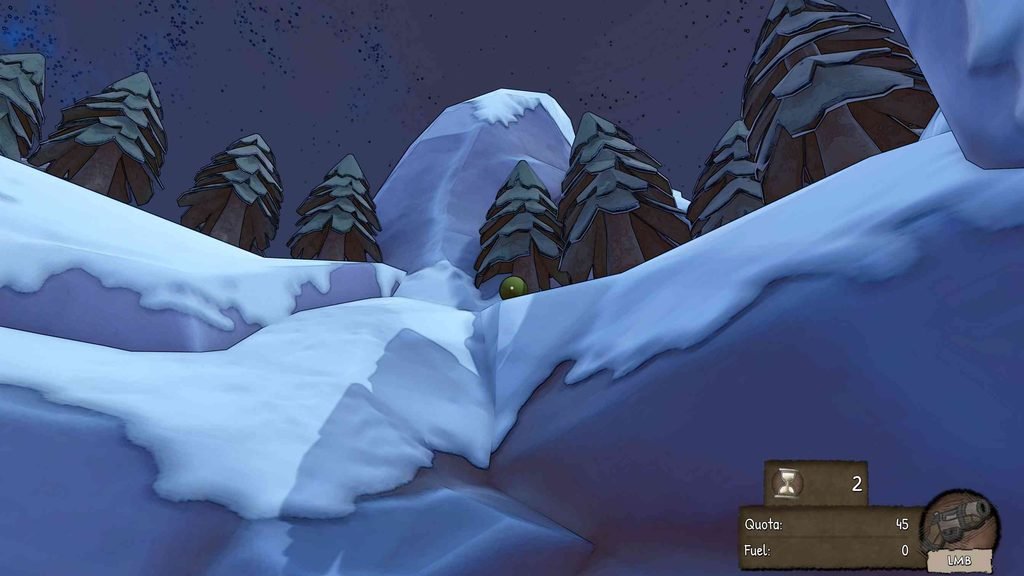
They stay destroyed after you hit them, so you don’t have to destroy all three during one attempt. If the shots are difficult to land, play a round or two first and get a range upgrade.
Once all three yellow spheres have been destroyed, you can collect the Boon.
Boon of Speed
Area: Data Rush
Minigame: Speedrun
Effect: Idle data generates 25% faster.
This Boon is hidden during the 4th speedrun track.
Enter Data Rush and reach the 4th track. During the moving-platform section, observe the outside wall.
You have to find a rock ledge sticking out of the wall above the lava. Reach it with a dash or jump, then move into the wall.
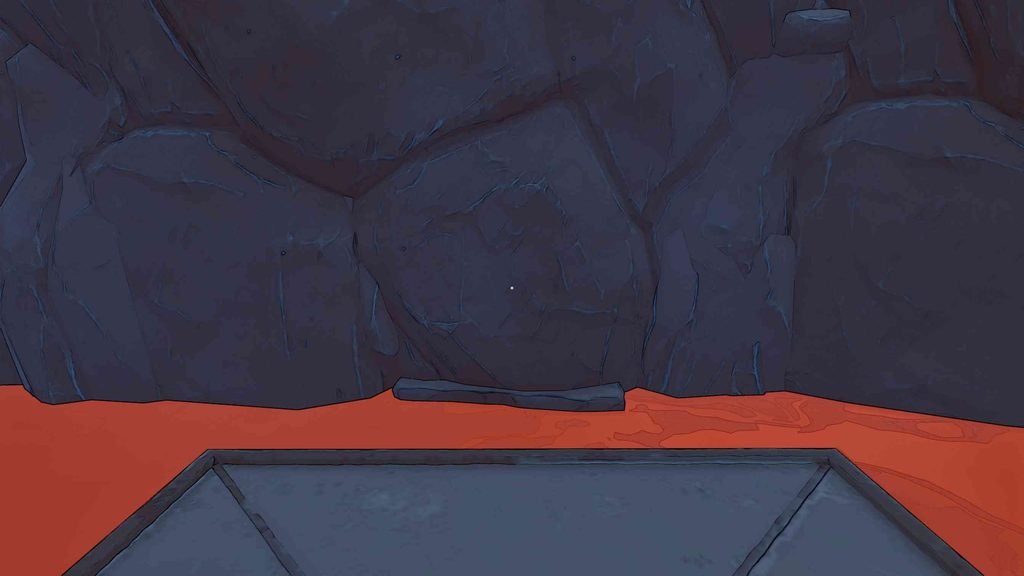
You will pass through it and reach the hidden area containing the Boon.
Boon of Strength
Area: Grass area behind spawn
Requirement: Change the music
Effect: Doubles the damage you deal with your tool.
The Boon of Strength is part of a small music puzzle.
First, travel to the desert biome. Behind one of the single-story houses, look for a stack of boxes with a gramophone.
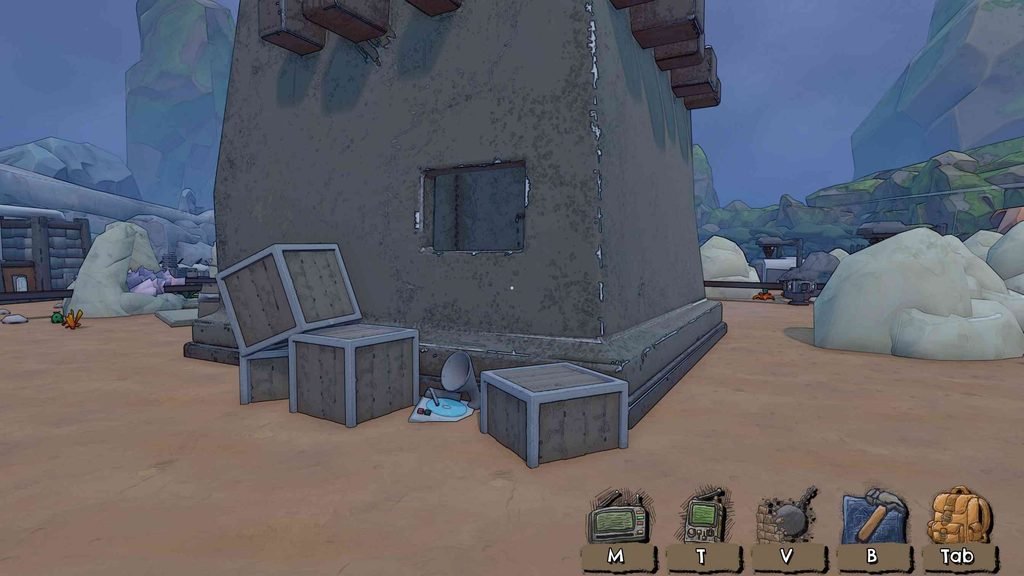
Walk up to the gramophone and hold E for a few seconds. The current music will stop, and a different track will start playing.
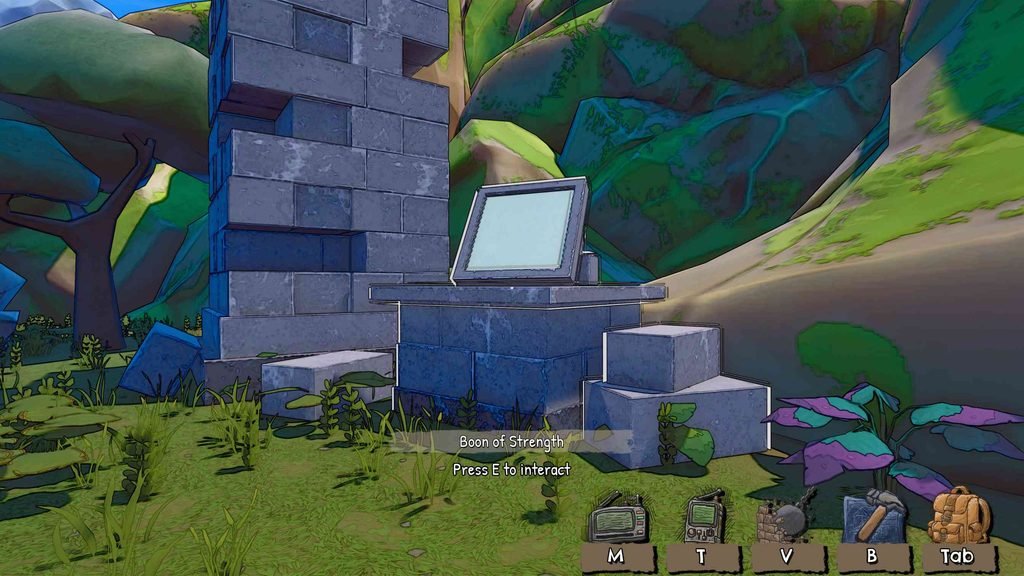
Now hurry back to the altar in the grass area behind the spawn and press E.
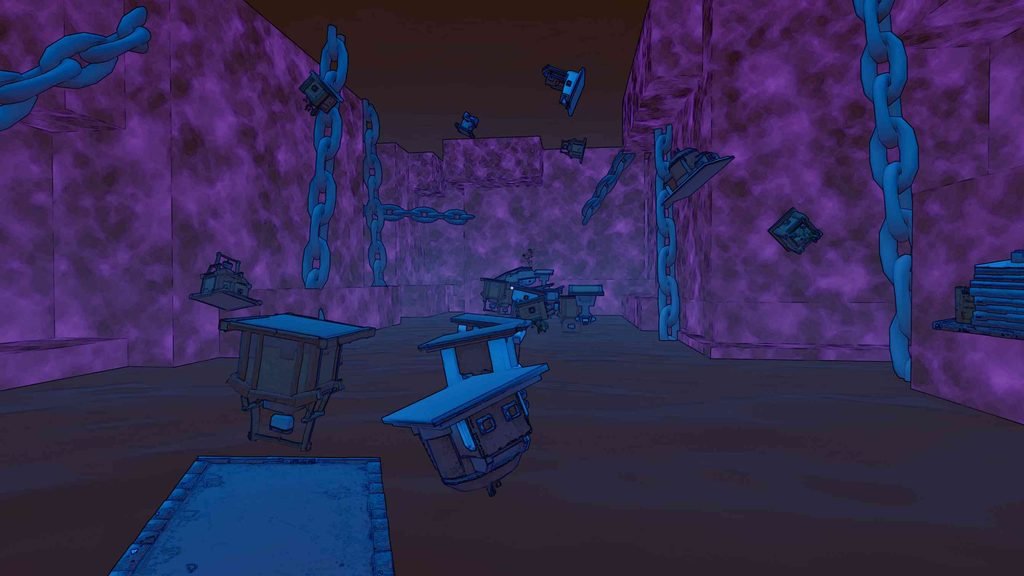
You will be sent into a small parkour section. Complete it and collect the “memory” at the end. That memory is the Boon of Strength.
Boon of Luck
Area: Desert area, inside a house
Requirement: Change the music
Effect: Increases critical hit chance with tools by 30%.
The Boon of Luck uses the same gramophone puzzle as the Boon of Strength.
Go to the desert biome and find the gramophone behind one of the single-story houses. It is sitting on a stack of boxes.
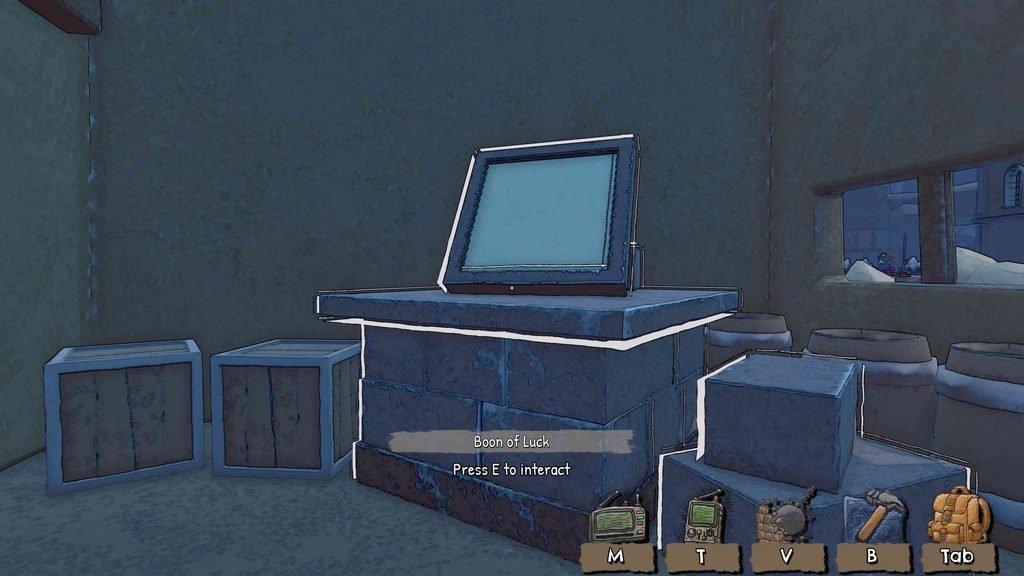
Hold E on the gramophone until the music changes.
After that, head to the altar inside the other house in the desert and press E. This takes you to a short parkour section.
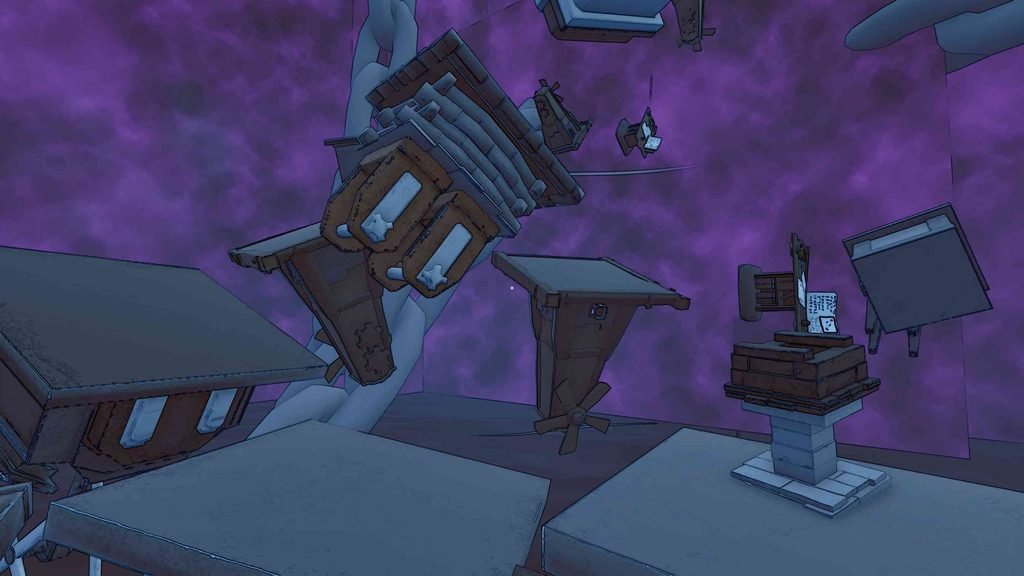
Reach the end and collect the “memory” to get the Boon of Luck.
You need to do the gramophone interaction first. The altar will not be ready until the music has changed.
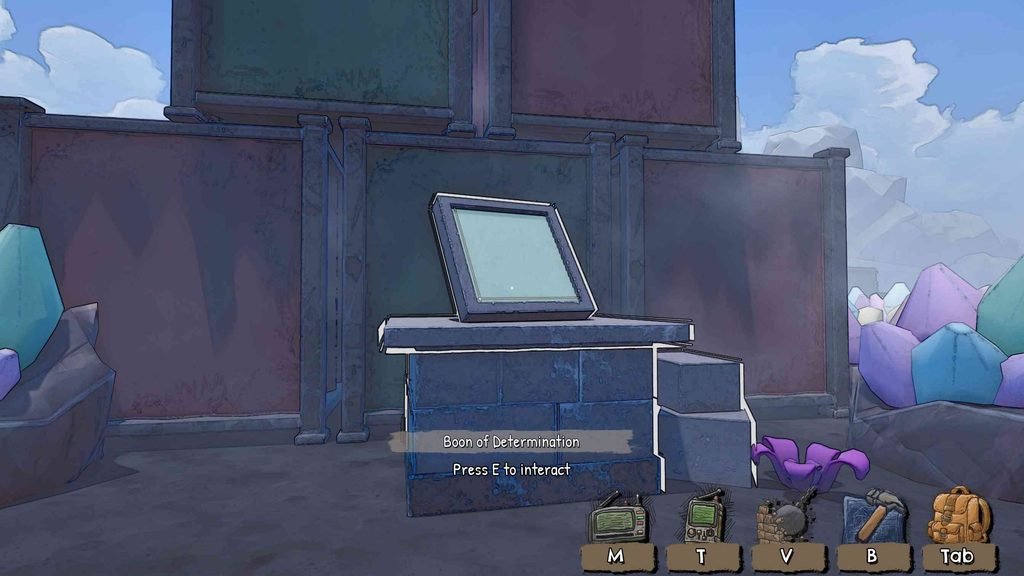
Boon of Determination
Area: Industrial area
Location: Behind five stacked shipping containers
Requirement: Change the music
Effect: Manually destroying resources now gives double items.
The final music-based Boon is the Boon of Determination.
Go to the desert and find the same gramophone behind one of the single-story houses.
Hold E on it for a few seconds. Wait for the music to stop and the new track to begin.
Then go to the industrial area. Behind the five stacked shipping containers, you will find the altar.
Press E at the altar to enter the small parkour section. Reach the end and collect the “memory” to obtain the Boon of Determination.