
Stuck on a puzzle in Giggleland? Some puzzles require you to search for hidden items, while others ask you to figure out codes or activate levers in the right order. This Giggleland walkthrough covers the puzzles’ solutions and safe codes in Chapters 2, 3, 4, and 5.
Spoilers ahead: The solutions below reveal puzzle answers and some story events.
Chapter 2: Pipes – Farmer Terry’s Farm
In this chapter, you need to find four containers and place them in their matching pipes to complete the puzzle. Each container is hidden in a different part of the farm, and some require you to solve smaller puzzles first.
Container 1: Sugar
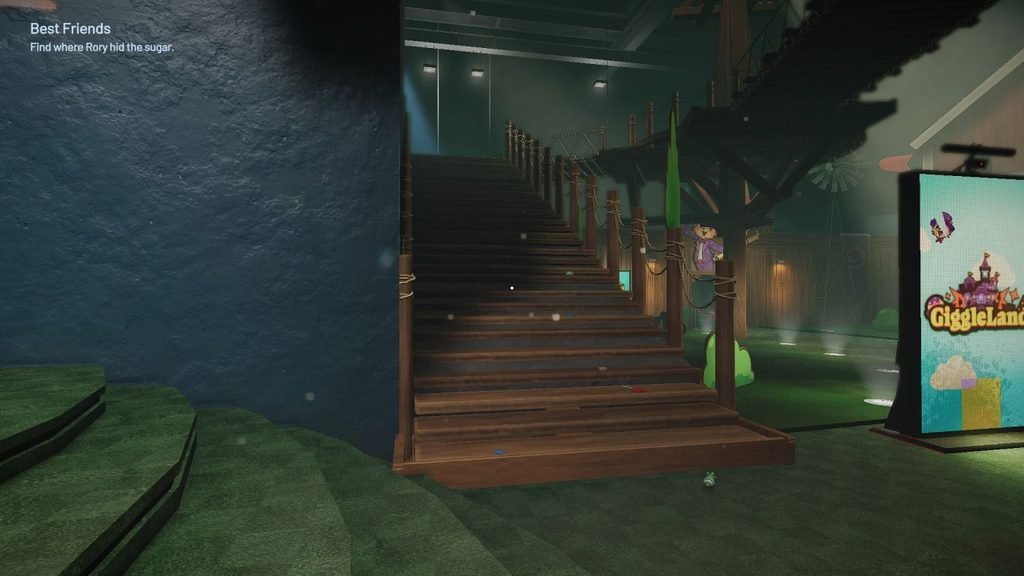
The sugar container is inside the room at the top of the large wooden stairs.
Climb the large wooden stairs and follow the trail of candy into the room.
Once inside the room, you will see a container outlined in white on a shelf.
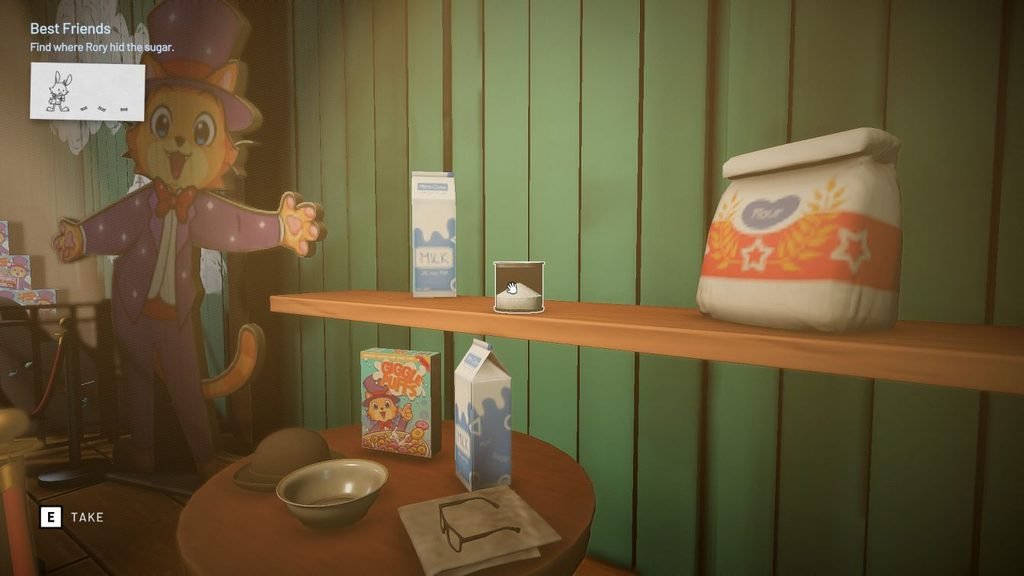
Pick up the sugar container.
Now find the blue pipe on the left side of the same room and insert the container.
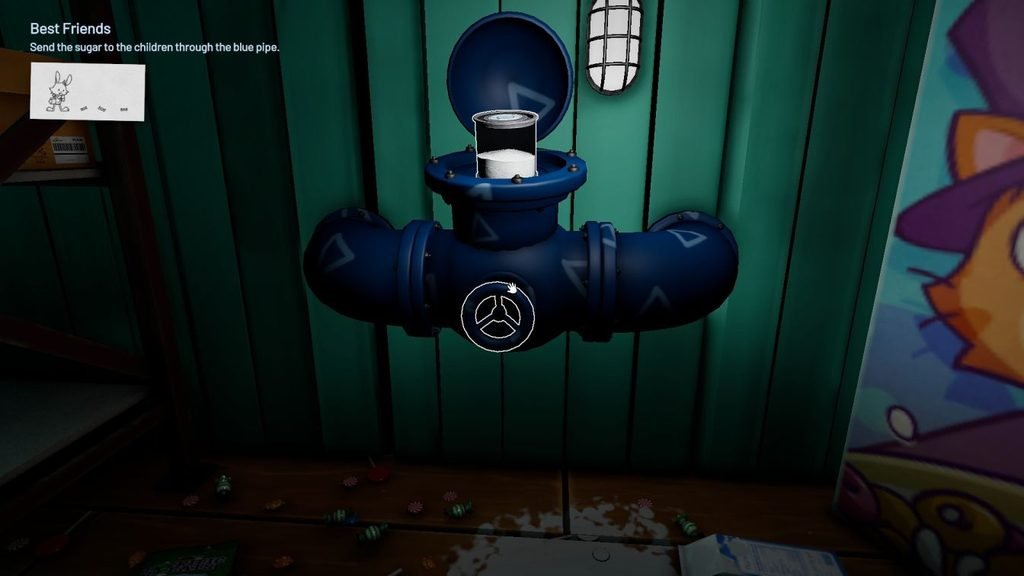
This is the first container you can collect without unlocking another area.
Container 2: Fuel
You will need a key to open the Windmill, where the fuel container is hidden.
Cross to the other side of the farm and enter the warehouse-like room with a NO ENTRY poster.
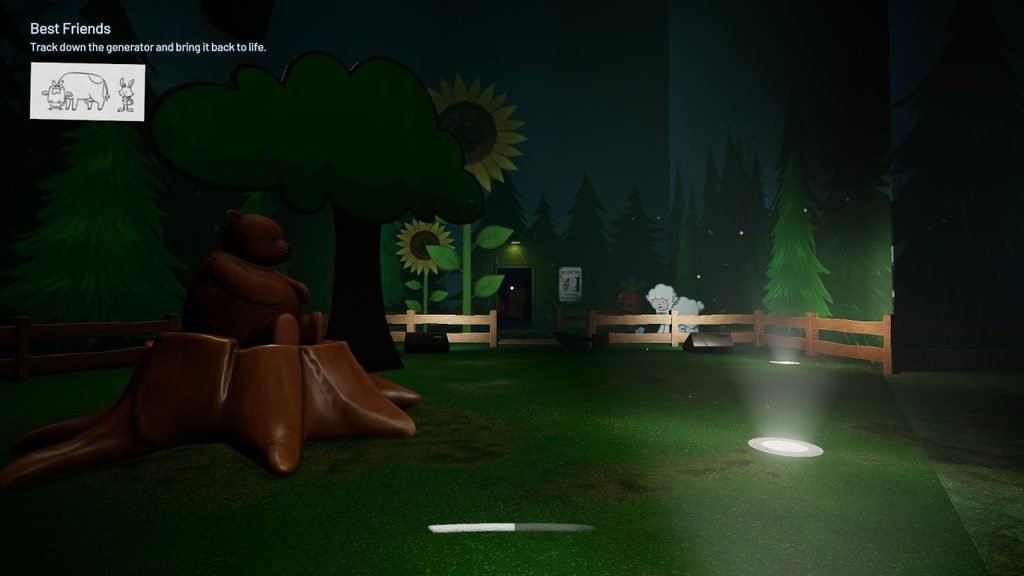
Now you have to search the open employee locker to find a key.
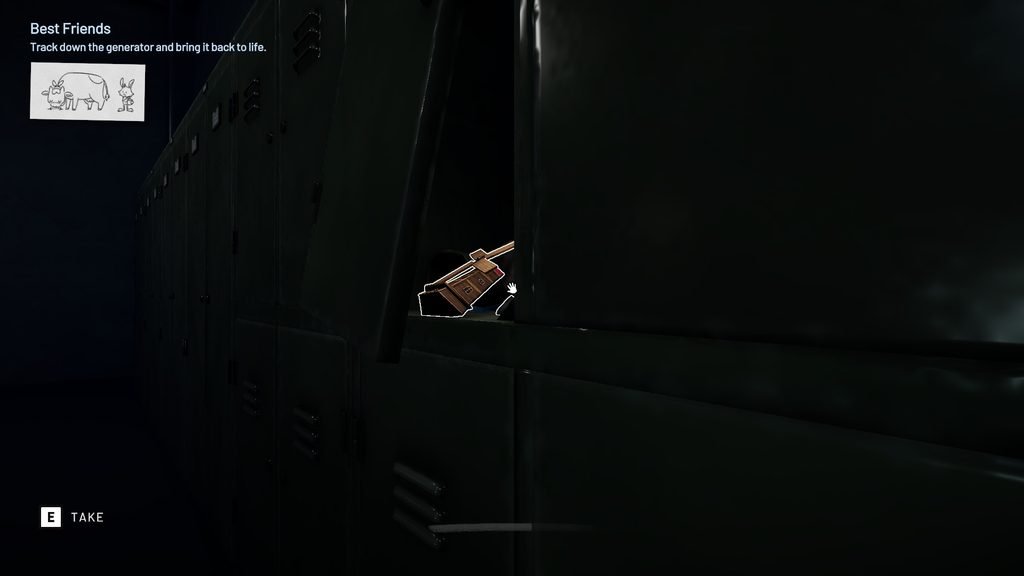
Take the key to the Windmill and unlock the door.
Look behind the cardboard cow to find the fuel container. The drawing clue in the top-left corner points toward the cardboard cow, so check behind it if you cannot see the container.
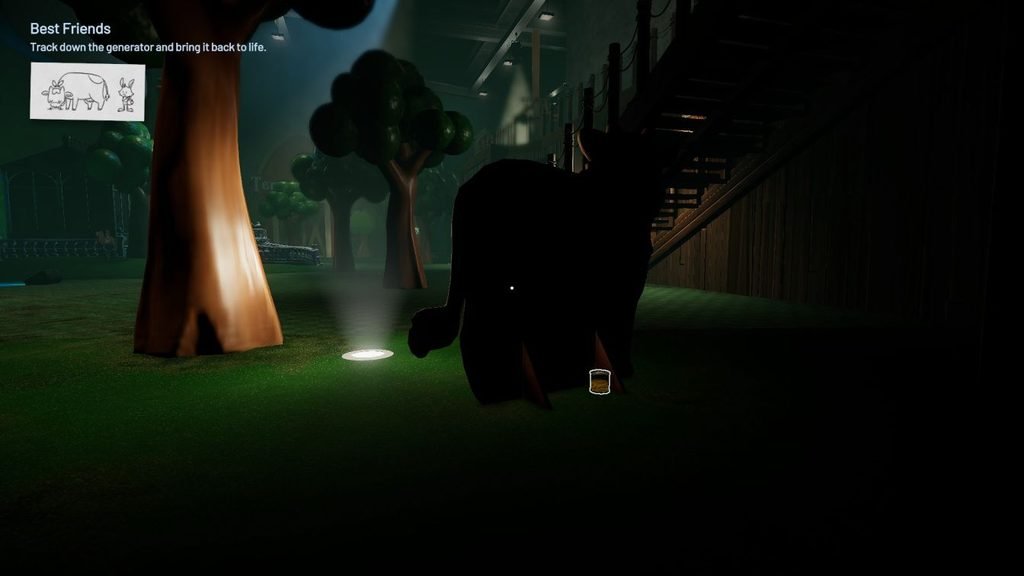
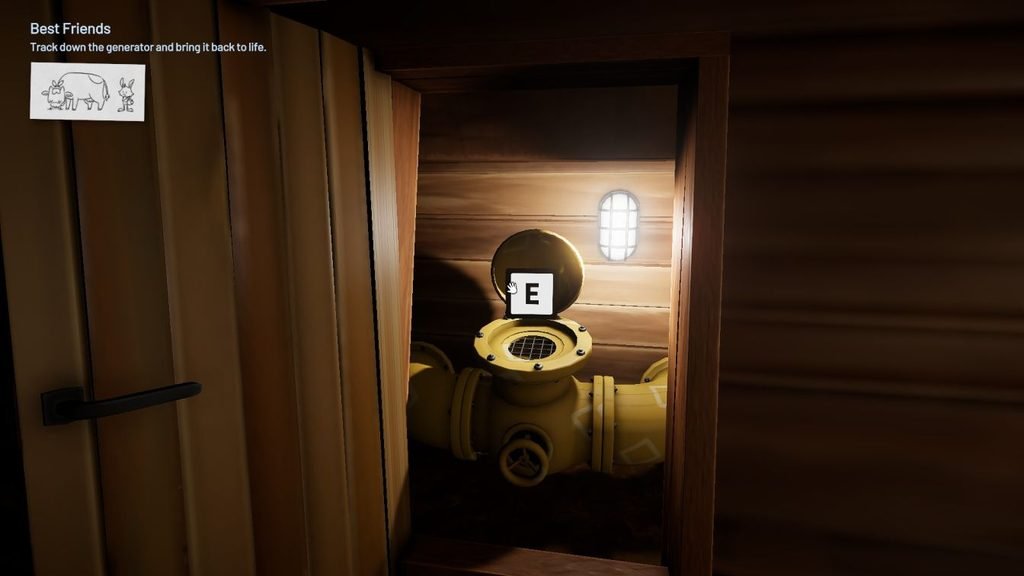
Pick it up and place it in the yellow pipe inside the Windmill.
Container 3: Pig Feed
The pig feed container requires you to solve the colored pipe puzzle inside Harley and Clark’s Hen House.
Enter the Hen House on the left and climb the stairs.
Look at the four colored pipes on the upper floor: red, blue, yellow, and purple.
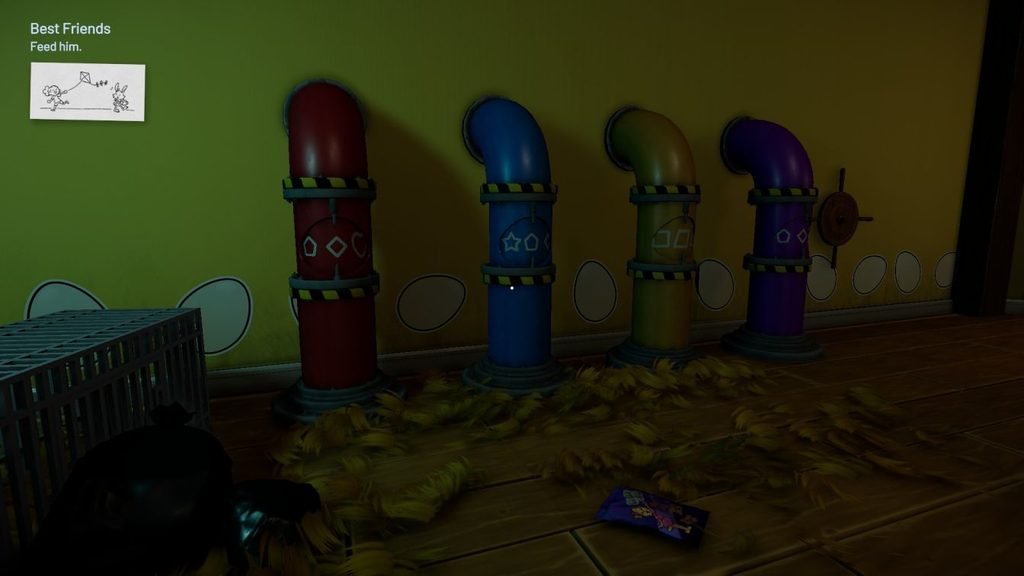
Now check the same-colored pipes on the lower floor of the Hen House (or around the farm) to find the symbols you need.
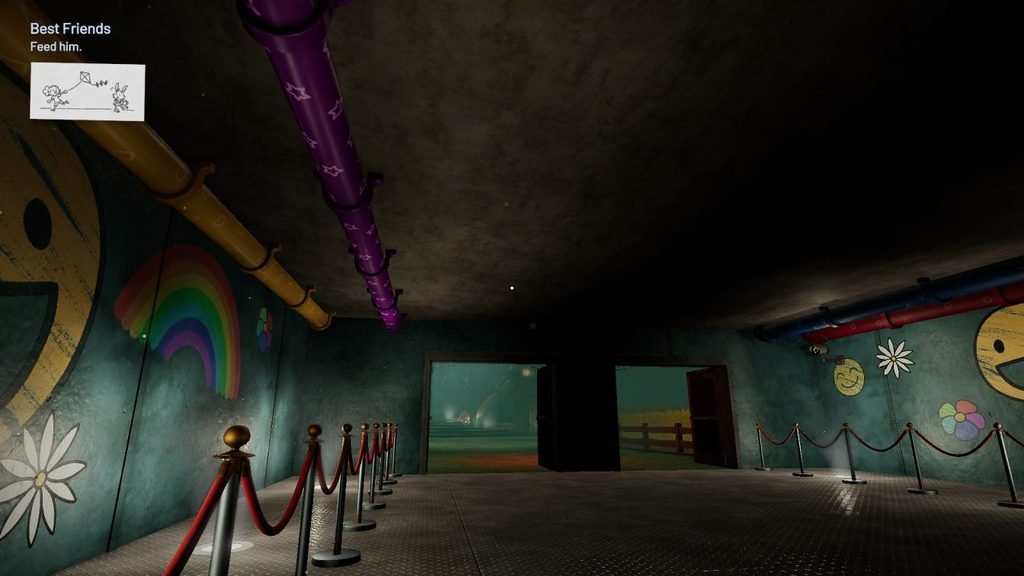
Enter the symbols into the four pipes on the upper floor. From left to right: Circle, Triangle, Square, Star
Turn the wooden wheel to activate the mechanism. The wheel will break off, so pick it up.
Go across the farm to The Nursery and search behind its left staircase for the pig feed container.
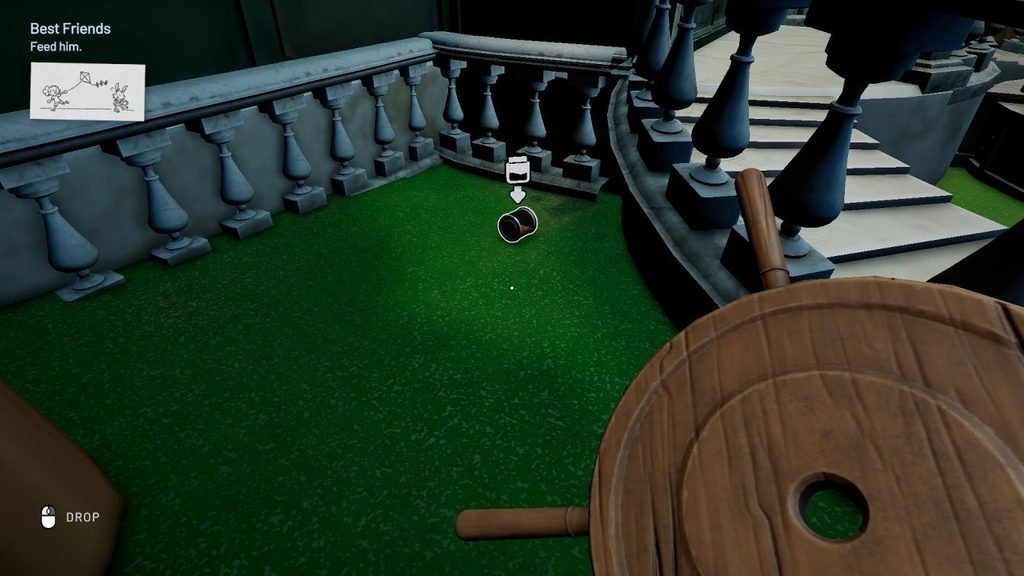
Return to the main area and follow the trail of blood.
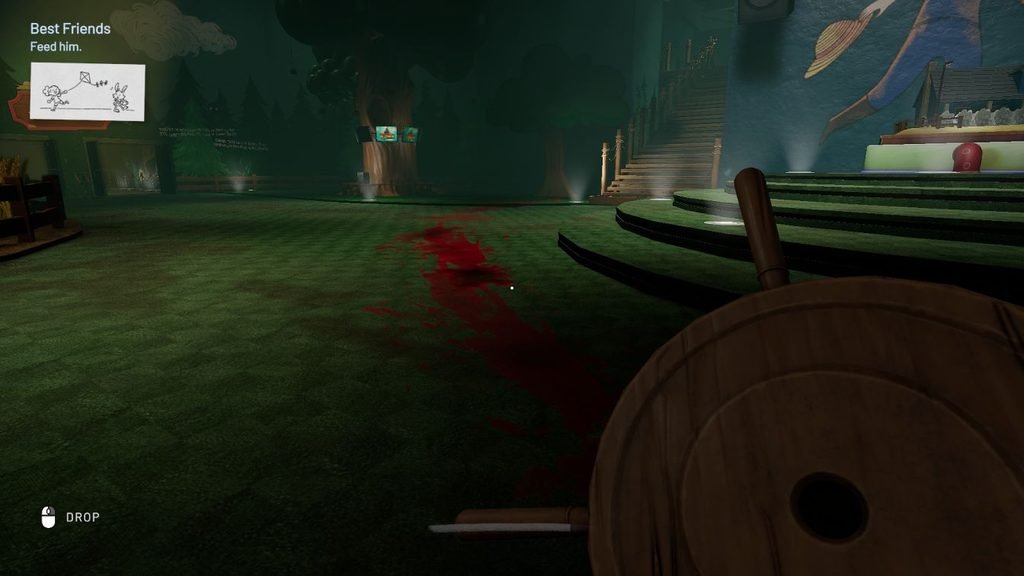
Bring the wooden wheel with you before returning for the pig feed container.
Keep the broken wheel with you as you continue. You’ll need it for the next part of the puzzle sequence.
Container 4: Liquid Insecticide
The last container unlocks when you investigate the Barn.
Go toward the Barn marked by flashing police lights.
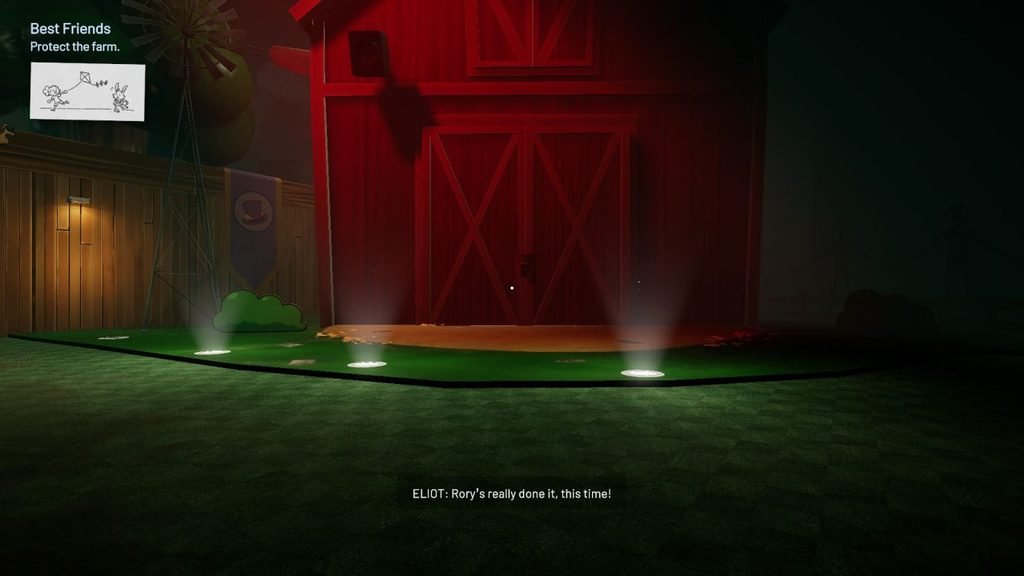
Pick up the newspaper clipping near the Barn.
Follow the trail of blood once again.
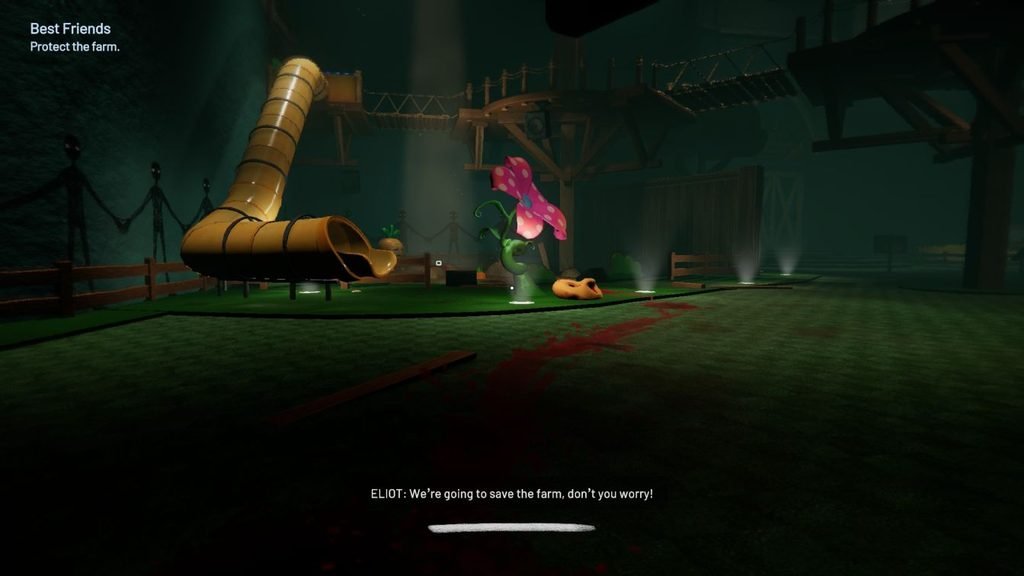
Continue through the story sequence until you wake up. You will then have the liquid insecticide container in your hands.
Enter The Nursery, whose doors should now be open.
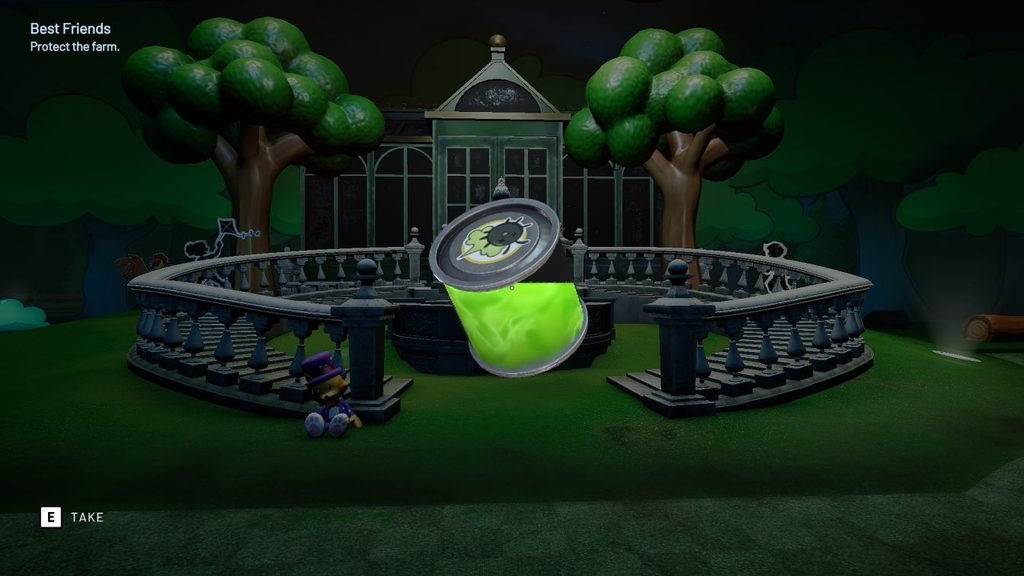
Find the final pipe inside and insert the liquid insecticide container.
Return to the main area and follow the next objective.
Chapter 3: Terry’s House
Chapter 3 has four puzzles involving birthday candles, a safe, a locked box, and a gramophone.
Puzzle 1: Birthday Candles
You need to reach the top shelf above the oven to collect the candles.
Return to the Kitchen you visited earlier.
Open the kitchen cabinets one by one. Now you’ll hear the sound of a chair scraping across the floor.
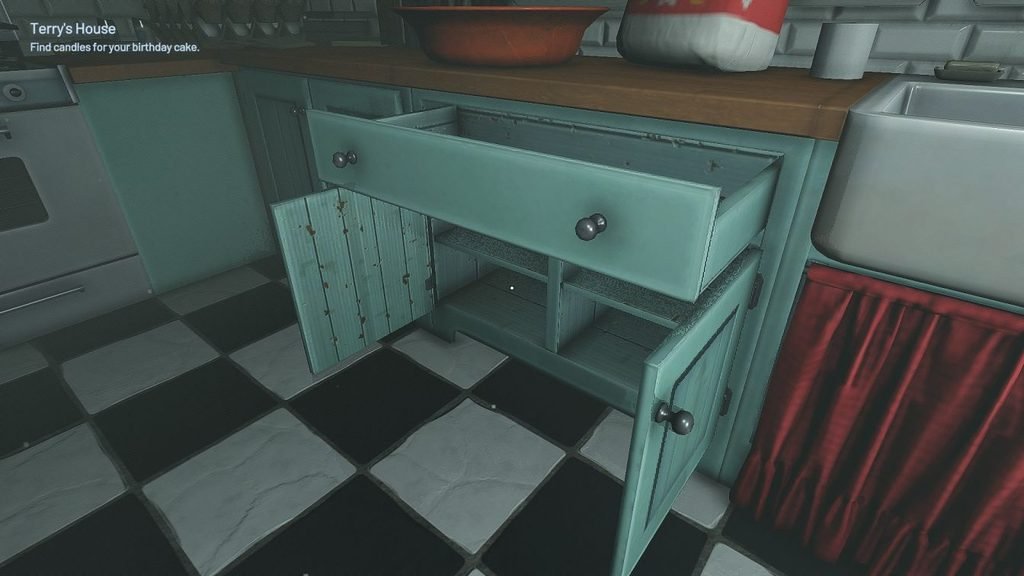
Look around, and you’ll see that a chair has appeared beside the kitchen counter.
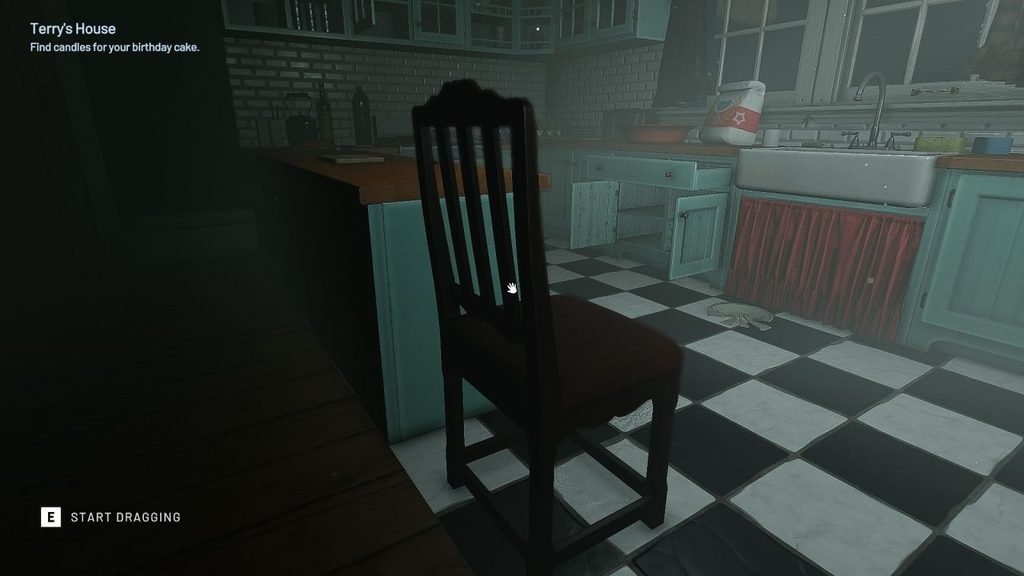
Push the chair toward the designated spot near the oven. Use the ghost chair as your placement guide.
Climb onto the chair and reach the top shelf above the oven.
Pick up the candles.
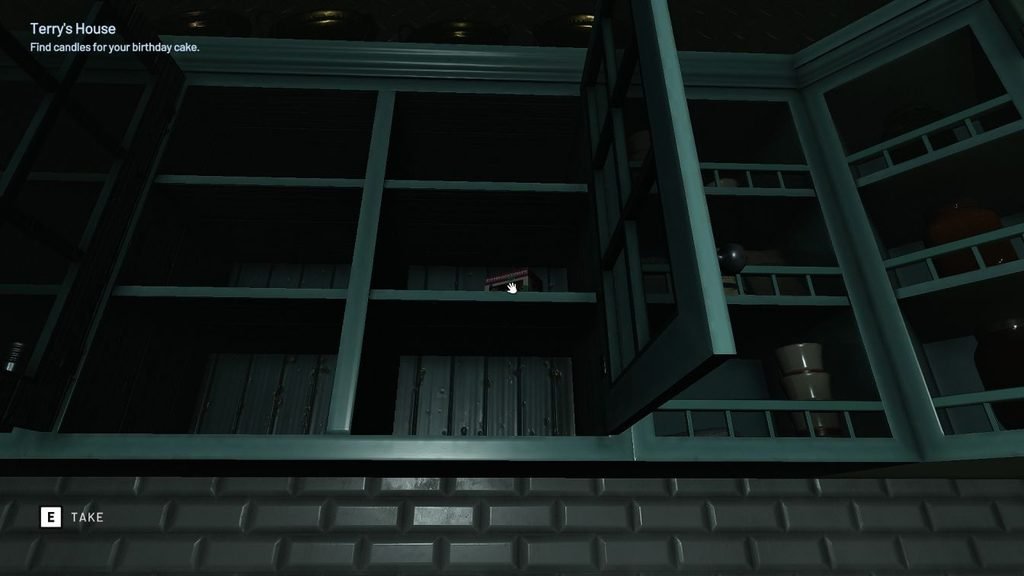
The mannequins blocking the doors can make the Kitchen look different from before, but the cabinets are where you need to start.
Puzzle 2: Garage Safe
There is a safe in the garage, and you need a four-digit code to open it. You can find the code on your own by counting the objects shown in the paintings in the living room.
- First, enter the living room with the TV and piano.
- Now check the paintings on the walls.
- Start with the painting of an egg on the left wall.
- Move clockwise around the room and count the objects in each painting.
- Your last painting should be the one with the full-grown chickens.
Now you have the safe code. Go to the garage and enter the safe code.
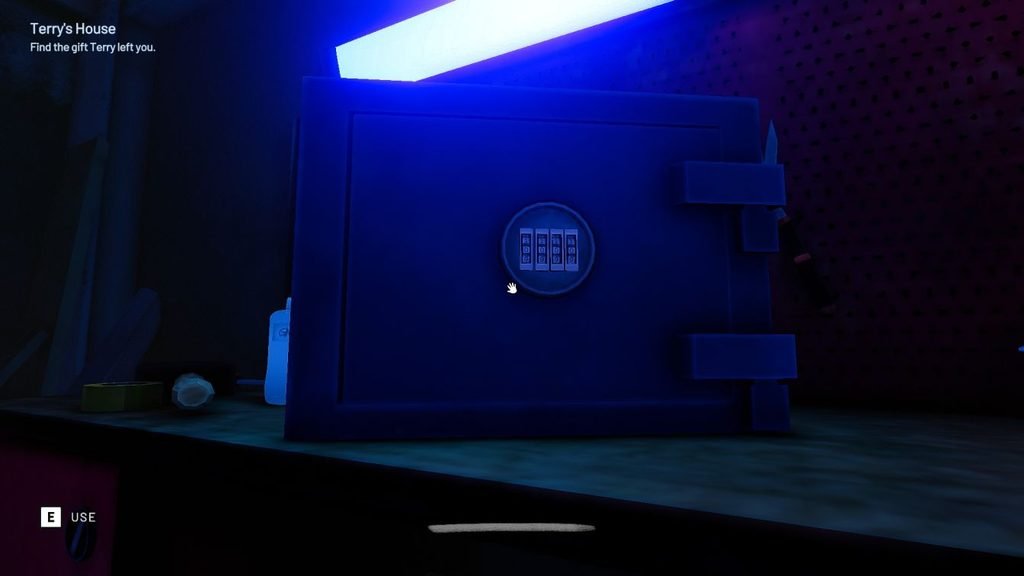
If your code is wrong, then use this correct safe code: 1437
Open the safe and collect the present.
Puzzle 3: The Locked Box
There is another locked box on the upper floor of Terry’s House, and it also requires a four-digit code.
- Go upstairs and look for the two missing child posters. Both posters feature the same child.
- Find the first poster beside the sitting mannequin of Ms. Mable, near the bedroom.
- Check the room directly opposite to find the second poster.
- Now find the cash reward listed on each poster.
- You’ll get two numbers: 47 and 55.
- When you put these two numbers together, you get the safe code: 4755.
Open the safe and collect the contents.
Puzzle 4: The Gramophone
You can solve the gramophone puzzle after finding and inserting the vinyl record.
- Place the vinyl record inside the gramophone.
- Interact with the gramophone to access its controls.
- Adjust the three knobs until you can hear the audio clearly.
- Listen carefully as you tune each knob. You have to stabilize all three settings.
- Once the knobs are correctly aligned, a piano melody will play.
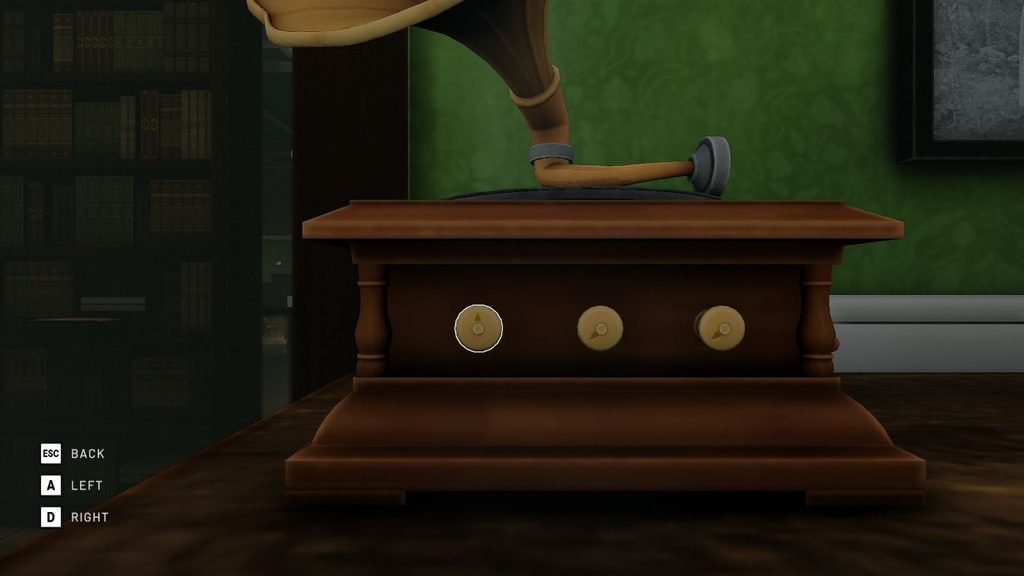
If the audio still sounds distorted, keep adjusting the knobs until you find the correct settings.
Chapter 4: Corridors
Breaker Box Puzzle
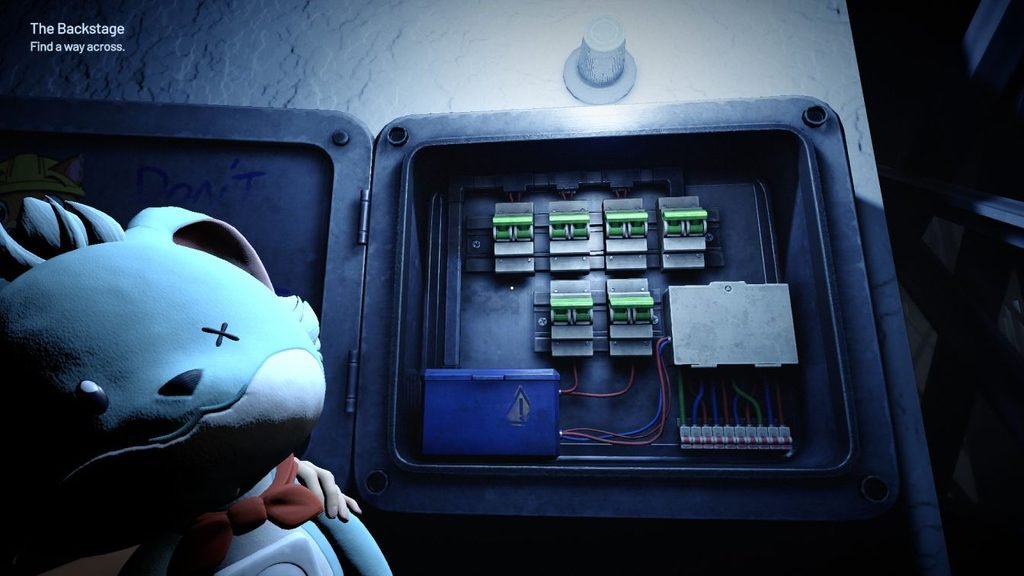
You have to activate six circuit breakers in a specific order to restore power.
- Press the third breaker in the top row.
- Press the second breaker in the top row.
- Press the second breaker in the bottom row.
- Press the first breaker in the top row.
- Press the fourth breaker in the top row.
- Press the first breaker in the bottom row.
Complete the sequence to restore power.
Puzzle 1: Timed Levers
The warehouse is filled with green fog and contains three levers. Each lever stays active for a different amount of time, so you must pull them in the correct order.
Pull the lever with the longest timer first and the shortest timer last.
First lever: Fan room
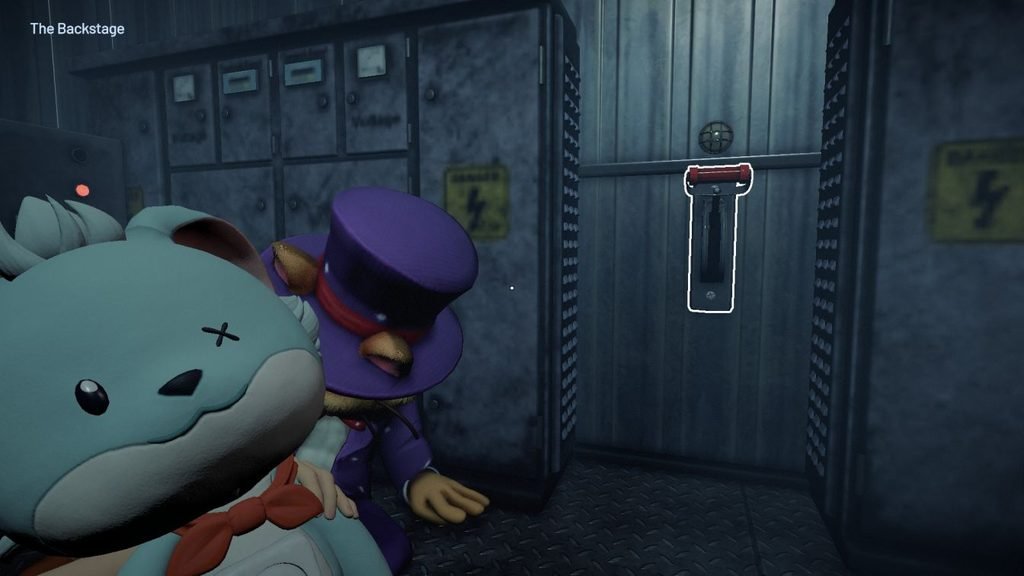
- Go through the small shelf labyrinth and exit the warehouse.
- Enter the fan room beside the second lever.
- Pull the lever inside the fan room.
Time active: 1 minute 5 seconds
Second lever: Outside the labyrinth
- Leave the fan room.
- Pull the lever mounted on the wall just outside the warehouse’s shelf labyrinth.
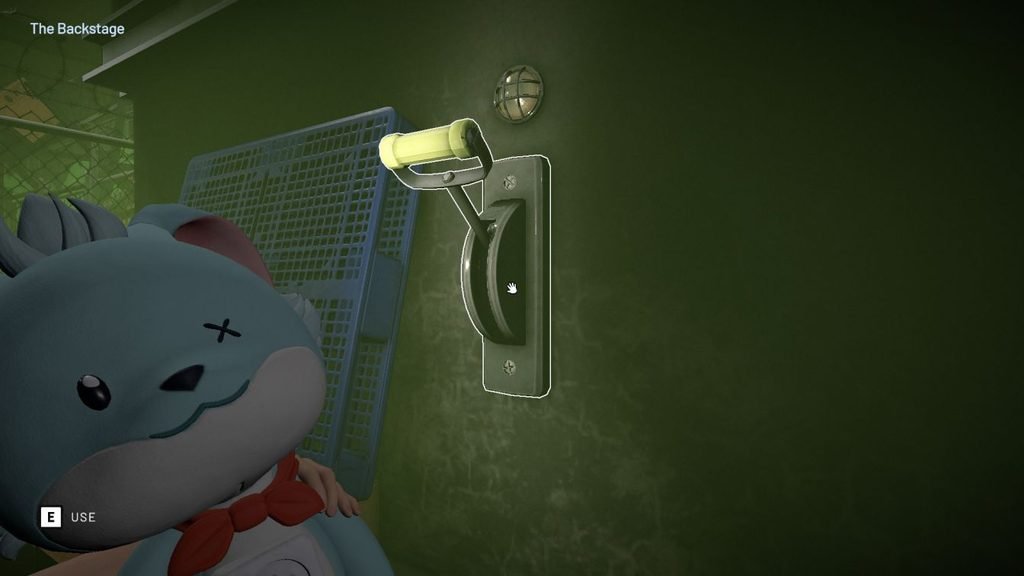
Time active: 40 seconds
Third lever: Warehouse entrance
- Run back through the shelf labyrinth toward the warehouse entrance.
- Pull the final lever near the point where you first entered the area.
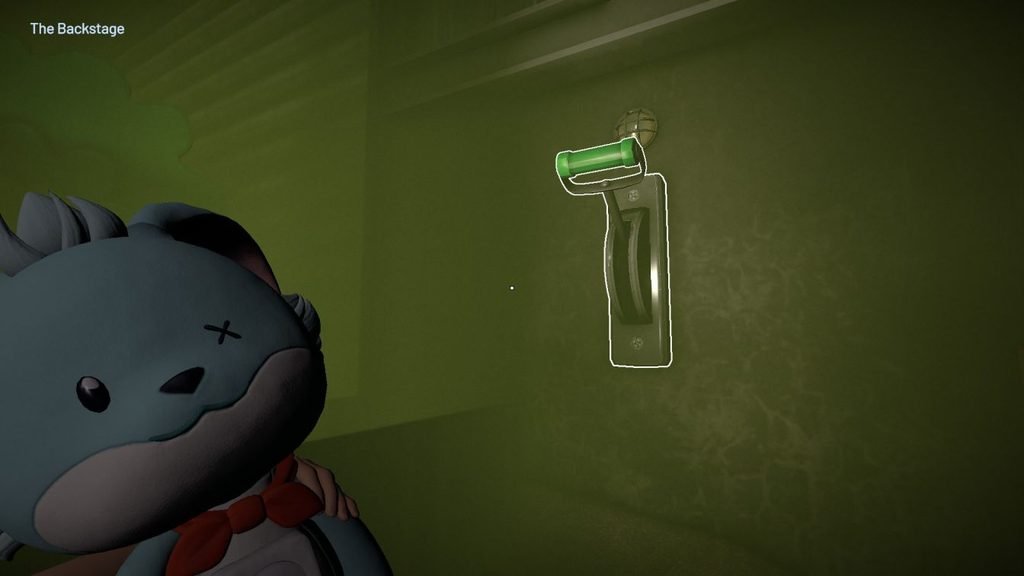
Time active: 3 seconds
The last lever gives you almost no time, so do not stop to explore between pulls. Learn the route through the shelves before starting the sequence.
Chapter 5: Mechanical Workshop Timed Levers
This challenge takes place in the workshop area of Rory’s Rally. You must prepare the route before activating the three levers because the final lever stays active for only three seconds.
Prepare the route first
Complete these steps before starting the timed sequence:
- Find the battery and use it to power the vehicle lift holding the tractor-shaped vehicle.
- Ride the lift up to the catwalk.
- Follow the right side of the catwalk and jump down near the shredder.
- Push the wooden crate blocking the door back toward the lift area. Move it all the way into the Recreational Area to clear the route.
- Enter the Recreational Area and travel through the vents to reach the Monitoring Room.
- Lower the vehicle lift before you begin the timed run.
Do not start the timed sequence until the route is ready. You need to travel from the Monitoring Room to the catwalk and then reach the small locker corridor beside the Recreational Area.
Correct lever order
First lever: Monitoring Room
Pull the lever inside the Monitoring Room, then quickly return through the vent.
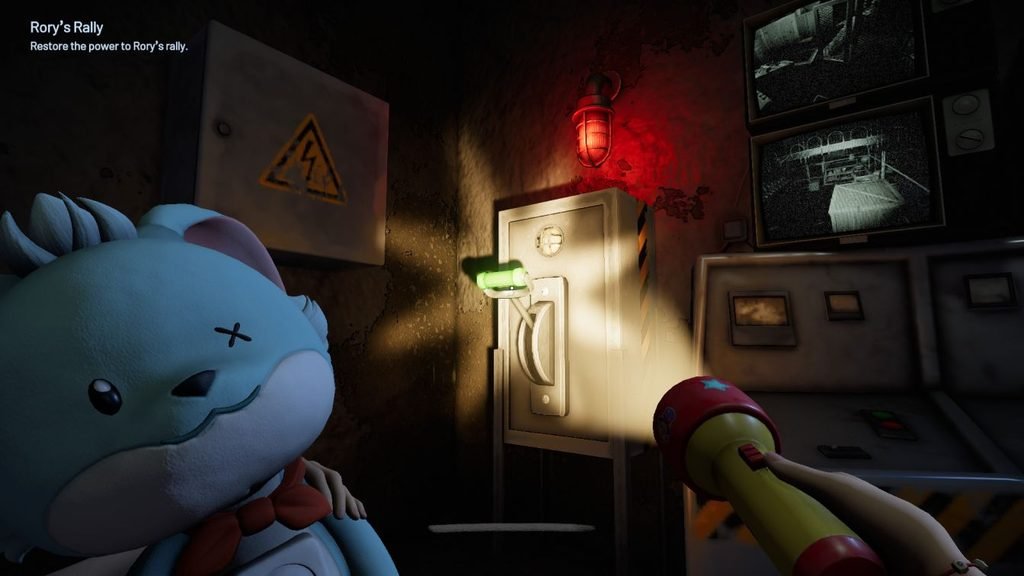
Time active: 1 minute 5 seconds
Second lever: Catwalk
- Run to the vehicle lift area.
- Use the lift to get back onto the catwalk.
- Head to the left side of the catwalk and pull the second lever.
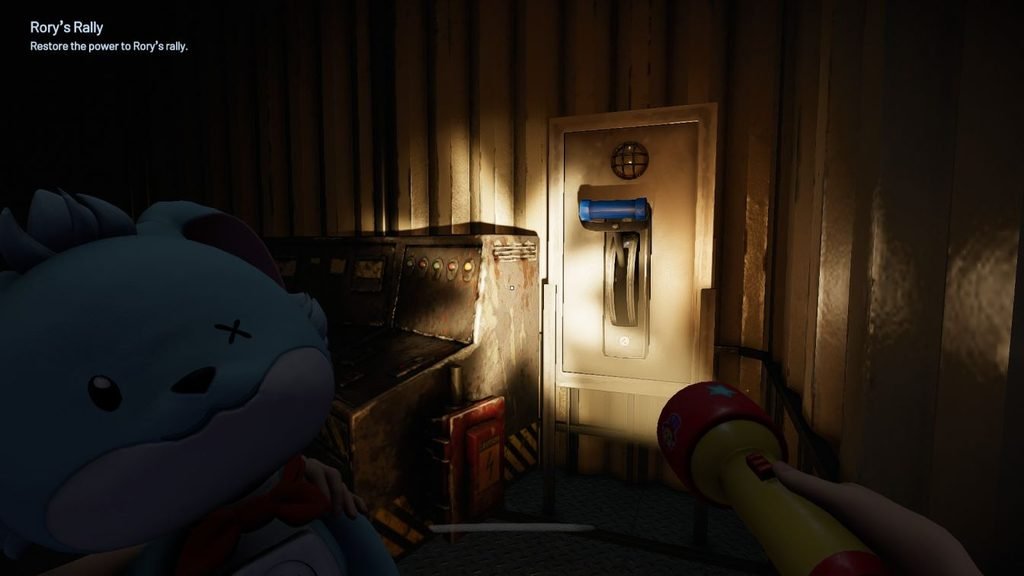
Time active: 25 seconds
Third lever: Locker corridor
- Drop down from the catwalk immediately after activating the second lever.
- Sprint through the door you cleared by moving the crate.
- Cross the Recreational Area and enter the small corridor with lockers.
- Find the final lever in the far-left corner and pull it.
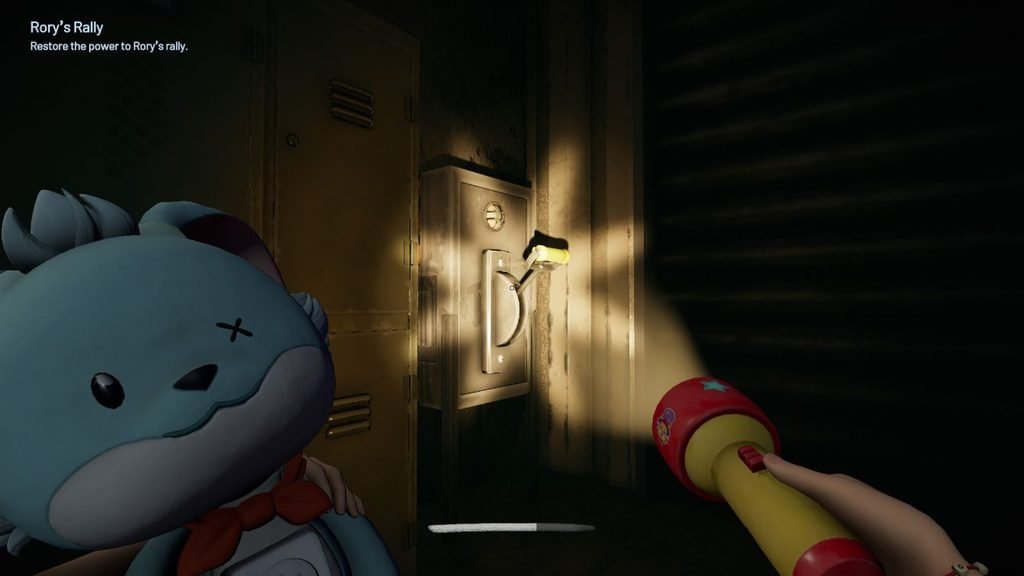
Time active: 3 seconds
Watch out for the vehicle lift. An invisible wall near it can block your movement if you try to cut too close. Run around the lift instead of squeezing past it, or you may lose the time needed to reach the last lever.