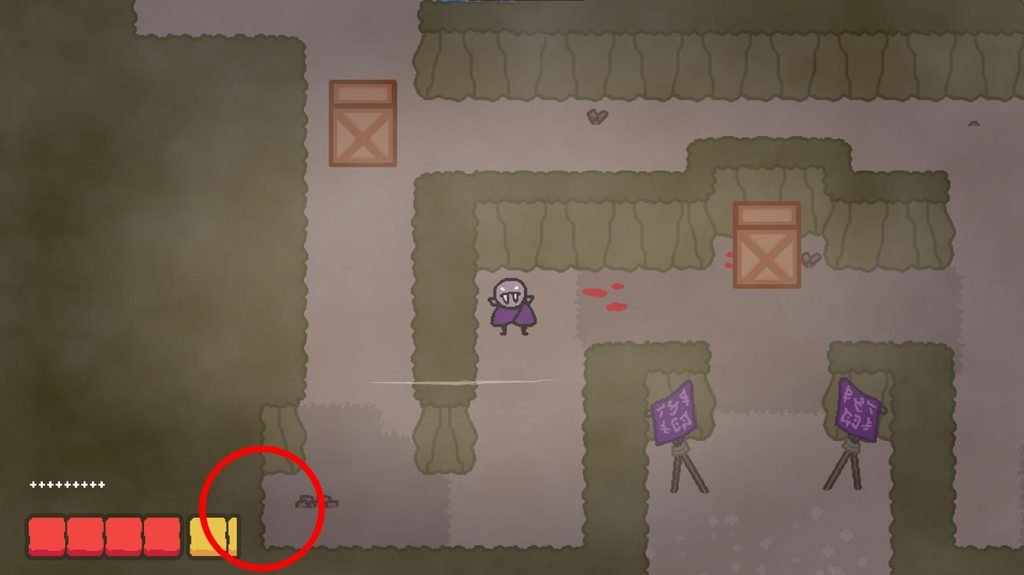
In Vampy’s Big Day, the sun is your enemy, and you must use Solea’s power to move the sun, manipulate shadows, and explore areas. While exploring these dark paths, you can also discover hidden gnomes scattered across different levels.
Finding every gnome can be hard because some hide behind objects, inside bushes, or along secret paths marked by darker grass and shadows. This guide covers all 17 gnome locations in Vampy’s Big Day across Levels 1–6, with directions to help you find each one.
All Gnome Locations in Vampy’s Big Day
Level 1 – Gnome Location
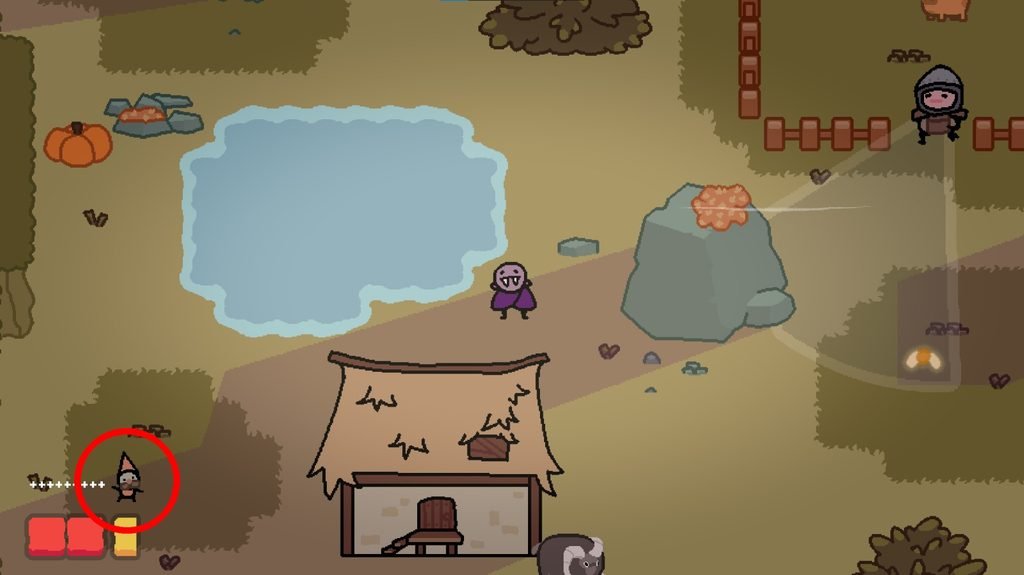
You can find the first gnome in the large open village area where you encounter the first guard.
Look toward the lower-left side of the area. The gnome is sitting out in the open, so you don’t have to search for a hidden path.
Level 2 – All 5 Gnome Locations
Level 2 has five gnomes that you can collect.
Gnome 1: Hidden Path Near Barnaby
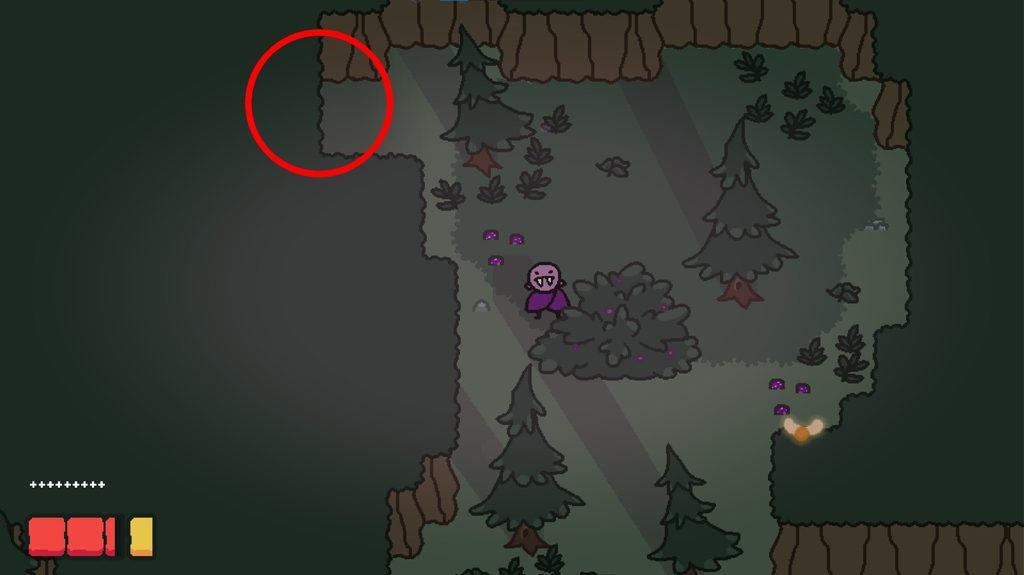
Enter the first room to the left of Barnaby. Head straight up until you reach the upper part of the room.
Now look for a hidden path that goes to the left. Follow it to find the first gnome.
Gnome 2: Last Room on the Left Path
Now continue along the path to the left of Barnaby until you reach the final room on that route.
Check the wall for a small shadow that shows a hidden passage. Follow the passage to reach the second gnome.
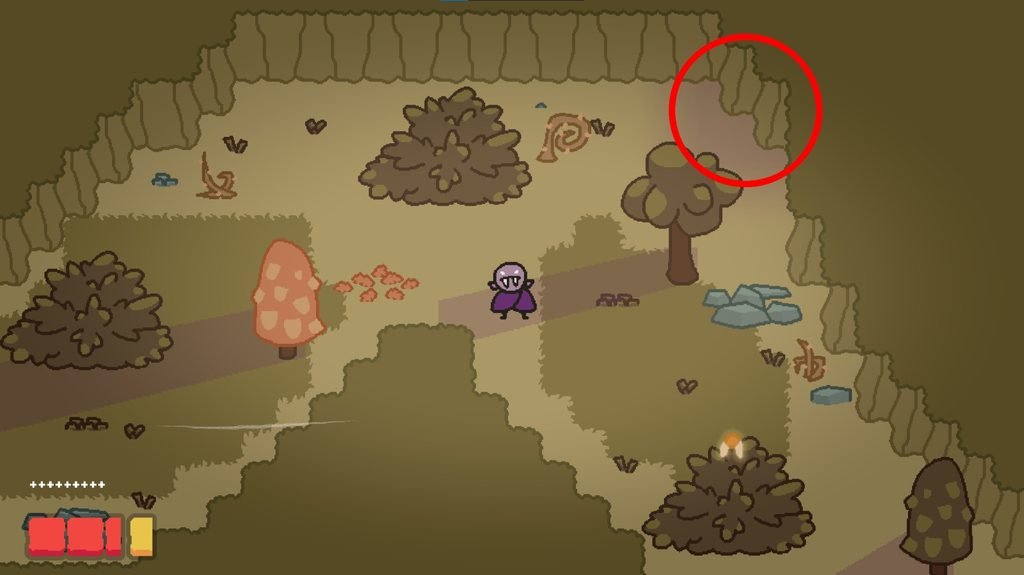
Gnome 3: Hidden Path After the River
From Barnaby, take the route to the right and then head down. Cross the river and enter the next room.
Look along the right wall for a small shadow. It marks the entrance to a secret path that goes to the third gnome.
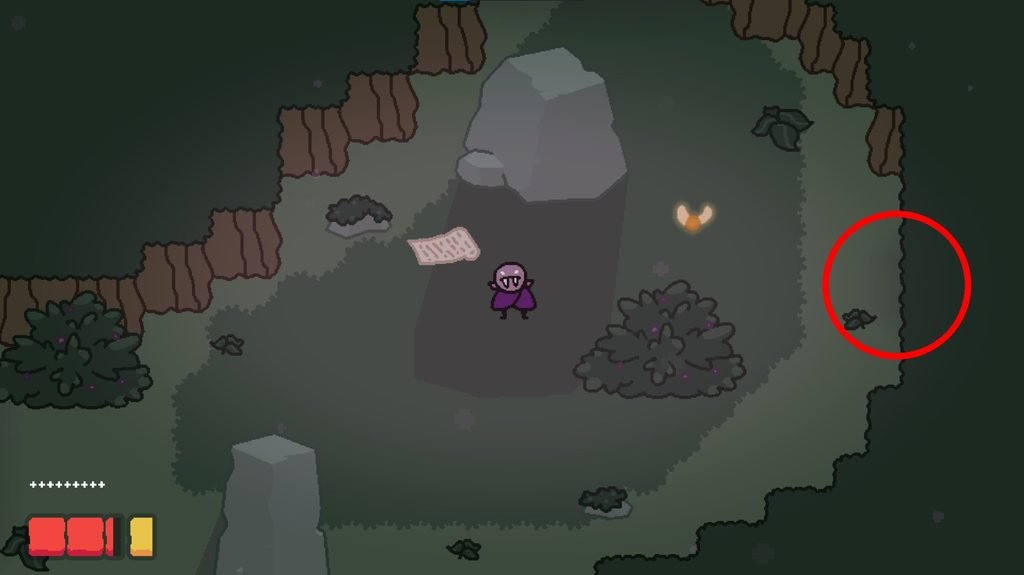
Gnome 4: Room With the Rope
Enter the room with the rope on the right side of Barnaby.
Go upward and cross the small lake. You’ll reach the fourth gnome.
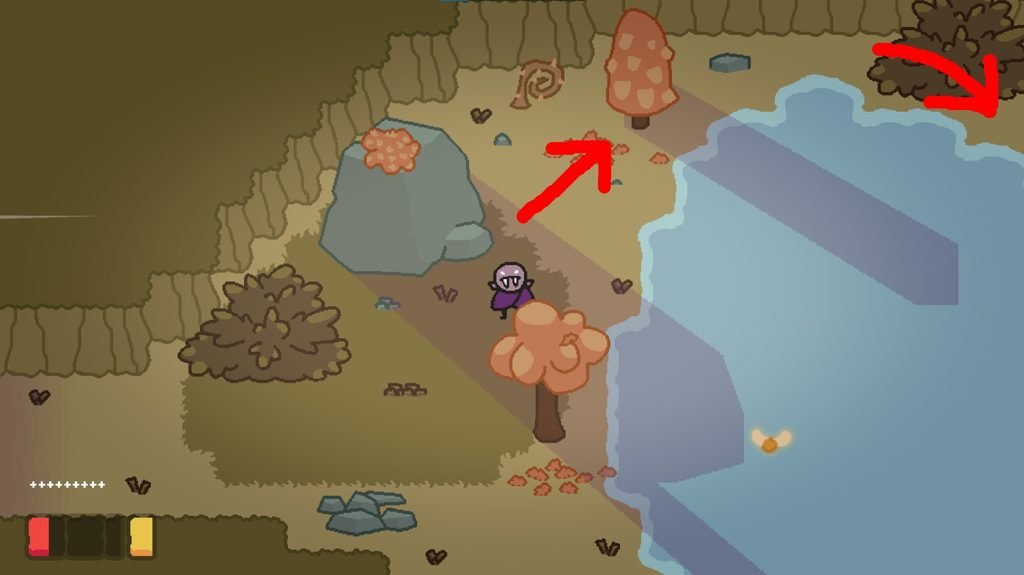
Gnome 5: Behind the Wall After Getting the Key
Once Barnaby gives you the key, open the door and go to the upper-right side of the area.
Now search for a dent in the wall. A hidden passage inside that section leads to the fifth gnome.
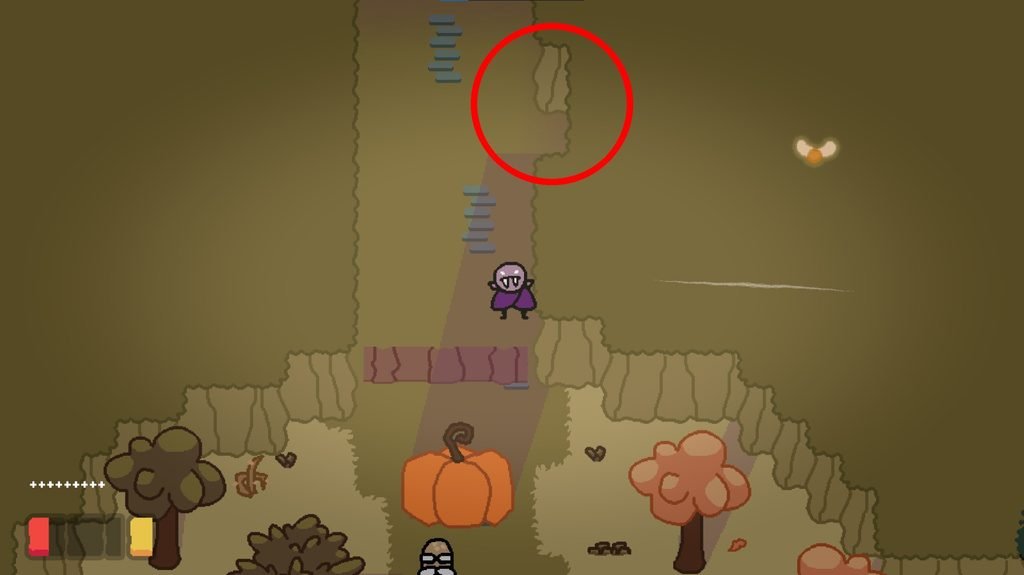
Important: If you’re playing the evil route, don’t kill Barnaby before collecting this gnome, as doing so ends the level. If you accidentally kill him or finish the level without collecting it, then you can use Alt + F4 on the results screen to exit and recover the missed gnome.
Level 3 – All 3 Gnome Locations
Gnome 1: Secret Path While Following the Spy
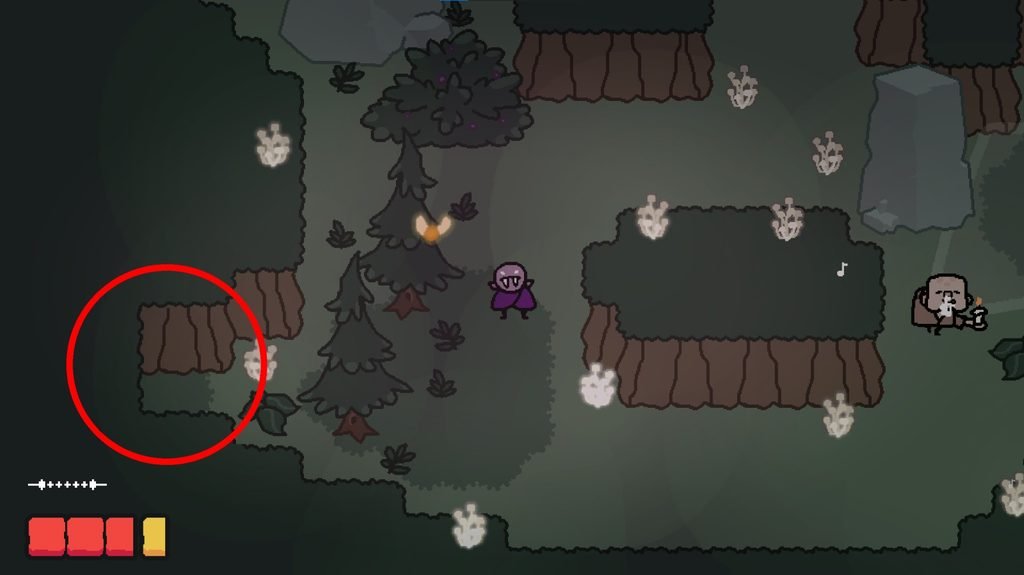
During the event where you follow the spy, check the bottom-left corner of the room.
Look for a dent in the wall surrounded by darker grass. Enter the hidden path to collect the first gnome.
Gnome 2: Hidden Hushroom Near the River
Go to the room with the hushrooms in the river, and then continue past the last grub.
Look above that grub, and you’ll see another hushroom. Use it to reach the second gnome.
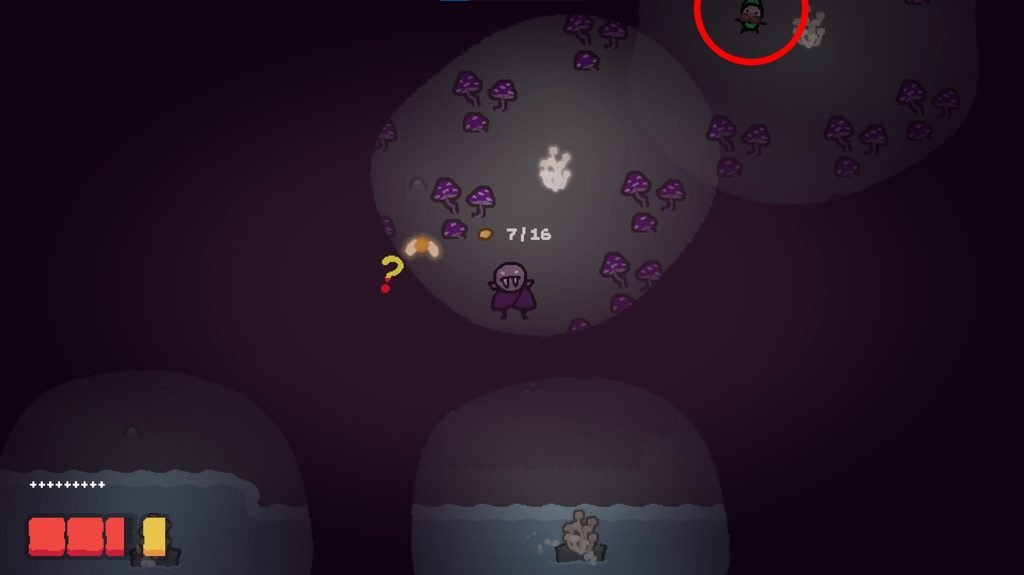
Finding this hushroom can be easier if you bite, since biting creates the most sound. If you accidentally wake a grub while playing the pacifist route, stand still and wait for it to fall asleep. Grubs are blind and use sound to locate you, so moving around can attract their attention.
Gnome 3: Under the Mushrooms Near the Silver Key
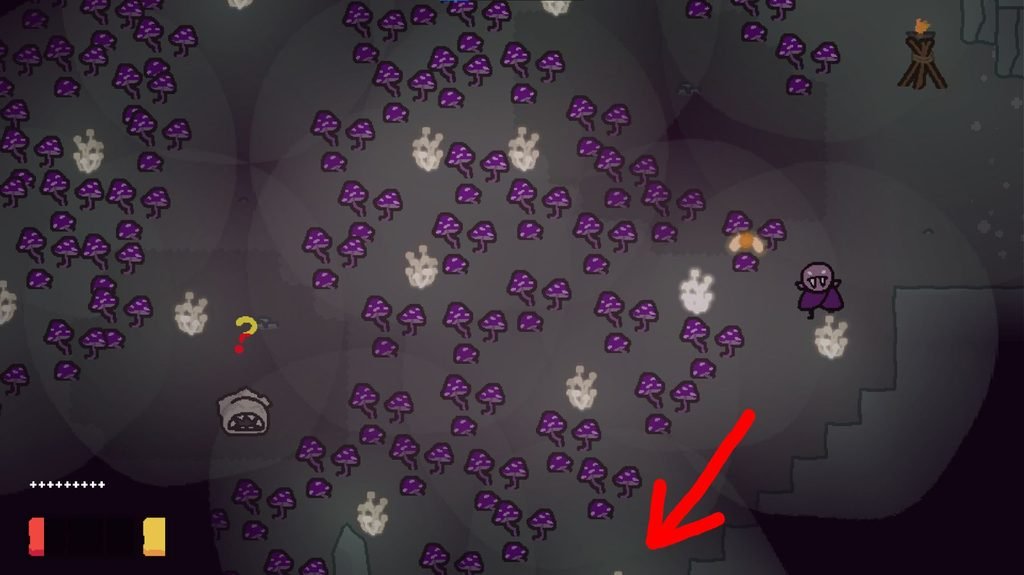
Go to the room where you collect the silver key.
From there, go down beneath the mushrooms. Keep going on this path to reach the third gnome.
Level 4 – All 4 Gnome Locations
Gnome 1: After Helping Glurk Cross the River
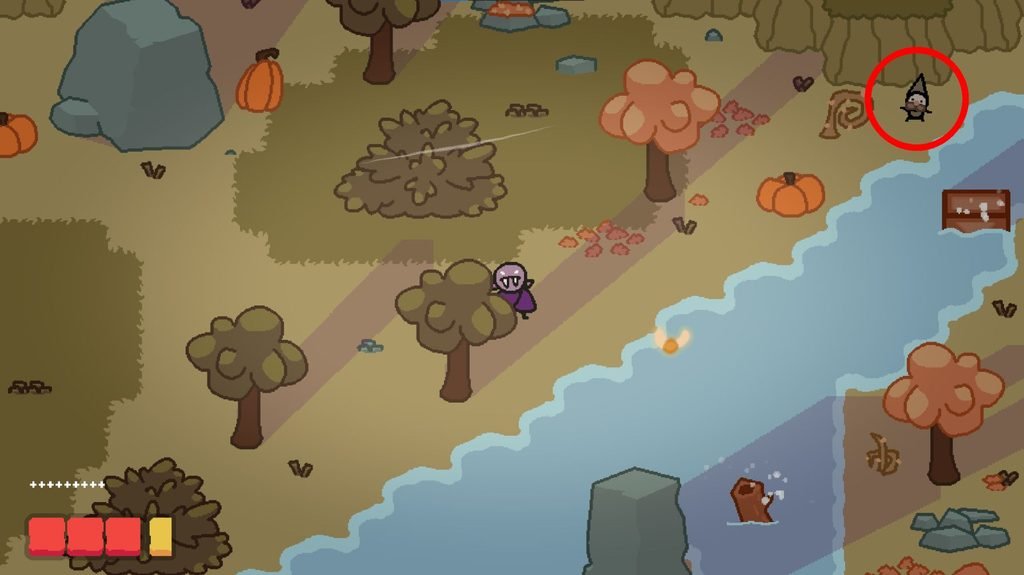
Help Glurk get across the river. Once you’re on the other side, go upward and then move to the right.
Check the corner near the pumpkin to find the first gnome.
Gnome 2: Behind the Box in the Helmet Room
Enter the room containing the helmet.
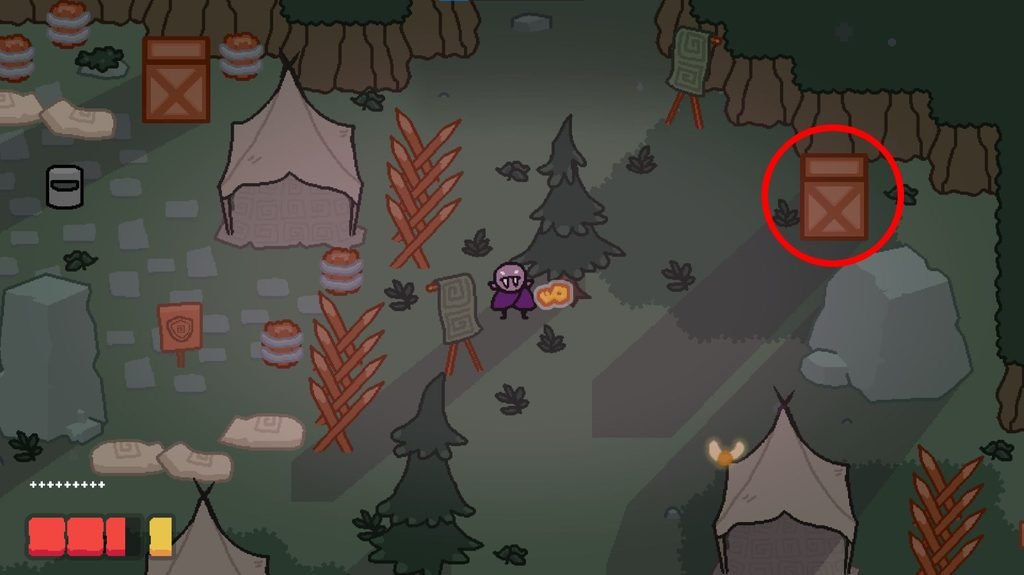
Look for a box in the room that has an X sign on it. There are several similar boxes, so I have circled the box in the image below that we need to move. Now you have to either push or pull it away from its position. The second gnome is hiding behind it.
Gnome 3: Hidden Path in the Gold Key Room
Enter the room that requires a gold key.
Check the bottom section of the room for a patch of darker grass. Enter this hidden path to reach the third gnome.
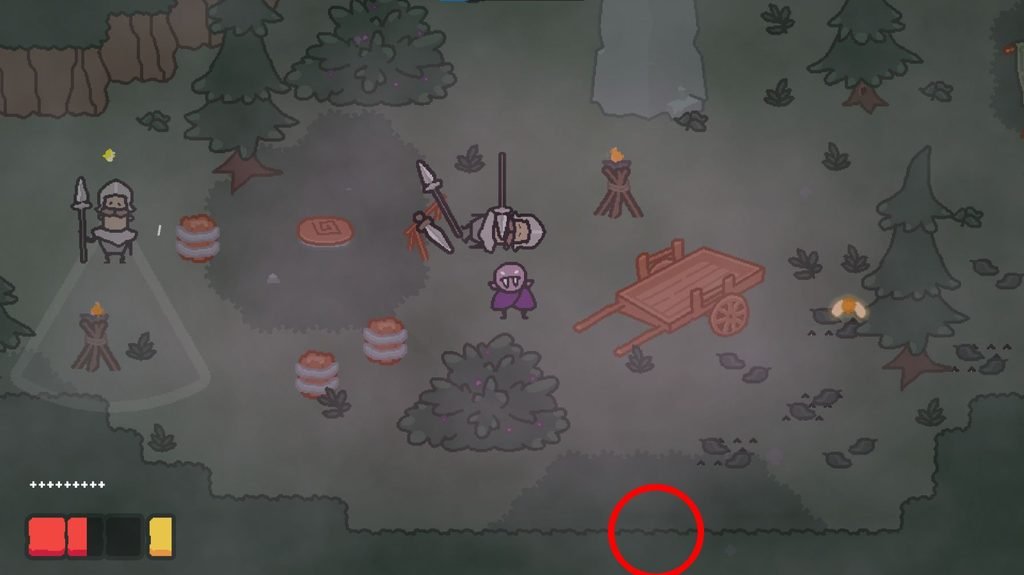
You can also reach this gnome on the good route when Thora reveals the secret path upward in the room to the left of the Hollowseed room.
Gnome 4: Bush Near the Hollowseed Room
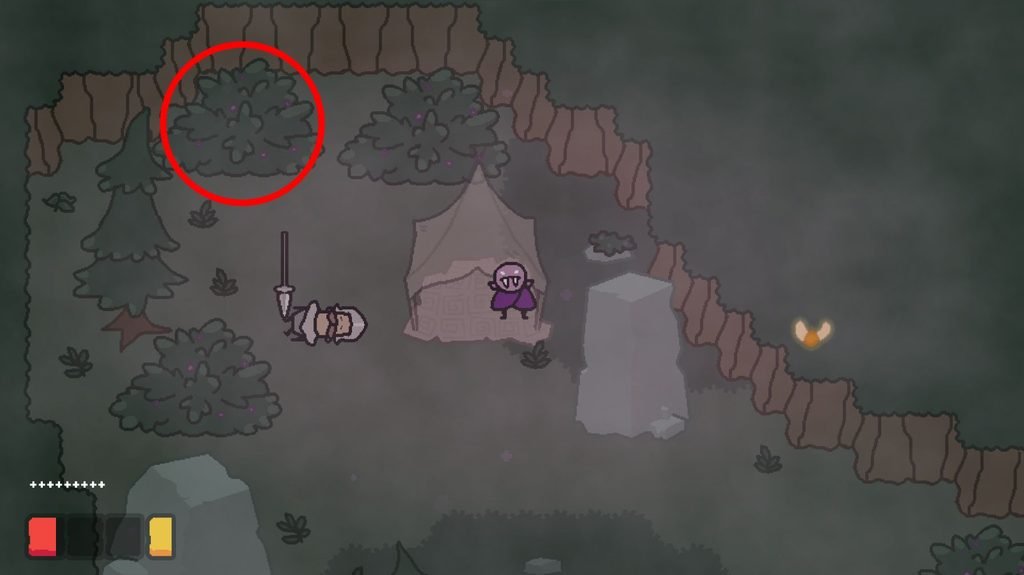
Go to the room immediately left of the room containing the Hollowseed.
Check the bush in the upper-left corner. The fourth gnome is hidden there.
Level 5 – Gnome Location
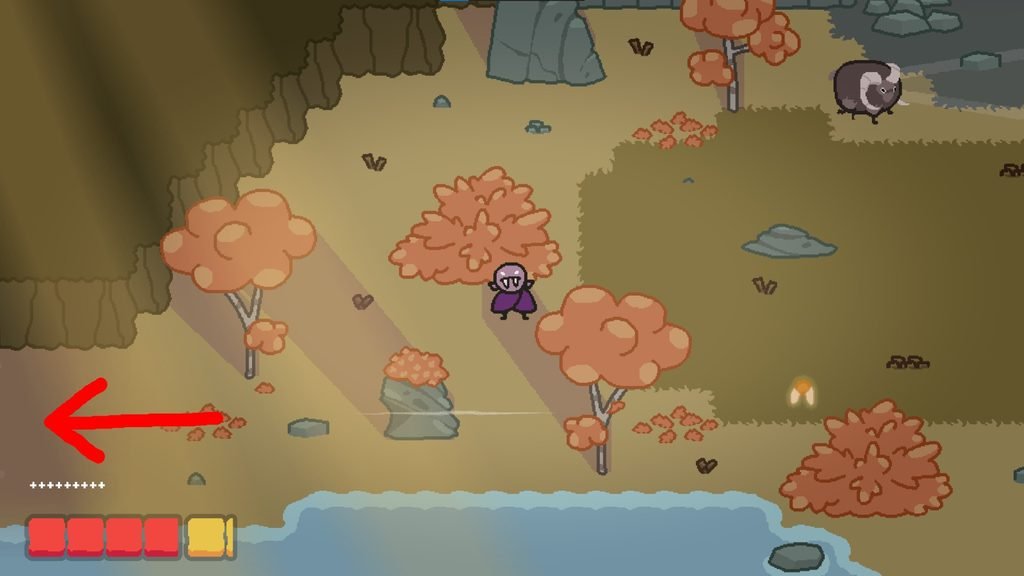
Before entering the cave with the ram, go to the left toward the room transition. Cross into the next area, where you’ll find the gnome on the other side.
Don’t go into the cave before checking this route.
Level 6 – All 2 Gnome Locations
Gnome 1: Before the Room With Glurk
As you reach the room containing Glurk, check the area just before it.
Head to the right to find the first gnome sitting out in the open.
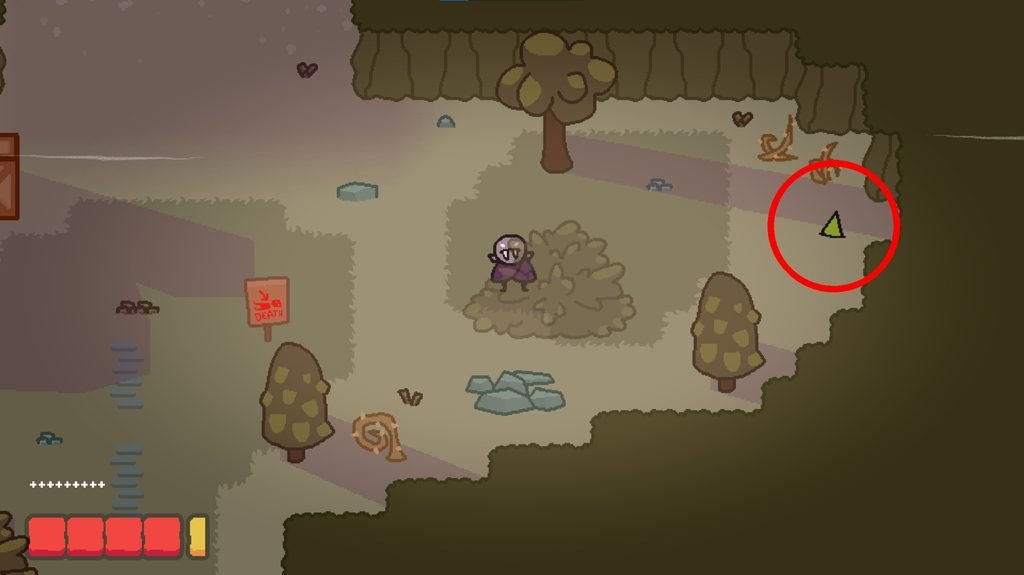
Gnome 2: Hidden Path at the Start of the Maze
When you enter the maze, head down and toward the left.
Look for a dent in the wall. Enter this hidden path to reach the second gnome.