Save Tokens allow you to save your game in Hellraiser Difficulty in Clive Barker’s Hellraiser: Revival. You won’t get any autosave feature or manual save option in Hellraiser Difficulty. The only way you can save your progress is by using the Save Tokens.
Also, these tokens are spread across different areas, so you cannot save whenever you want without one. If you die before saving, you may have to replay a large section.
You can find 11 Save Tokens throughout the game, with some hidden in containers, while others can be purchased from the merchant.
All Save Token Locations in Hellraiser Difficulty
Here are all 11 Save Token locations in story order, along with useful combat tips and the save points I recommend using during a Hellraiser Difficulty playthrough.
Save Token 1 – After the First Knife Enemy
You can collect the first Save Token just after defeating your first enemy who uses a knife. Enter the medical room in which a dead body is lying on the stretcher. Check near the leg of the body to find the Save Token. Press E to collect it.
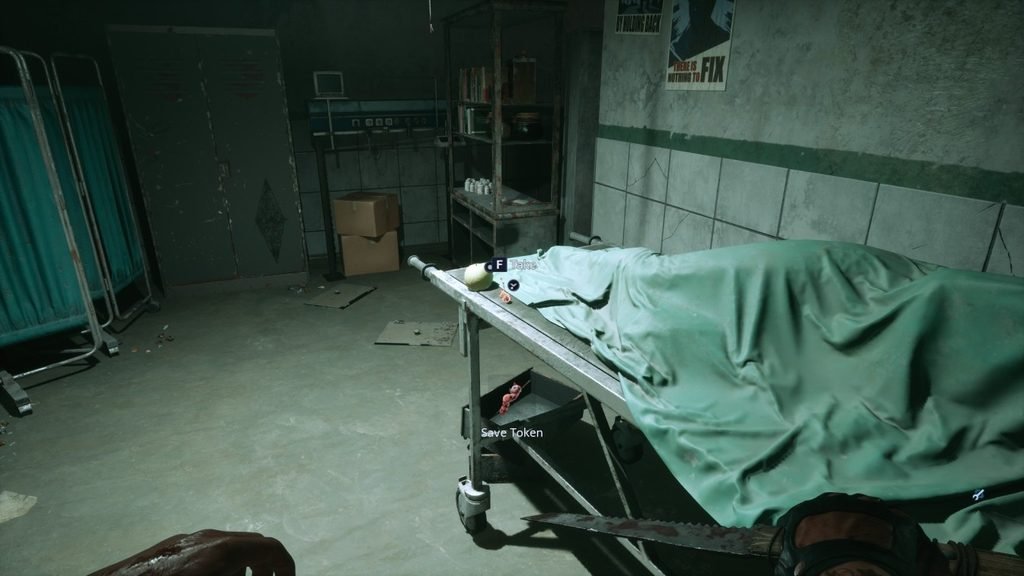
Once done, you can use it from your inventory to manually save your game.
Save Token 2 – Locked Container Near the Yellow Ladder
When you get the Pistol, go to the Warehouse and finish some enemies. Inside, you’ll find a locked container with the yellow ladder. You can collect many other items from the container, but to get the Save Token, you’ll have to lockpick it.
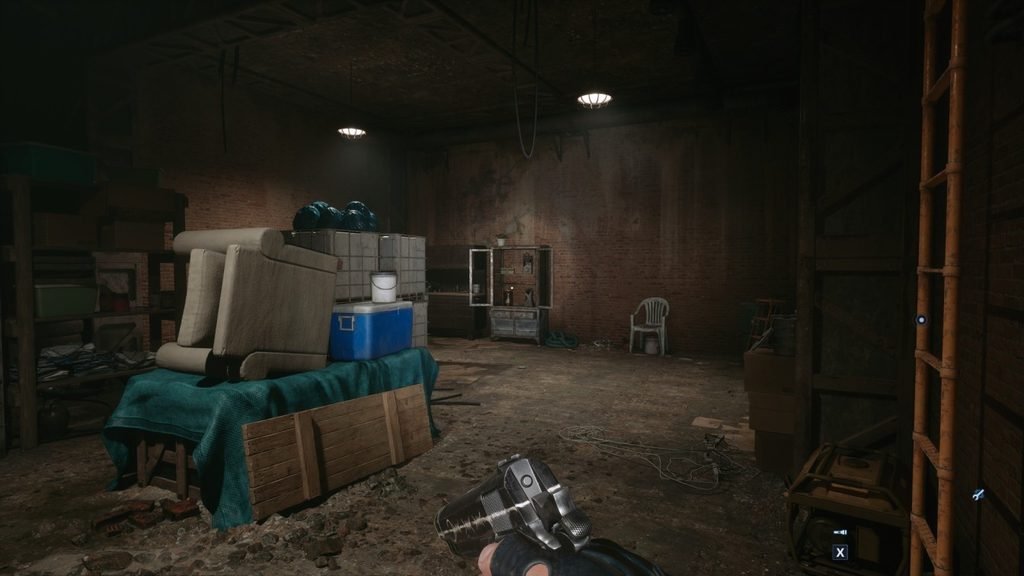
To lockpick the container, rotate the lock by a bit only. If there is no shake, you’ve got the right spot, and you have to hold it until it opens. If you are feeling a small shake, then you are nearby the correct spot.
Save Token 3 – First Merchant Visit
After escaping from your first Charlotte encounter, continue until you meet Zora, the vendor.
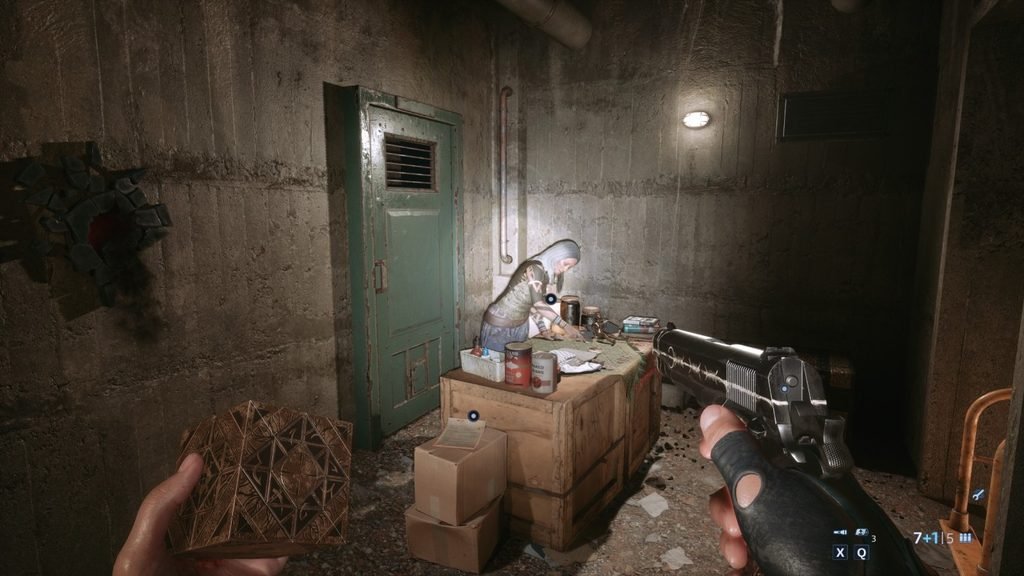
You can purchase the third Save Token from Zora when you meet her for the first time. Check her inventory and buy the Save Token. It may cost you around 100 coins, so make sure you have enough money. You can also sell unwanted items from your inventory to her for extra coins.
Save Token 4 – Cabin at the Top of the Cemetery
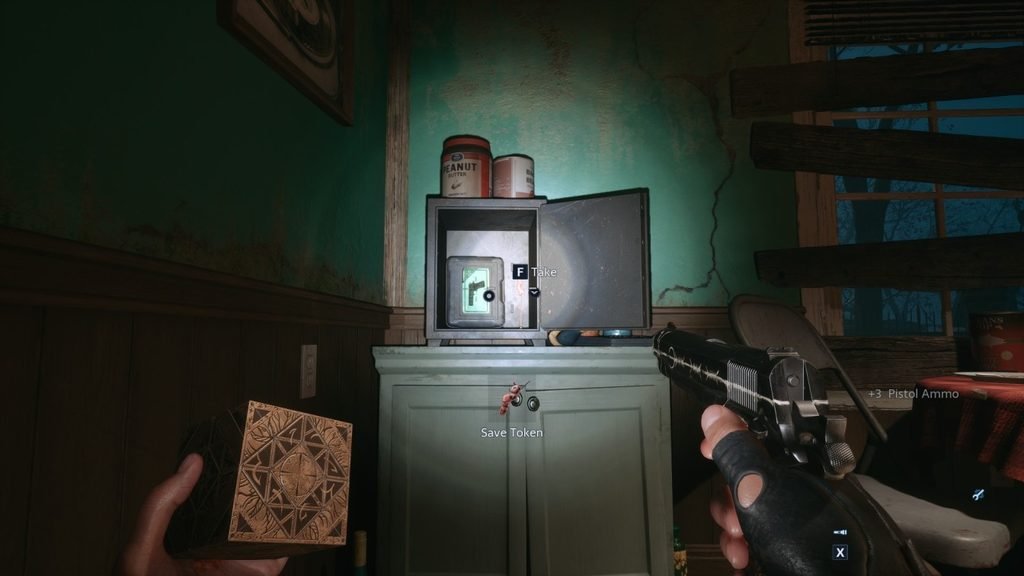
At the Graveyard, go to the cabin at the top of the cemetery. The fourth Save Token is inside a safe that requires a code to open. The code to open that safe is 9606.
Save Token 5 – Flower Pot Near the Merchant
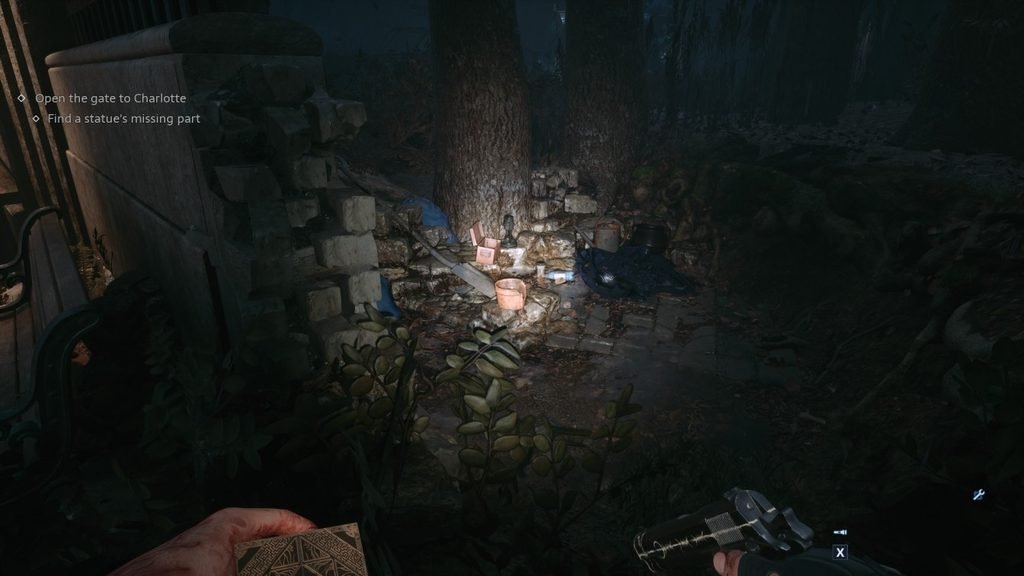
Continue playing until you reach three gates with statues on them. There, you can find another Merchant selling items, but this time you don’t have to purchase anything from her. On the left side of her, you’ll see a small passage going inside the forest. As you enter that area, check on the left, and you’ll see some flower pots, a shovel, etc. Check the flower pot to get the Save Token.
Save Token 6 – After the Cabin Sequence
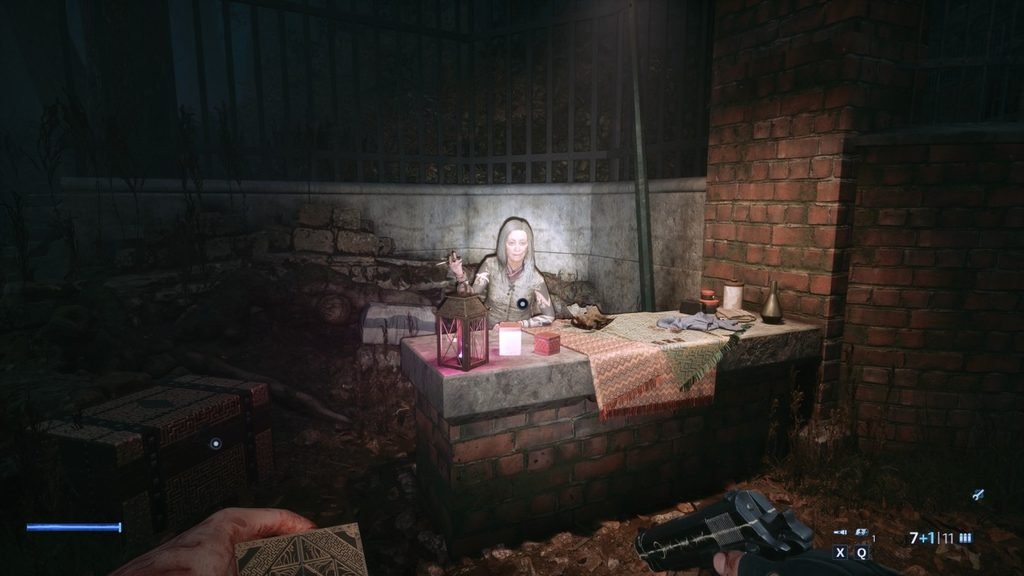
When you’ve opened the two statue gates and the last one is still locked, go near Zora, the nearby merchant. Open her inventory, and you’ll find the sixth Save Token.
Save Token 7 – Return to the Clubhouse
After killing Charlotte and getting her heart, return to the clubhouse. Check the surrounding area and find the merchant. You can buy the Save Token from her for 300 coins.
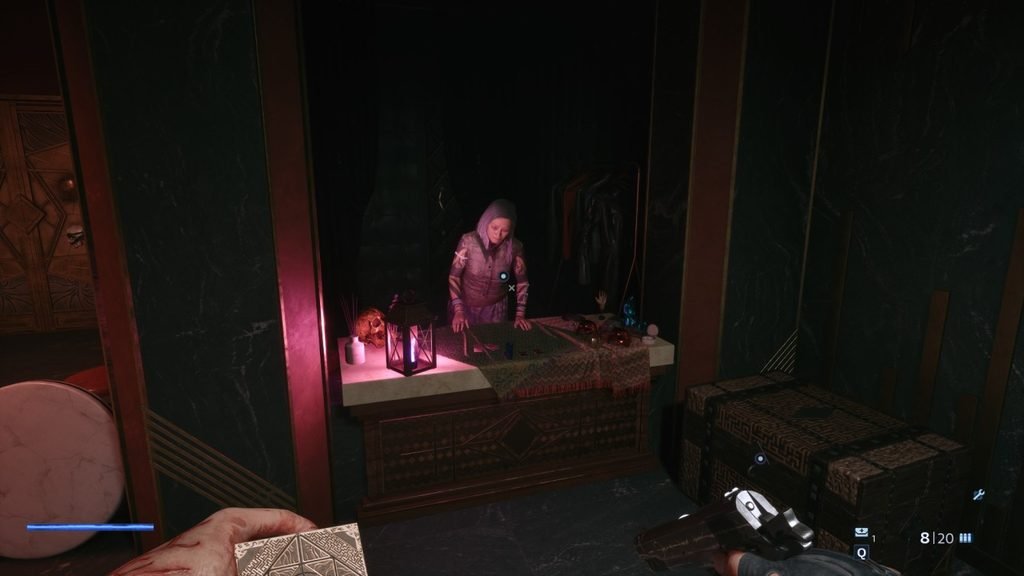
Save Token 8 – Body After Retrieving the Peephole Insert
After finishing The Multi-Limb or Embracer at the club, check the nearby area to find the peephole insert. Now climb the ladder and check the body in the area above. The eighth Save Token is attached to the body.
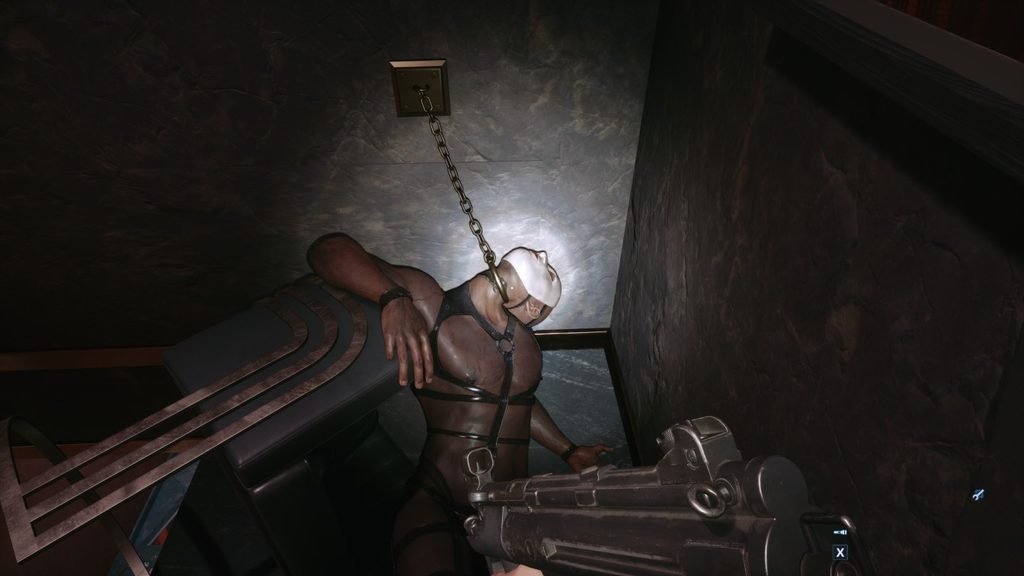
Save Token 9 – Before the $ex Rooms
After escaping from Sister of Mercy & The Chatterer, you’ll be back to the club. Purchase the ninth Save Token from the merchant before entering the $ex rooms. You will reach this merchant just before the door with the $ex positions lock.
Buy the token for 400 coins.
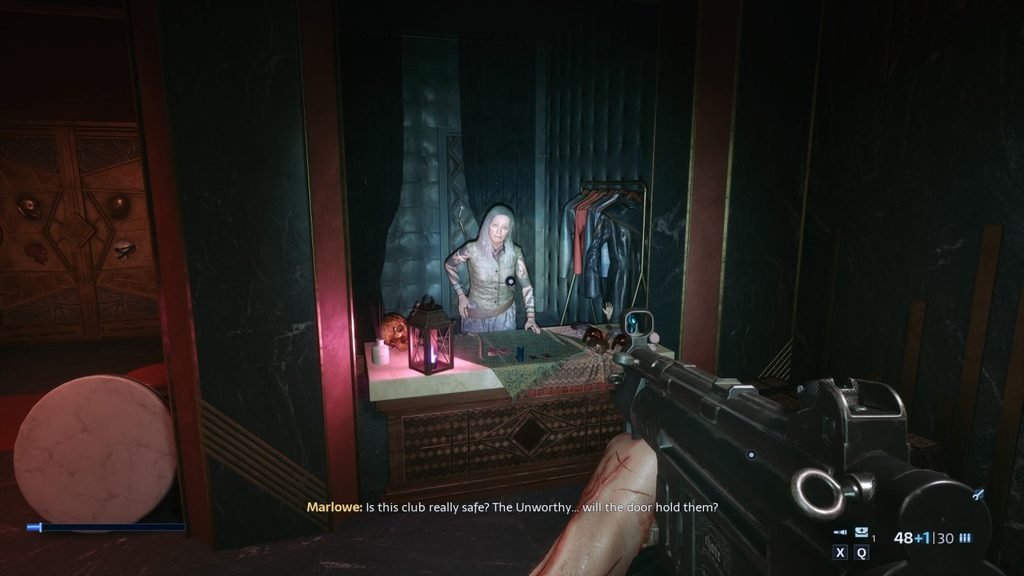
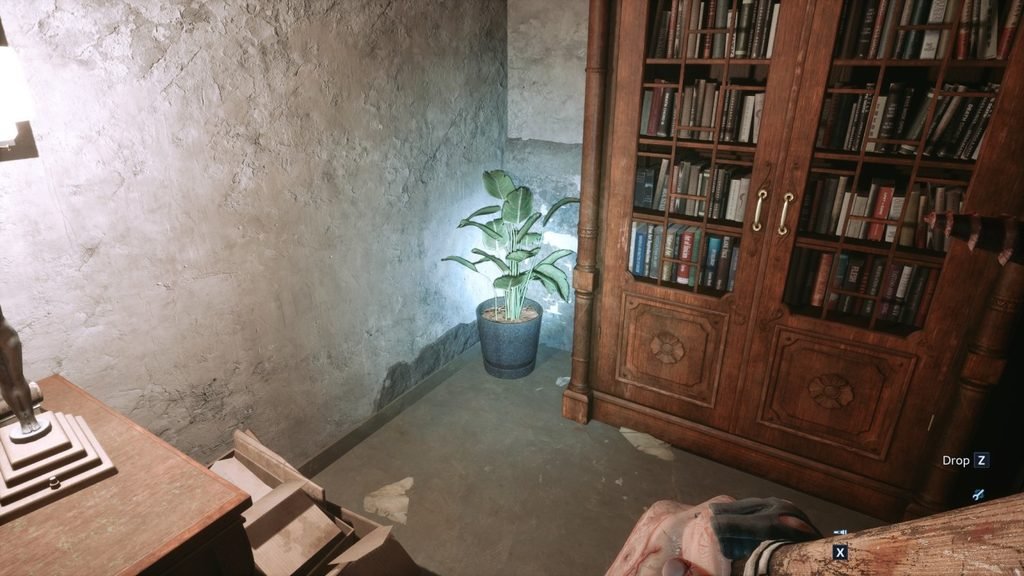
Save Token 10 – Plant After the Second Bruno Fight
Defeat Bruno for the second time and head upstairs to the small office area. You’ll need to solve the bell puzzle to get access to this room. Check the plant pot on the left of the bookshelves, and you’ll find another Save Token.
Save Token 11 – Bedroom After Using the Elevator Key
Use the elevator key, then search the bedroom connected to the room overlooking Bruno’s surgery.
The final Save Token is attached to the body on the left side of the bedroom.
Best Places to Use Your Saves
You can easily find all 11 Save Tokens, but you also have to decide where to use your saves during Hellraiser Difficulty. Tough enemy encounters and stealth sections can lose you a lot of progress if you die.
This is the order I recommend based on the save points used during a playthrough:
- After reaching the yellow ladder: Save when you reach the area at the top of the yellow ladder, near the second Save Token.
- Before the cemetery house stealth section: Save at the house near the top of the graveyard before starting the stealth section.
- Before the first Bruno fight: Use the boltcutters, then return to a save point before fighting Bruno.
- Before the cabin sequence: Backtrack and save before starting this section.
- Before fighting Charlotte: Save before entering the encounter.
- Before the voyeur room stealth section: Save before dealing with the Sister of Mercy stealth section.
- Before fighting Sister of Mercy: Use another save before the boss fight.
- At the start of the Industrial Estate: Save beside Zora when you reach the area.
- After the second Bruno fight: Save after defeating Bruno again and before using the elevator key.
- Before the large water room: Save before entering the room with water, numerous enemies, and movable sawblades.
- Before fighting Marlowe: Keep your final save for the Marlowe encounter.
You can adjust this order if a particular fight or stealth section gives you trouble. Before spending a Save Token, collect as much nearby ammunition, healing supplies, and other loot as possible. That way, you will have less to collect again if you die and reload.
Can You Replay the Endings on Hellraiser Difficulty?
You can try replaying the endings after finishing the game without starting a new playthrough. Once the credits end, return to the main menu and select Continue. This can let you choose the endings again, even on Hellraiser Difficulty.
If Continue does not let you select an ending, load an earlier save and fight Marlowe again.
You can also plan your Save Token usage differently on another playthrough. For example, you could skip the tenth save point in the large room with water and movable sawblades, then keep that save available for after the Marlowe fight. This gives you another option if you need to return to the ending later.