To get the True Friends achievement and Secret Ending in WendyQuest, you need to replay the game and deliberately avoid several important story events. The main trick is to ignore Frygor’s instructions and find ways to progress without completing the quests he sends you on.
You don’t have to finish the entire game without party members. Some characters will join automatically, and you can still use their abilities. The important part is to skip certain meetings and story events that normally happen during a regular playthrough.
In this guide, I will show you how to get the True Friends achievement and Secret Ending in WendyQuest by skipping key story events, avoiding Frygor’s quests, and defeating the final bosses.
Important: Start a fresh save for this achievement. If you’ve already completed the game, you’ll need another playthrough to follow this route.
The Hidden Prophecy (Optional)
Before starting the secret route, you can discover a hidden prophecy in the base game. This isn’t confirmed to be a requirement for the True Friends achievement, but it explains what you need to do.
After obtaining the Frosty Stone and unlocking the boat, head to the question-mark-shaped island in the upper-right corner of the map.
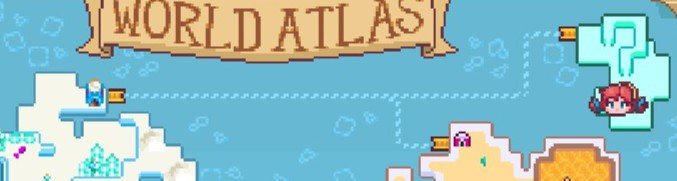
You’ll find Exclamation Mark Cave there. Enter the cave and make your way through the area while avoiding the Mech Guards. You cannot fight these enemies, so focus on sneaking past them.
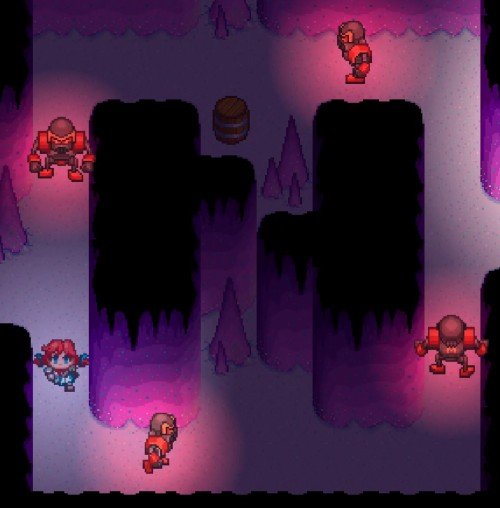
At the end of the cave, you’ll reach a shrine room containing several achievement chests. These chests unlock after you complete specific milestones.
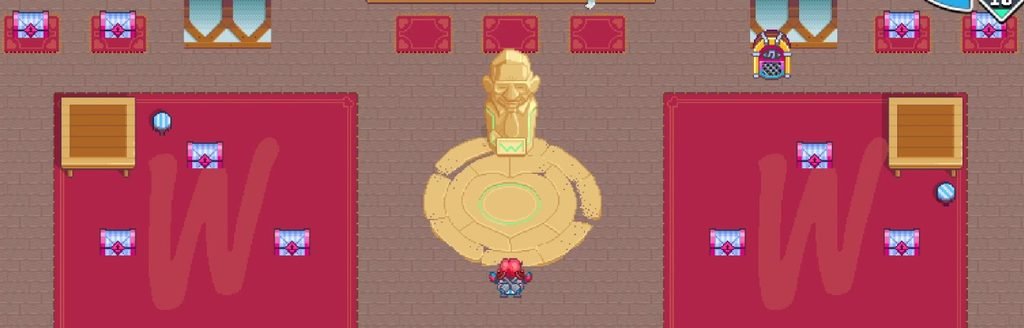
The required milestones include:
| Milestone | Requirement |
|---|---|
| Longest Critical Hit Streak | 5 |
| Critical Hits | 25 |
| Enemy KOs | 100 |
| Critical Hits | 150 |
| Enemy KOs | 400 |
| Loot Chests Found | 50 |
| Food Items Consumed | 25 |
| Hero Idols Found | 16 |
| Corner Stones Found | 2 |
| Corner Stones Found | 4 |
| Total Gold Looted | 1,250 |
Most of these requirements will come naturally while playing. However, collecting 16 Hero Idols might take some extra effort.
Here’s the map location for all Hero Idols:
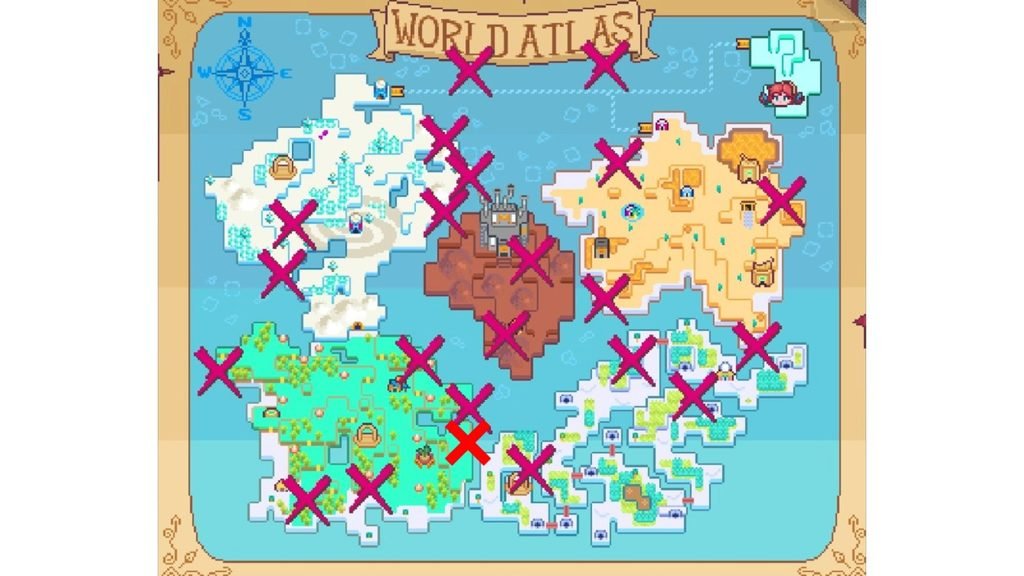
A few things to remember when collecting Hero Idols:
- You’ll need the airship to reach some of the locations.
- Some map markers won’t actually reward you with an idol.
- One idol is very close to another, so their map markers overlap. Check the surrounding area for the missing one.
- After rescuing Elder Frosty, speak to her. She can give you an additional Hero Idol.
- Check Caffeine Caverns for a hidden room in the bottom-left area. Its location is marked with a chest icon on the cavern map.
Additional tip: If you’re replaying the game, you can visit the Elder’s house in Part 2 and activate the switch yourself. This opens the secret compartment containing an idol, so you don’t have to return later.
Once you’ve opened the required achievement chests (except the Loot Goblin achievement chest), speak to Dave at the shrine.
He’ll reveal another part of the hidden prophecy:
To the hero that has won with ease,
To the one with more to seek…
Begin anew with no one to please,
Go alone without the weak.
And in the end you are sure to see.
What it means to truly be free.
This is your clue. Start a new run and avoid the normal story events that Frygor keeps pushing you toward.
Part 1: Ignore the Find Frygor Quest
After completing the opening tutorial sections, you’ll receive the objective Find Frygor.
Don’t follow it.
Instead, continue exploring and fight Frydusa on your own.
She’s the first boss, so the fight shouldn’t be too difficult. However, I recommend gaining a few levels and carrying enough fries to avoid becoming Soggy during the battle.
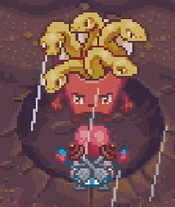
You can visit the Wendy’s restaurant in town to restock supplies. Just stay away from Frygor.
After defeating Frydusa, Frygor will catch up with you and join your party anyway. This is supposed to happen, so don’t worry about it.
Pay attention to Wendy’s dialogue after the fight. She’ll comment on how long you took to reach and defeat Frydusa. These unusual time-related comments are a good sign that you’re following the secret route.
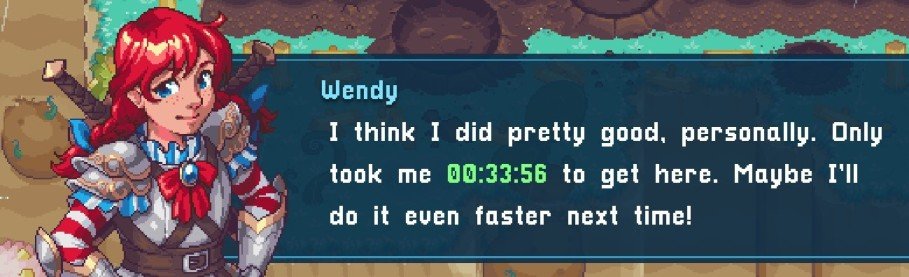
You’ll also receive the I Can Do This All By Myself achievement for defeating Frydusa alone.
Part 2: Avoid Reuniting with Frostyna
Continue the main story normally until you revive Tatoria, collect the Fry Stone, and receive the objective Reunite with Frostyna.
This time, don’t go to Frostyna’s location.
When you enter Chillcrest, head left instead of going right to meet her.
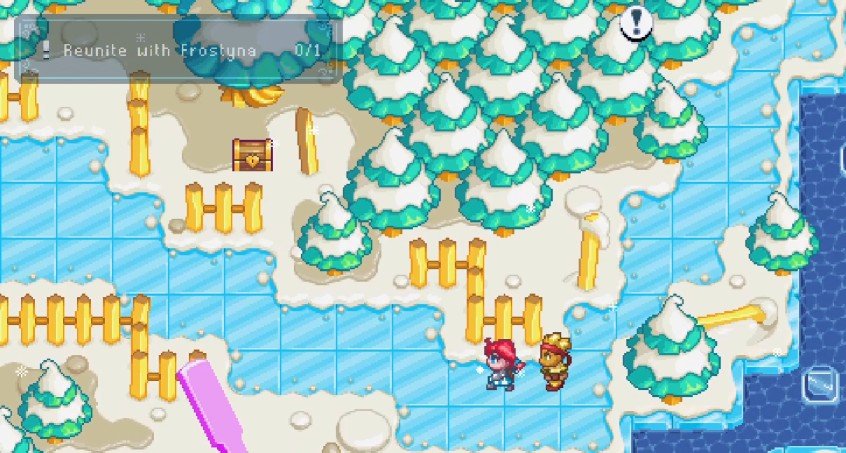
You may notice the screen starting to glitch as you attempt to leave town. That’s a sign you’re heading in the right direction.
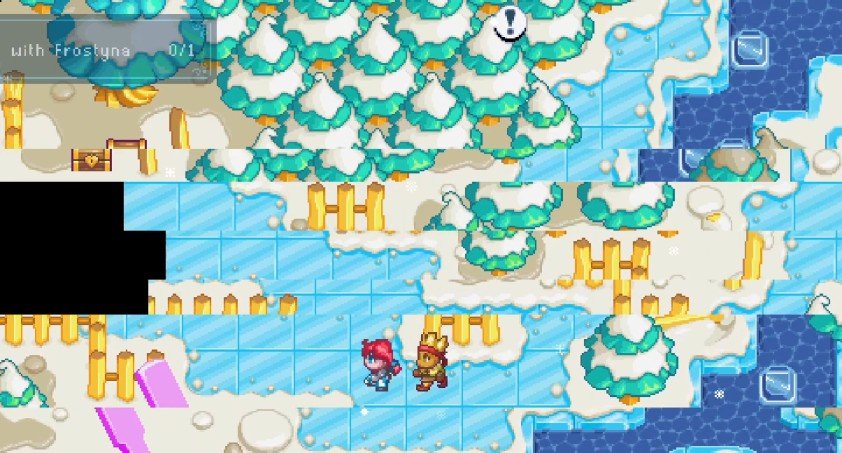
Frygor will keep telling you to meet Frostyna. Ignore him and continue trying to leave through the left exit.
Eventually, he’ll get frustrated and go find Frostyna himself. She’ll then join your party, allowing you to continue the story.
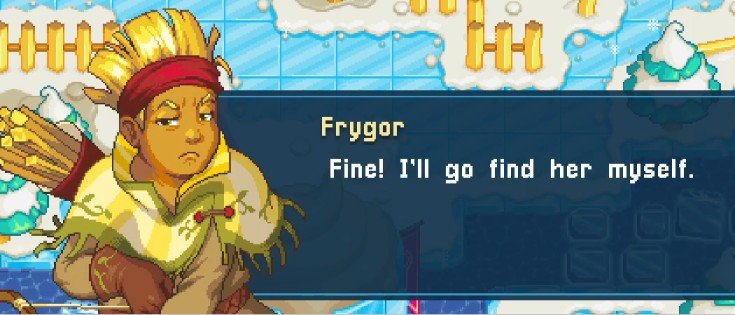
You don’t need to prevent Frostyna from joining. The important thing is that you avoid the normal meeting sequence.
Part 3: Skip the Meeting with Chomps
As you progress through the story, Sir Chicken will eventually join your party. This happens automatically, so there’s no need to worry about it.
Later, you’ll receive the objective Meet With Chomps.
Don’t travel to Nuggedor to meet him.
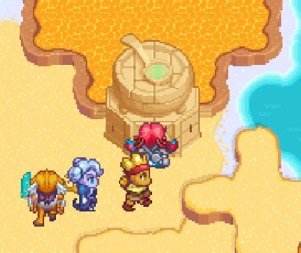
Instead, head directly to the Cauldron of Sauce.
Frygor will once again insist that you meet Chomps first. Ignore his instructions and head toward the top-left section of the Cauldron of Sauce.
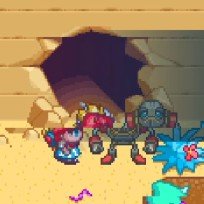
Look for the wall that Chomps normally breaks after you meet him. Keep trying to reach this spot without completing the meeting.
After a few attempts, the game will glitch, and Chomps will already be there with the wall broken.
You can now enter the area and continue your adventure. At this point, you’re also free to visit town and replenish your supplies.
Part 4: Leave Sunrise Bay Without Talking to Eggward
Continue following the main objectives until you reach Sunrise Bay.
You’ll eventually receive the objective Talk To Eggward.
As you enter the town, be careful not to trigger Eggward’s cutscene accidentally.
Instead of approaching Eggward, move around to the right side of the town and head toward the upper section of the map.
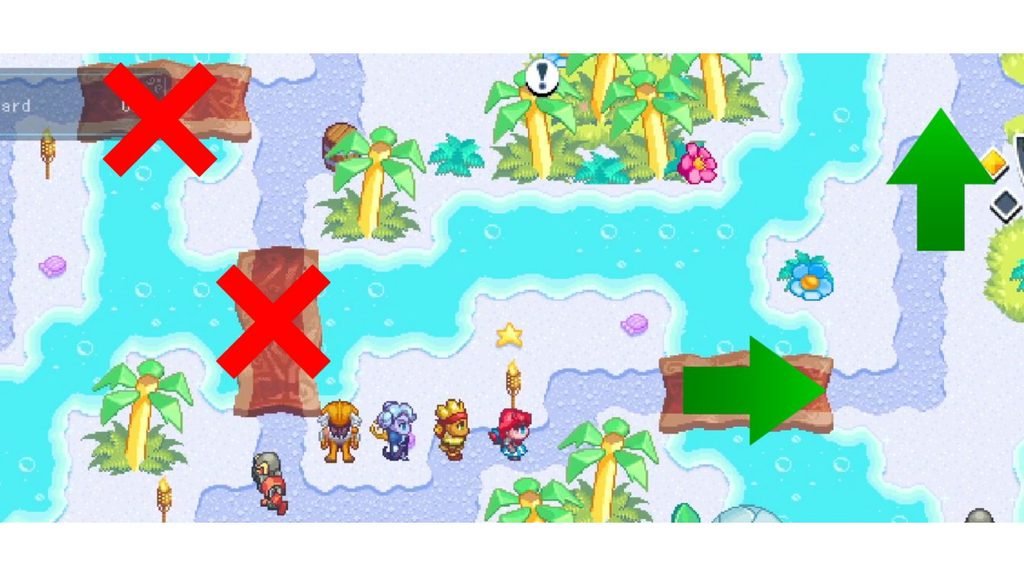
Once you’re near the top, keep trying to leave town without talking to him.
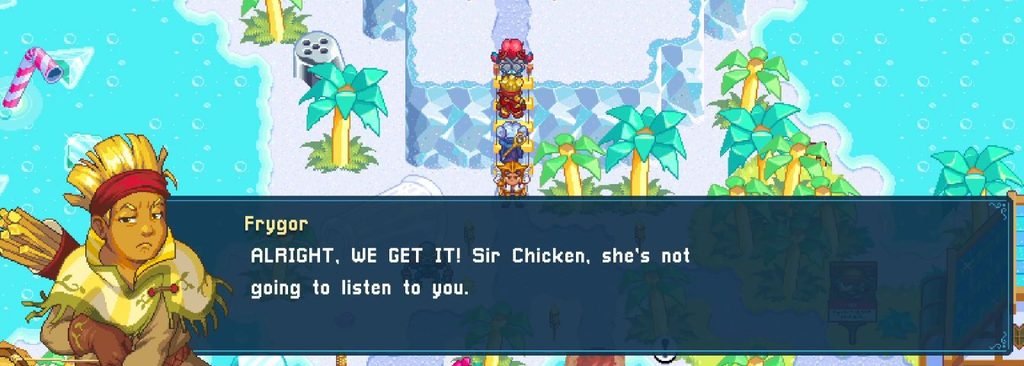
Frygor will continue trying to send you back to Eggward, but keep ignoring him. Eventually, the game will let you leave without completing the meeting.
Warning: If you accidentally trigger Eggward’s cutscene, try closing the game immediately with Alt + F4 before it autosaves. The game saves progress quite aggressively, so you might have to restart the run if the scene gets saved.
Part 5: Don’t Visit Baconator’s Son
This is probably the easiest story event to skip.
Continue progressing until you meet Baconator. After that, you’ll eventually receive an objective to check on Baconator’s Son.
Don’t enter Baconator’s house.
Frygor will try to convince you to visit the house, but keep moving forward without going inside.
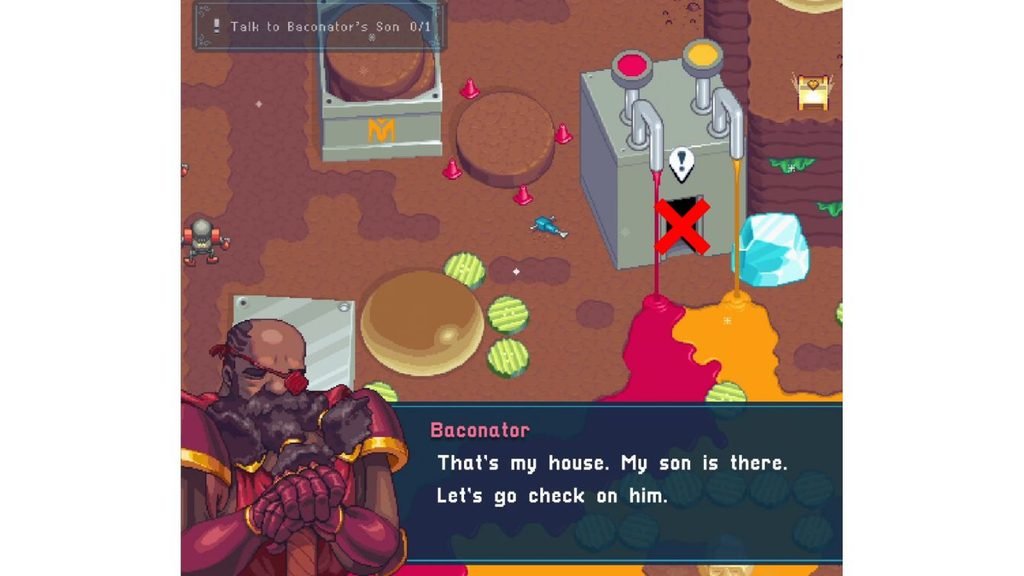
As long as you avoid the house and don’t trigger the event involving Baconator’s Son, you should be fine.
Sorry, Baconator!
Part 6: Infiltrate the Office
Once you’ve skipped the previous story events, you can continue toward the office.
There isn’t much else you need to do differently here. Just follow the main objectives and make your way through the remaining areas.
You’ll encounter a few more strange glitches involving Frygor along the way.
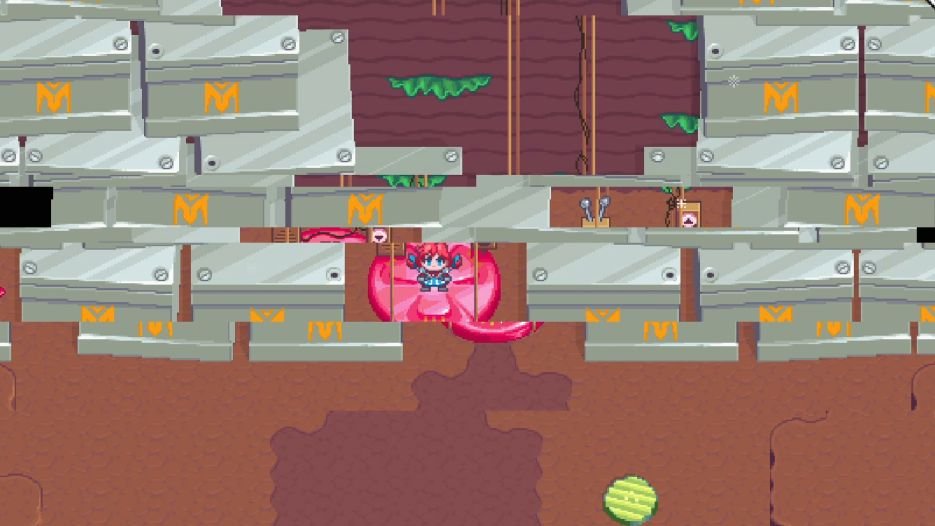
Eventually, you’ll reach the office entrance, just before the fight with MechBorg.
If you’ve opened all the achievement chests earlier, you can visit the shrine and speak with Dave to check your progress.
The shrine should now give you a different response if you’ve followed the hidden prophecy route correctly.
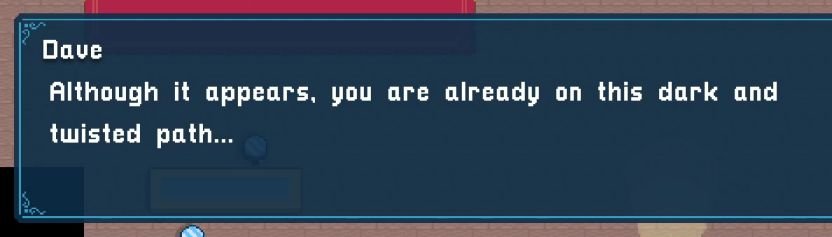
One important detail: Dave’s special dialogue about your unusual path may only appear the first time you ask him about the prophecy. So, if you want to use this as confirmation, save that conversation until near the end of your run.
After that, continue and defeat MechBorg.
Once the main boss fight ends, Frygor will completely lose it over your decision to skip all those story events. He’ll eventually remove himself from your party.

That’s exactly what we’re looking for.
Part 7: Defeat Frygor and Get the True Friends Achievement
There’s one final fight left.
After defeating the main boss, you’ll have to face Frygor himself.
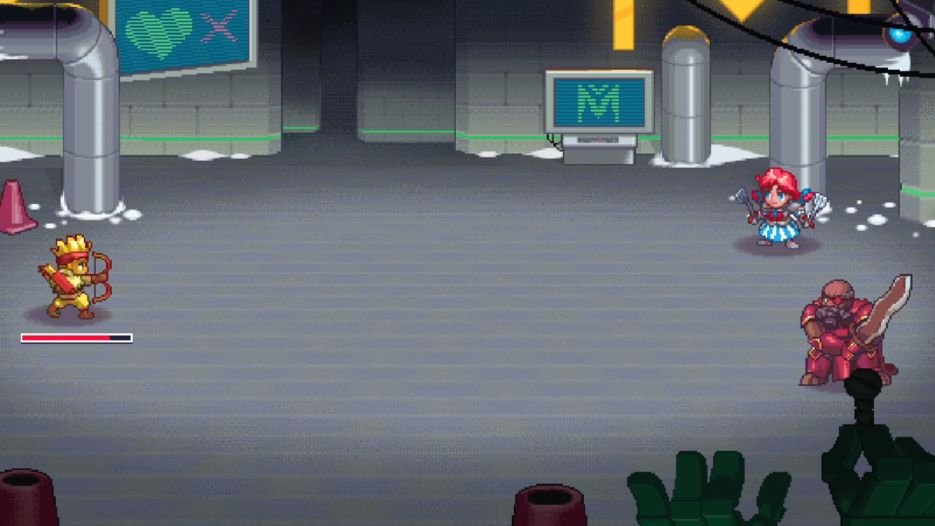
The battle isn’t particularly difficult, so just focus on defeating him. Once the fight reaches its conclusion, the story will continue.
Complete the remaining sequence, and you will receive the True Friends achievement along with the Secret Ending.
You’ll also get a short message from Wendy and the developers at the end.

Important Tips and Answers for True Friends
A few details from other players are worth knowing before attempting this route. These can save you from restarting the entire playthrough.
Do I need to start a new game to get True Friends?
Yes. You need a fresh save because the achievement requires you to avoid specific story events throughout the playthrough. Completing the game normally and then trying to change your route won’t work.
Can I use party member abilities?
Yes. You can still use and upgrade your party members’ abilities. The game doesn’t require you to complete every fight without their help. Wendy’s timer comments after the boss fights also confirm that you’re following the intended route.
What happens if I accidentally trigger Eggward’s cutscene?
Try closing the game immediately using Alt + F4 before the autosave happens. If the cutscene has already been saved, you may need to start a fresh run.
Do I need to collect every Hero Idol for the hidden prophecy?
No. You only need 16 Hero Idols to unlock the required achievement chest. There are more idols available in the game, but collecting all of them isn’t necessary for this part.
Where can I find the last Hero Idol?
Check Caffeine Caverns on the Breakfast Island. The bottom-left section of the cavern map shows a chest icon marking a hidden room. Also, remember that Elder Frosty can give you an additional idol after you rescue her.
Can I unlock the hidden prophecy during the same playthrough?
The prophecy is optional for the True Friends route. Its main purpose is to hint at the unusual playthrough you’re about to attempt.
What is the Rebellious Phase achievement?
This is a separate achievement that you can get at the very beginning of a new game.
After losing to the Mech Double and having Elder Tater kidnapped, you’ll be left with just 1 HP. Wendy will tell you to eat a burger to recover.
Instead, keep trying to leave the area without healing. Eventually, you’ll receive the Rebellious Phase achievement.