
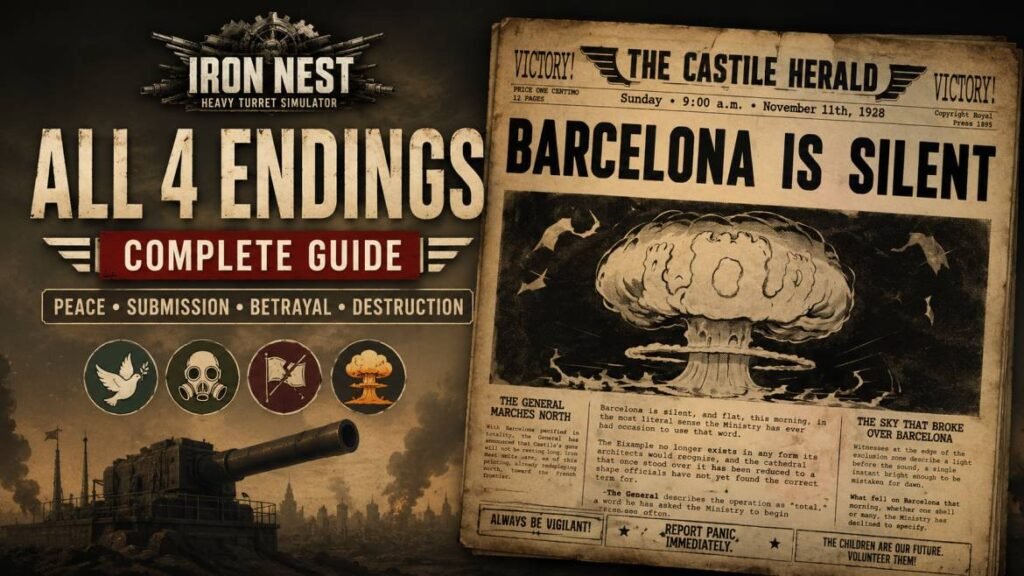
IRON NEST: Heavy Turret Simulator has four endings, each one linked to an achievement. Endings 1, 2, and 4 are easy to achieve since all you have to do is use the correct shell type and land one shot inside the city. But Ending 3 is difficult because you must turn your guns against the allied forces and destroy their counter-battery capability.
The game allows you to reload the final mission to get the other endings. However, you can complete Ending 3 on your first run because you can have enough credits to buy an Atomic shell. If you reload the mission after getting another ending, you’ll start with only 700 credits.
Basic Firing Setup for Endings 1, 2, and 4
You will always start the final mission at the southwest corner of the map at A1 0:0.
For Endings 1, 2, and 4, you do not need an exact hit on a specific building. The shell only needs to land inside the city borders.
You can use a simple target in the northwest corner of L5.
Use:
- Bearing: 66°
- Distance: 12 km
- Powder charges: 6
- Barrel angle: 24°
The gun angles for different powder charges are:
| Powder Charges | Barrel Angle |
|---|---|
| 6 | 24° |
| 5 | 28° |
| 4 | 36° |
| 3 | 48° |
| 2 | 60° |
| 1 | Out of range |
If you are aiming for the simple city endings, the fastest setup is 6 powder charges, 66° bearing, and 24° elevation.
The shell does not need to hit a particular target. It just needs to land within the city.
IRON NEST Ending 1: Peace
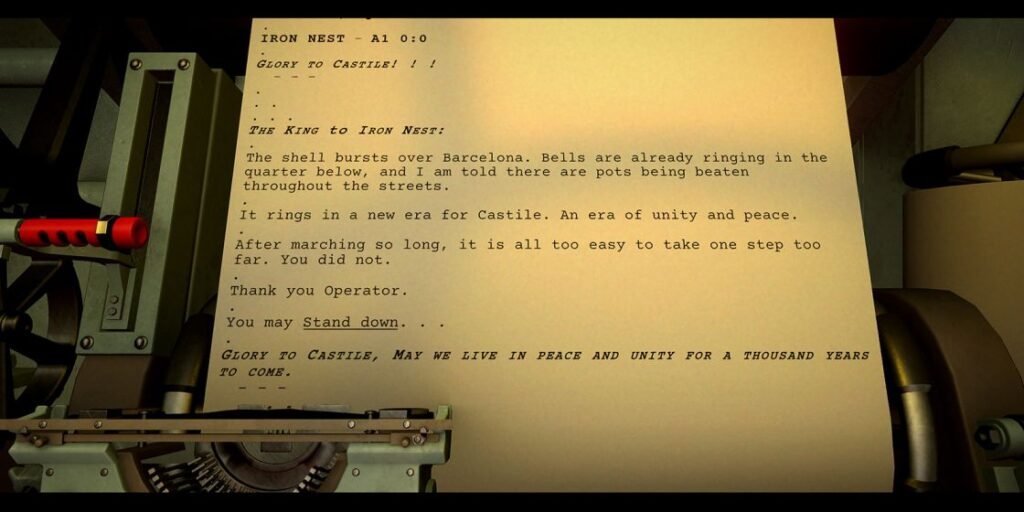
Achievement: “A City in Celebration”
You need one peaceful/non-lethal shell.
Any of these will work:
- Star shell (STAR)
- Smoke shell (SMK)
- Propaganda shell (PRPG)
Load one of them and fire it into the city.
You do not need to hit a building or unit. Make sure the shell lands inside the city borders.
The ending will trigger as soon as the shell lands.
Quick Setup:
Shell: STAR, SMK, or PRPG
Bearing: 66°
Distance: 12 km
Powder: 6 charges
Elevation: 24°

This will also unlock the “A City in Celebration” achievement.
IRON NEST Ending 2: Submission
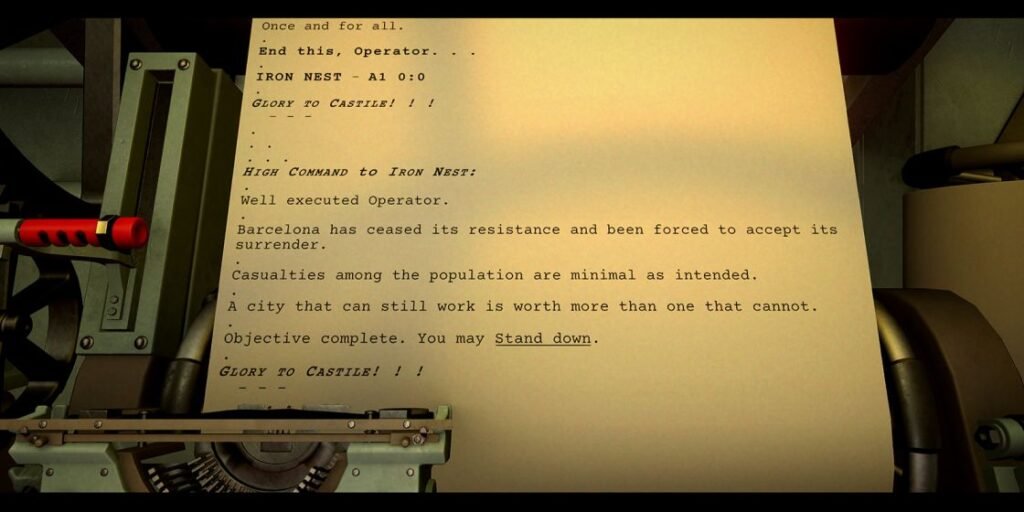
Achievement: “A City Subdued”
This ending uses the game’s chemical/non-lethal shell category.
You can use any one of these:
- Tear Gas shell (TEAR)
- Phosgene Gas shell (PHGN)
- White Phosphorus shell (WP)
- Cyanogen Gas shell (CYAN)
Fire one shell into the city.
Again, you do not need to hit a specific unit. The shell only needs to land within the city borders.
The ending will trigger immediately after the shell lands.
Quick Setup
Shell: TEAR, PHGN, WP, or CYAN
Bearing: 66°
Distance: 12 km
Powder: 6 charges
Elevation: 24°
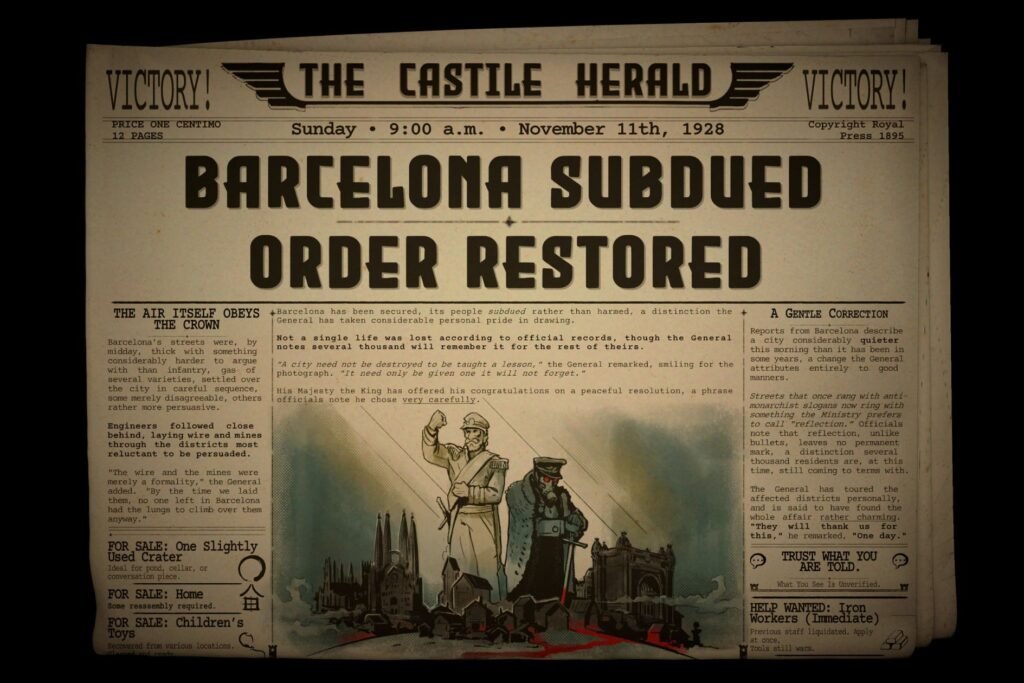
This will also unlock the “A City Subdued” achievement.
IRON NEST Ending 4: Destruction
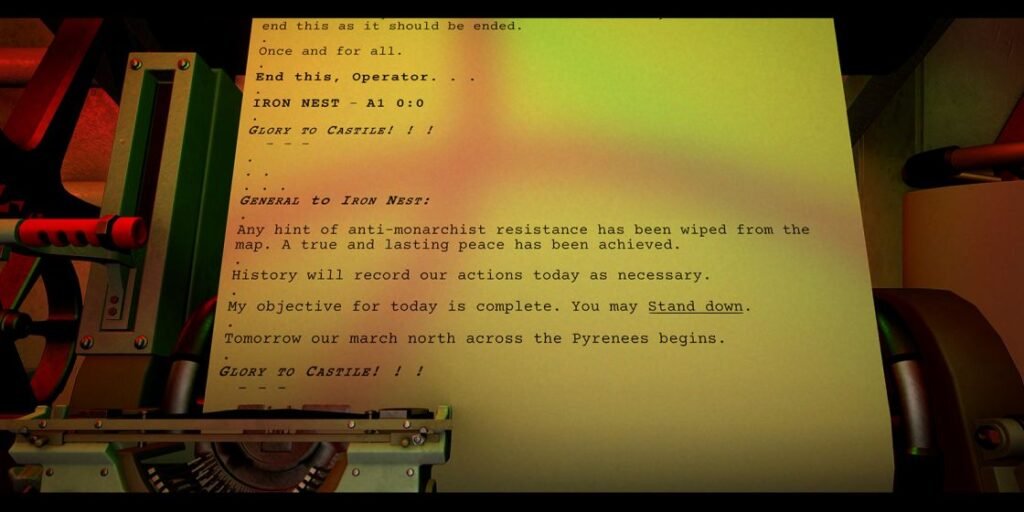
Achievement: “A City Silent”
This Ending requires a lethal/regular shell.
You can use any of these:
- High Explosive (HE)
- Armor Piercing (AP)
- Incendiary (INCN)
- High Capacity High Explosive (HCHE)
- Drill (DRIL)
- Low-grade Explosive (LE)
- Parachute-delayed Cluster (PCLM)
- Armor Piercing High Explosive (APHE)
- Thermal Incendiary (THRM)
- Earthquake (EQKE)
The Earthquake shell unlocks from this mission.
You can also use the Atomic shell (ATMC) if you have it.
Fire one lethal shell into the city. You only need one shot.
Once the shell lands within the city borders, the allied artillery will start bombarding the city. You don’t have to fire another shell.
The ending will trigger shortly.
The newspaper can show the atomic explosion image even when you did not use an ATMC shell. So do not use the newspaper image as proof that you used the Atomic shell.
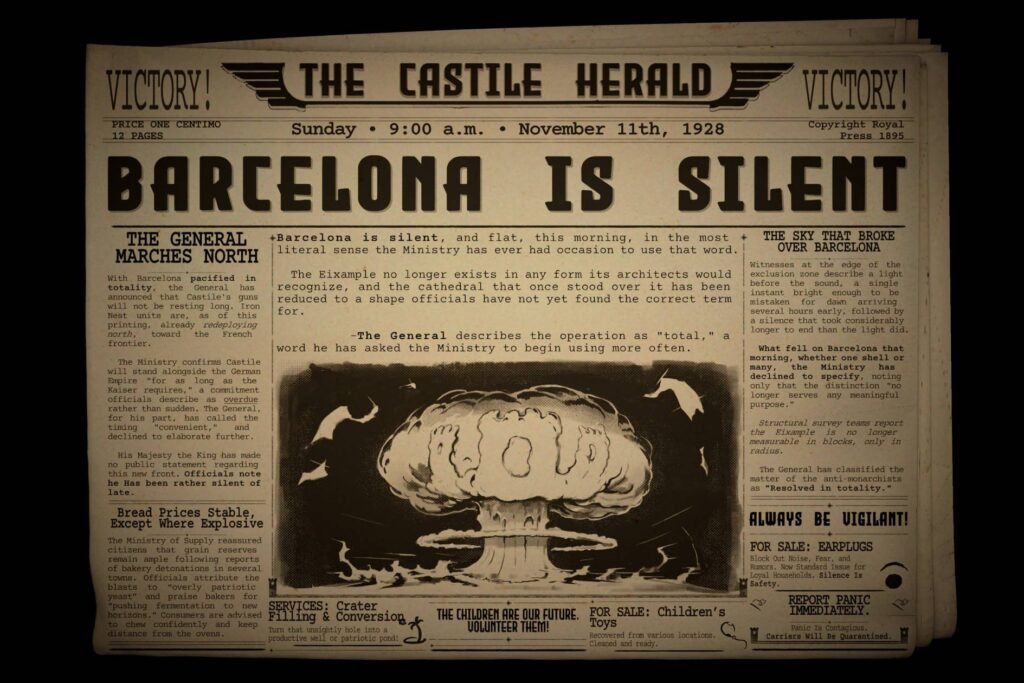
This ending will also unlock the “A City Silent” achievement.
IRON NEST Ending 3: Betrayal
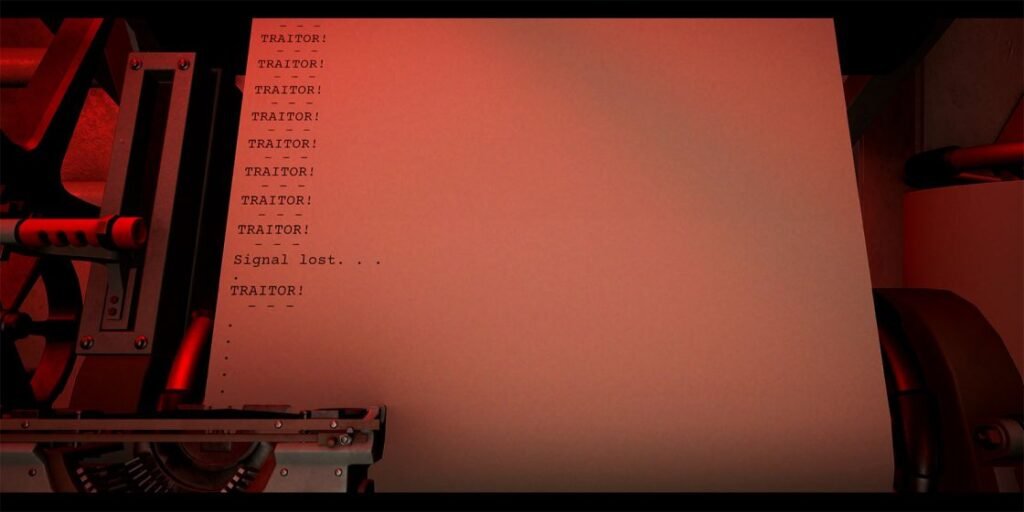
Achievement: “The Road Not Taken”
Now this ending is hard to complete and requires additional work.
For this ending, you have to turn the Iron Nest against your own side and eliminate the allied counter-battery capability.
The important part is that you do not need to destroy every allied unit.
Many players have found that the actual requirement is:
- Destroy the High Command
- Destroy all allied artillery units
Other units are optional.
The game generates 11 allied artillery units, so you can complete this ending with a focused artillery sweep instead of destroying the entire allied army.
Do Ending 3 First
I strongly recommend doing this ending before the other three.
On your first visit to the final mission, you can have enough credits to buy an Atomic shell (ATMC). The ATMC costs 666 credits by itself.
After you reload the mission from another ending, you’ll only have 700 credits. That can make the ATMC route impossible because you still need scout planes, powder charges, and other ammunition.
However, the 700-credit version is still possible, but it requires more planning.
Ending 3 With the Atomic Shell
For the easier version, prepare:
- 1 Atomic shell (ATMC)
- 5–7 Scout Planes
- 4–6 APHE shells
- 1–3 HCHE shells
- At least 25 Powder Charges
The final mission will further reveal the map through aerial reconnaissance, but you need additional scout planes to locate the allied units.
Scout Plane Positions
You can reveal almost the entire map with 5 scout planes.
Send them from:
- B1 — 0°
- D1 — 0°
- F1 — 0°
- R1 — 0°
- T1 — 0°
If you have enough credits, use 7 scout planes for more coverage:
- A1 — 0°
- C1 — 0°
- E1 — 0°
- G1 — 0°
- R1 — 0°
- T1 — 0°
- H9 — 90°
The exact positions of most allied units are random.
Two important locations stay fixed:
- Iron Nest: A1 0:0
- High Command: B4
Plan Everything Before Your First Shot
This is the most important part of Ending 3.
The game does not start the counter-battery timer until you attack an allied unit.
So take your time before firing.
First scout the map, identify the artillery, locate High Command, calculate your firing solutions, and buy your ammunition.
Once you fire your first shell on a friendly unit:
- You’ll be immediately marked as a traitor
- The counter-battery timer will start
- The purchase system will not work
- You cannot go back and buy more ammunition
So make sure to buy everything before that first shot.
You can also load the guns before starting the attack. Each gun can hold the first loaded shell plus six reserve shells, giving you 14 shells total across both guns.
Use the Atomic Shell First
The ATMC has an effective range of roughly 3 km in radius.
A useful target is around D5 3:5, which can destroy High Command and many nearby units in the E/F columns.
The exact unit positions are random, so check your map before copying the target.
The main reason to use ATMC first is time. A large blast can remove several allied units at once and give you a much longer counter-battery window.
After the ATMC strike, you can focus on removing the remaining artillery units.
Don’t waste time killing infantry or other units that do not count for this ending requirement.
Prioritize Allied Artillery
Your important targets are the Allied artillery units.
Earlier strategies also recommended destroying spotting units because they affect the counter-battery situation. However, many player tests show that spotters are not required for Ending 3.
The actual requirement is the destruction of:
- High Command
- All 11 allied artillery units
When required, use APHE against armored artillery. Use HCHE against groups of unarmored units.
Barrel Angle Formula
You can calculate the required elevation manually instead of using the elevation calculator.
Use:
Angle (°) = Distance (km) × 12 ÷ Powder Charges
The individual formulas are:
| Charges | Formula |
|---|---|
| 1 | Distance × 12 |
| 2 | Distance × 6 |
| 3 | Distance × 4 |
| 4 | Distance × 3 |
| 5 | Distance × 2.4 |
| 6 | Distance × 2 |
For example, if a target is 8 km away with 6 charges:
8 × 2 = 16°
Using 6 charges for most shots can save a lot of time during Ending 3. The shell travels faster, and you spend less time changing the barrel elevation.
Order Your Targets by Bearing
Do not fire at random targets around the map.
First calculate all your firing solutions and arrange the targets by bearing from low to high.
For example:
20° → 35° → 48° → 61° → 74° → 86°
This will reduce the amount of turret rotation between shots.
One player also used targeting cards from the map and elevation calculator, keeping the next two targets ready on the clipboard. You can use the same idea with your own notes or firing cards.
The goal is simple: calculate first, shoot second.
Ending 3 Without the Atomic Shell
You can still get Betrayal after reloading the final mission.
The problem is the 700-credit starting budget.
The ATMC costs 666 credits, leaving almost nothing for the other supplies. Instead, use EQKE and HCHE shells.
The EQKE Earthquake shell becomes available after you complete any ending.
A practical setup is:
- 5 Scout Planes
- EQKE shells
- HCHE shells
- Enough powder charges for the planned shots
Many players complete Ending 3 with 700-credits by using the EQKE shells.
One player used 14 EQKE shells, which was enough to clear the required targets.
Scout the Artillery
Use the five-plane setup:
- B1 — 0°
- D1 — 0°
- F1 — 0°
- R1 — 0°
- T1 — 0°
You do not need to reveal every enemy unit.
Focus on finding:
- High Command
- All allied artillery
Ignore infantry and other units unless they are in the blast area.
Destroy High Command First
Before starting the attack, calculate the firing solution for High Command.
Load EQKE into one gun and aim at the High Command position.
One Earthquake shell is enough to destroy both command units if you place the shot correctly.
Then prepare the other gun for an artillery target.
Have your first shots ready before visiting the purchasing station for the final time.
Buy all required ammunition and powder charges before firing.
Once your shot hits the first friendly unit, the purchase system will disappear.
A Safer Ending 3 Trick: Use Smoke
There is also another useful strategy from the community.
Smoke shells can pull allied artillery within a 1 km range.
This works on both armored and unarmored artillery.
You can use smoke to group artillery closer together before attacking them. EQKE or HCHE can easily sweep several targets with one shot.
There is one important warning:
Do not use smoke on the commander.
If you attack the commander, it will start the counter-battery timer, so save that shot for when your attack plan is ready.
This smoke method can make the 700-credit version manageable because you can reposition artillery before committing to the main attack.
The 700-Credit Route in Practice
- Launch the 5 scout planes.
- Locate High Command and the allied artillery.
- Record each target’s bearing and distance.
- Calculate the elevation for every shot.
- Sort your targets by increasing bearing.
- Prepare your EQKE and HCHE shells.
- Buy all remaining ammunition and powder charges.
- Load the first two guns.
- Fire at High Command.
- Start destroying the 11 allied artillery units.
- Ignore infantry and other unnecessary targets.
- Keep moving through your pre-planned firing order.
- Destroy all allied artillery units before the counter-battery timer expires.
You do not need to destroy the entire allied force.
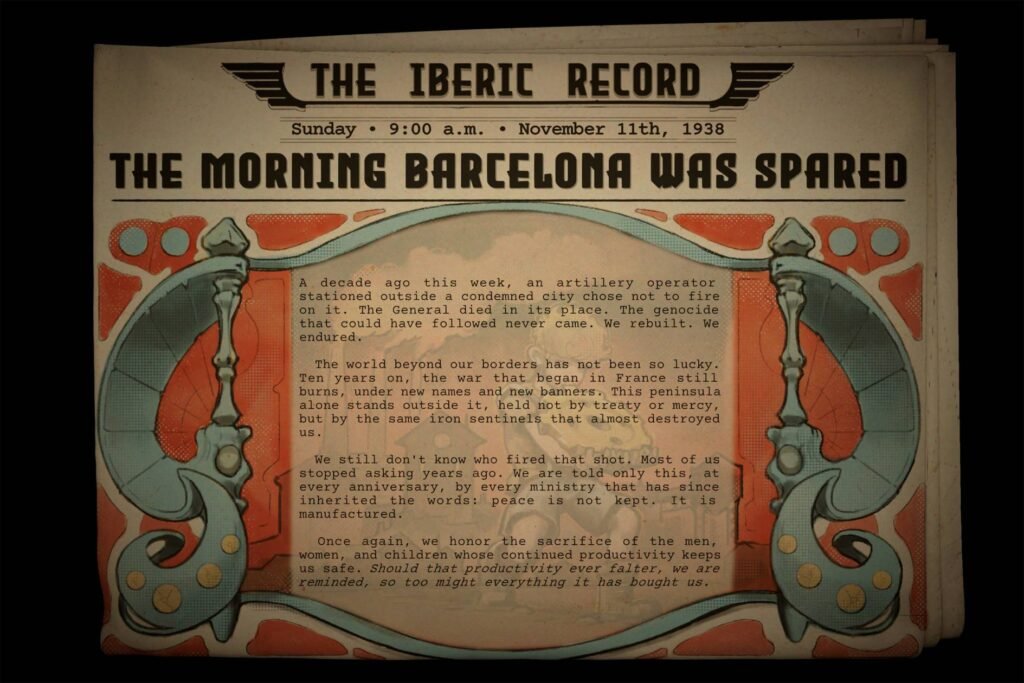
Once the required counter-battery units are gone, Ending 3 will trigger and also unlock the “The Road Not Taken” achievement.
Personal Tips for Ending 3
- There is no time limit before you start attacking. Use that time to prepare every firing solution.
- The purchasing station will not work after you hit your first friendly unit. So do not fire a test shot and then expect to buy more ammunition.
- Six charges make the calculations simple: Angle = Distance × 2. They also reduce the time spent adjusting the guns.
- All 11 allied artillery units are the key counter-battery targets. You do not need to clear infantry or every spotting unit.
- Smoke has a 1 km pull range and works on armored and unarmored artillery. Group targets before the main attack, but do not smoke the commander.
All 4 Endings at a Glance
| Ending | What You Need | Achievement |
|---|---|---|
| Ending 1: Peace | STAR, SMK, or PRPG into the city | A City in Celebration |
| Ending 2: Submission | TEAR, PHGN, WP, or CYAN into the city | A City Subdued |
| Ending 3: Betrayal | Destroy High Command + all 11 allied artillery | The Road Not Taken |
| Ending 4: Destruction | Any lethal shell into the city | A City Silent |
For Endings 1, 2, and 4, your shell only needs to land inside the city border. You do not need to hit a specific building or unit.
For Ending 3, you must plan the entire attack before firing the first shot. The 700-credit version is possible, but the first-run route with an ATMC is easy to complete.